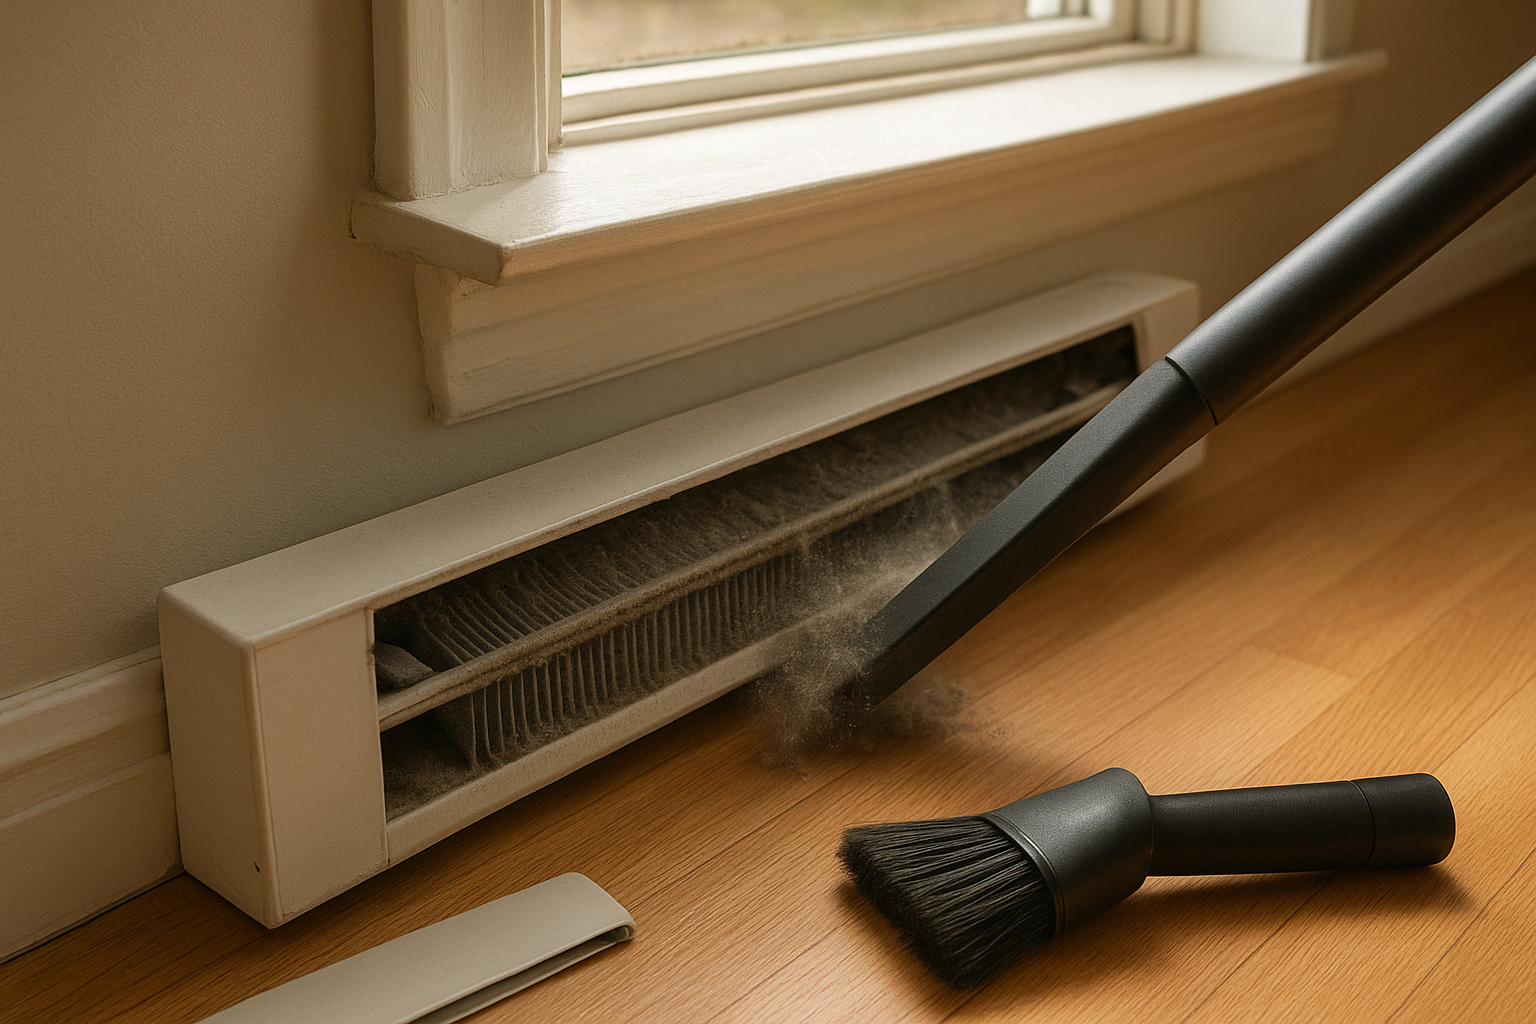
How to Clean Baseboard Heaters Before Winter
Baseboard heaters are easy to ignore until the first cold morning, when they kick on and smell like hot dust. A quick cleaning before heating season helps air move more freely, reduces that burnt-dust odor, and gives you a chance to spot bent fins, blocked airflow, or safety issues before winter settles in.
This guide covers both common types: electric baseboard heaters and hydronic baseboard heaters, which use hot water inside a pipe. The cleaning steps are simple, but the safety steps matter—especially with electric units.
Why baseboard heaters need cleaning
Baseboard heaters work by warming air near the floor so it rises through the metal fins and circulates into the room. When dust, pet hair, toys, crumbs, or lint collect inside the cover, airflow drops and the heater has to work against a fuzzy blanket of debris.
The U.S. Environmental Protection Agency notes that controlling sources of indoor particles is one way to improve indoor air quality, and it specifically recommends having central heating systems inspected, cleaned, and tuned annually. While a baseboard heater is not the same as a forced-air furnace, the same practical idea applies: remove dust at the source before you heat it up. ([epa.gov](https://www.epa.gov/indoor-air-quality-iaq/sources-indoor-particulate-matter-pm?utm_source=openai))
Before you start: identify your heater type
Look closely at the heater before cleaning so you know what you are dealing with.
- Electric baseboard heater: Usually has its own thermostat or is controlled by a wall thermostat. Inside, you may see an electric heating element running through metal fins. These must be shut off at the breaker before cleaning.
- Hydronic baseboard heater: Common in homes with boilers. A copper pipe runs through aluminum fins, and hot water provides the heat. These should be cool before cleaning, and you may want the thermostat turned down or the zone off.
- Not sure? If you rent, have very old equipment, or see damaged wiring, stop and ask your landlord, building maintenance, or an HVAC professional.
Supplies you’ll need
- Vacuum with crevice tool and soft brush attachment
- Soft paintbrush, microfiber duster, or long radiator brush
- Microfiber cloth
- Mild dish soap and warm water for covers only
- Flashlight
- Work gloves
- Optional: fin comb or small needle-nose pliers for gently straightening bent fins
Avoid soaking the heater, spraying cleaner into the fins, or using harsh chemicals. For most heaters, dry dust removal is the goal.
Step-by-step: how to clean baseboard heaters
1. Turn the heat off and let everything cool
For electric baseboard heaters, turn the thermostat off, then switch off the circuit breaker that controls the heater. Manufacturer cleaning instructions commonly call for shutting power off at the electrical panel before cleaning. ([homedepot.com](https://www.homedepot.com/catalog/pdfImages/2c/2c5bcf63-f1c8-4bbd-8a25-7c7935b17916.pdf?utm_source=openai))
For hydronic heaters, turn the thermostat down and wait until the pipe and fins are completely cool. Never work around hot metal or hot water lines.
2. Clear the area around the heater
Move furniture, curtains, baskets, shoes, pet beds, and children’s toys away from the heater. The National Fire Protection Association recommends keeping anything that can burn at least three feet from heating equipment, and the Consumer Product Safety Commission gives the same three-foot rule for space heaters. Baseboard heaters are fixed equipment, but it is still smart to keep fabric, paper, and clutter away from heat. ([content.nfpa.org](https://content.nfpa.org/-/media/project/storefront/catalog/files/safety-tip-sheets/heatingsafetytips.pdf?rev=28632068e8784f83bc0092317fa78672&utm_source=openai))
3. Remove the front cover carefully
Most baseboard covers lift or pull off, but the exact method varies. Start at one end cap and look for clips, seams, or screws. If the cover is painted shut, do not yank it; score the paint edge lightly with a utility knife or ask for help if you are worried about damaging the wall.
Set the cover on a towel or take it outside. If it is only dusty, vacuum it. If it has grime or sticky residue, wipe it with warm soapy water, rinse with a damp cloth, and dry it completely before reinstalling.
4. Vacuum loose dust from the inside
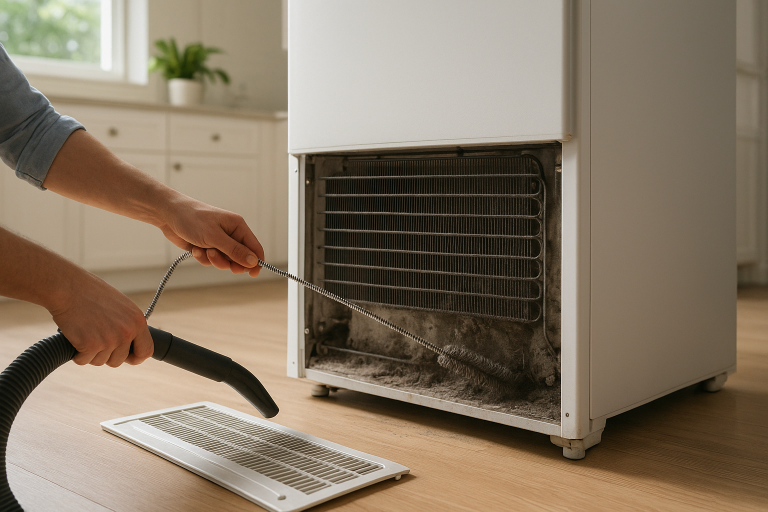
Use the crevice tool to vacuum along the bottom trough, back edge, and full length of the heater. Then switch to the soft brush attachment and gently vacuum the fins from top to bottom.
Do not jab the nozzle into the fins. Aluminum fins bend easily, and bent fins restrict airflow. Work slowly in short sections instead of trying to force the tool through the heater.
5. Brush between the fins
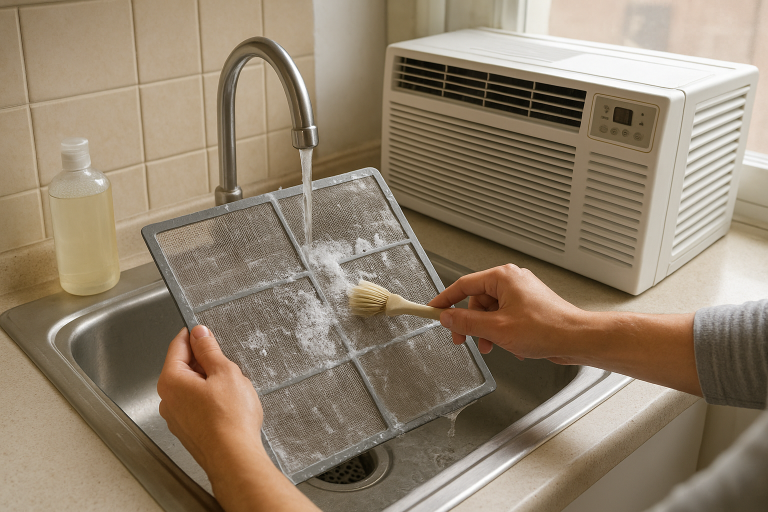
Use a soft paintbrush, radiator brush, or microfiber duster to loosen dust trapped between the fins. Hold the vacuum nozzle nearby while brushing so dust is pulled away instead of floating into the room.
If you have pets, this is usually where the real mess appears. Pet hair often mats along the lower edge of the fins and in the corners near the end caps. Keep brushing and vacuuming until the metal looks mostly clear.
6. Straighten badly bent fins, if needed
A few bent fins are normal in older heaters. If a section is folded flat, gently open it with a fin comb or small needle-nose pliers. Go slowly; the fins are thin and can tear.
If the heater has exposed wiring, scorch marks, a loose element, leaking water, heavy corrosion, or a damaged pipe, stop cleaning and call a professional.
7. Wipe the wall and floor nearby
Dust often collects on the wall just above a baseboard heater and along the floor underneath it. Vacuum the floor line, then wipe the nearby baseboard trim and wall with a barely damp microfiber cloth. This keeps loose dust from being pulled right back into the heater.
8. Reinstall the cover and restore power
Make sure the cover is fully dry. Snap or screw it back into place so it sits evenly and does not rattle. For electric units, turn the breaker back on only after the cover is installed and the area is clear.
Turn the thermostat up briefly and listen. A light warm-dust smell for a few minutes can be normal after months of disuse. A burning smell, buzzing, sparking, smoke, or a breaker that trips means shut the heater off and get help.
How often should you clean baseboard heaters?
For most homes, clean baseboard heaters once a year before heating season. Clean them twice a year if you have pets, a dusty renovation, shedding rugs, or heaters in bedrooms where lint builds up quickly.
If you have fuel-burning heating equipment elsewhere in the home, remember that the EPA recommends inspection and service before each heating season to help protect against carbon monoxide concerns. ([epa.gov](https://www.epa.gov/indoor-air-quality-iaq/should-you-have-air-ducts-your-home-cleaned?utm_source=openai))
What not to do
- Do not clean an electric heater with the breaker on. Turning down the thermostat is not enough.
- Do not spray water or cleaner inside the heater. Moisture and electrical components do not mix.
- Do not use a leaf blower indoors. It spreads dust through the room.
- Do not block heaters with furniture or long curtains. Poor airflow means poor heat and possible overheating.
- Do not ignore scorch marks, melting, leaks, or damaged wiring. Those are repair issues, not cleaning chores.
A simple finishing check
Once the heater is clean and running, stand a few feet away and feel for gentle warm air rising. Make sure curtains are not draping over the cover, furniture is pulled forward, and nothing has slipped underneath.
Cleaning baseboard heaters is not glamorous, but it is one of those small fall chores that pays you back all winter. You get quieter operation, better airflow, less dust smell, and a safer, tidier start to heating season.