How to Clean Between Oven Door Glass Safely
That cloudy streak inside your oven door can make the whole kitchen feel less clean, even after you have scrubbed the oven itself. The tricky part is that the mess is often trapped between two panes of glass, where a normal sponge cannot reach.
The safest way to clean between oven door glass depends on your oven model. Some doors have bottom vent slots you can clean through with a wrapped yardstick, while others require door removal or professional service. GE Appliances notes that some models can be cleaned through the door opening, but models with door cameras or side-swing doors should not be cleaned this way. ([products.geappliances.com](https://products.geappliances.com/appliance/gea-support-search-content?contentId=34524&utm_source=openai))
Before You Start: Check Your Oven Manual
Do this first, even if you are handy. Oven doors are heavier than they look, and many contain hinges, insulation, trim pieces, and glass panels that need to go back exactly as designed. Whirlpool says cleaning between glass panels may require more time and another person because the oven door may need to be removed. ([whirlpool.com](https://www.whirlpool.com/blog/kitchen/how-to-clean-glass-oven-door-window.html?utm_source=openai))
If your manual says not to disassemble the door, follow that advice. If you cannot find the manual, search the brand and model number, usually found around the oven frame, storage drawer, or door edge.
Supplies You’ll Need
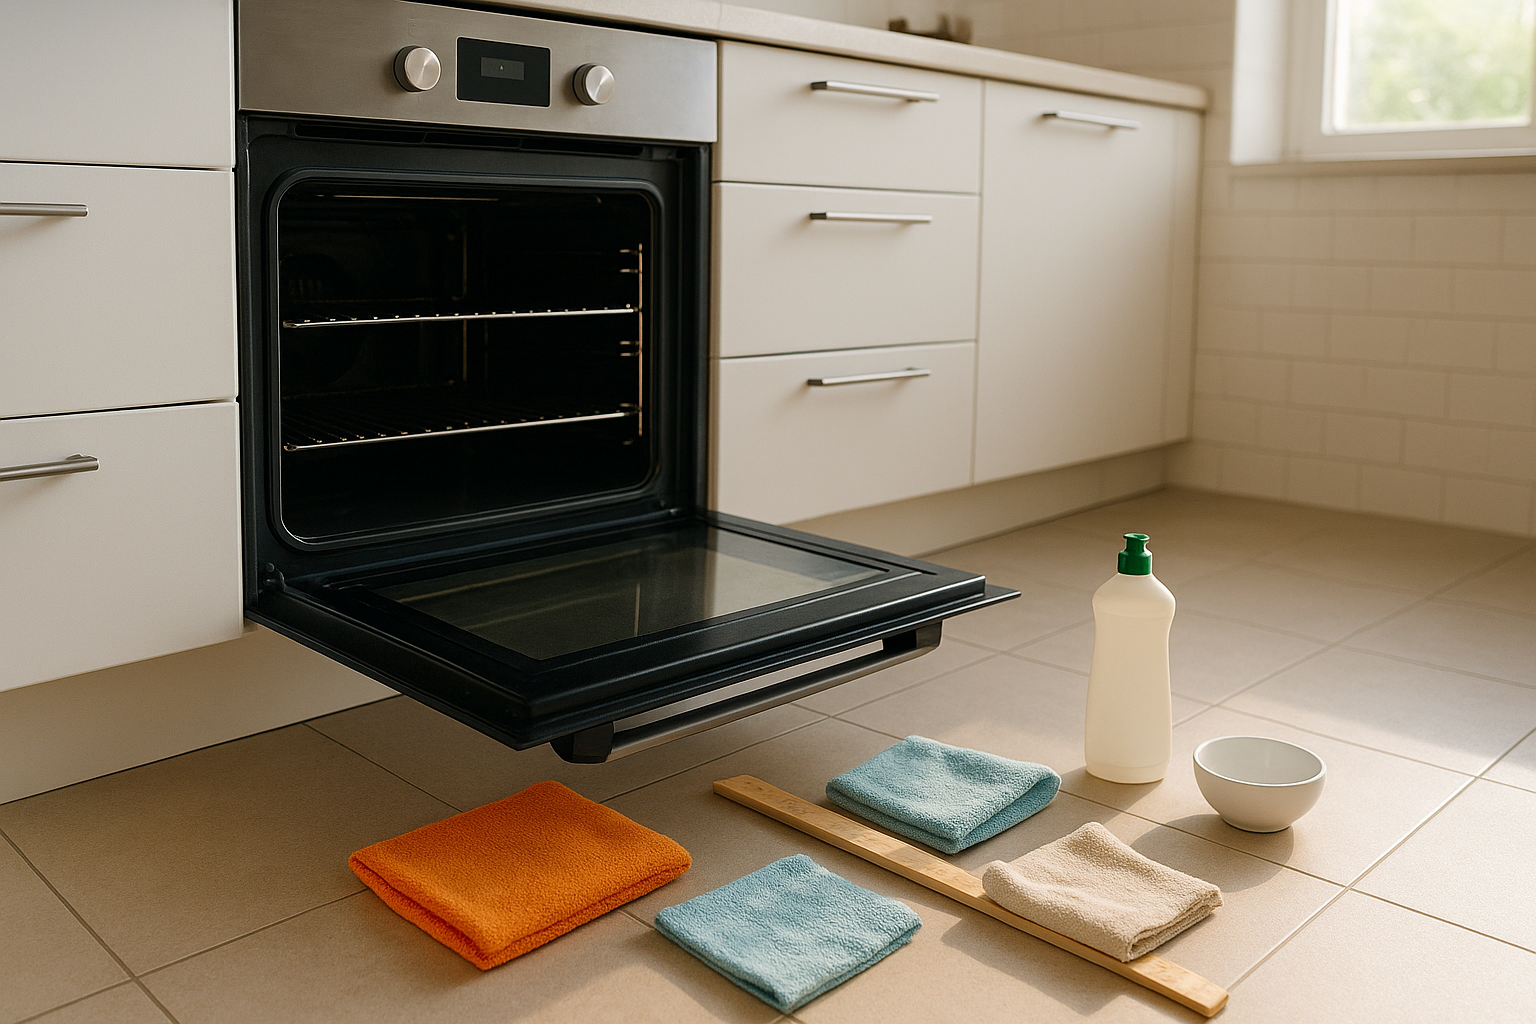
- Microfiber cloths or lint-free towels
- A yardstick, long ruler, or thin flexible cleaning wand
- Rubber bands or painter’s tape
- Warm water
- A few drops of mild dish soap
- White vinegar, optional for greasy streaks
- Flashlight
- Vacuum with crevice tool, optional
- A helper, if the door must be removed
Avoid soaking the cloth. You want it damp, not dripping. Too much liquid can run deeper into the door, leave new streaks, or reach areas that should stay dry.
Step 1: Let the Oven Cool and Disconnect Power if Needed
Start with a completely cool oven. If you will only be using the bottom vent-slot method, turning the oven off and letting it cool is usually enough. If your manual instructs you to remove panels, screws, or the door, unplug the range or turn off power at the breaker first. GE’s appliance support advises unplugging appliances before attempting maintenance or cleaning. ([geappliances.com](https://www.geappliances.com/ge/service-and-support/faq-ranges-ovens.htm?utm_source=openai))
Step 2: Find the Access Slots
Open the oven door and look along the bottom edge. Many oven doors have narrow slots or vents where warm air moves through the door. These openings are often the easiest access point for cleaning between panes without taking the door apart.
Use a flashlight to see where the streaks are. If the mess is near the center and your tool can reach it through the slot, you can likely use the simple method below. If the slots are blocked, too narrow, or not present, skip to the section on door removal.
Step 3: Make a Slim Cleaning Tool
Wrap a microfiber cloth around the end of a yardstick or long ruler. Secure it firmly with rubber bands or painter’s tape so the cloth cannot slip off inside the door.
Dip the cloth end into warm water with a few drops of dish soap, then wring it very well. For greasy smears, you can use a mixture of half white vinegar and half water, but keep it light. The goal is to loosen residue, not flood the glass.
Step 4: Clean Between the Glass
- Slide the wrapped end gently into the bottom slot.
- Move slowly toward the stained area.
- Use light side-to-side strokes rather than forceful scrubbing.
- Pull the tool out and rinse the cloth as it gets dirty.
- Repeat until the streaks fade.
Do not jam the tool upward or twist hard. If it catches, back it out and rewrap the cloth thinner. Scratching, bending trim, or losing a cloth inside the door will turn a small cleaning job into a repair call.
Step 5: Dry the Inside of the Door
This step matters. Replace the damp cloth with a clean, dry, lint-free cloth and run it through the same opening. GE’s instructions for cleaning between oven door glass include drying the inside with a dry lint-free cloth or paper towel after cleaning. ([products.geappliances.com](https://products.geappliances.com/appliance/gea-support-search-content?contentId=34524&utm_source=openai))
If you still see faint moisture, leave the oven door open for a while so air can circulate. Do not run a hot oven to “dry it faster” unless your manual says it is safe; heat can bake mineral marks into new streaks.
When the Oven Door Has to Come Off
Some ovens simply do not give you enough access through the vent slots. In that case, your manual may show how to remove the door, lay it flat, and access the glass panels. This is a two-person job for many households because oven doors can be awkward, heavy, and easy to drop.
In general, the process may involve opening the door partway, locking hinge latches, lifting the door free, and setting it on a padded table or blanket. But do not rely on generic instructions here. Hinge designs vary, and a door that is removed incorrectly can damage the hinge or fail to close properly afterward.
If the glass panes themselves must be removed, take photos at every step. Note which side faces in, where spacers sit, and how trim pieces overlap. Fisher & Paykel, for example, gives model-specific instructions for releasing retainers and removing inner door glass for cleaning, which shows why brand-specific guidance matters. ([fisherpaykel.com](https://www.fisherpaykel.com/on/demandware.static/-/Sites-fpa-master-catalog/default/dwf0d903fa/GeneralFiles-FisherPaykelIE/FP-UserGuide-en-OB60SDPTDX2-OB60SMPTDG1-OB60SMPTDB1-Oven-0-431226A-UK-IE-EU.pdf?utm_source=openai))
What Not to Use Between Oven Glass
- Do not use loose paper towels that can tear and get trapped inside the door.
- Do not spray cleaner directly into vents; spray the cloth instead.
- Do not use abrasive pads on glass or coated trim.
- Do not use a knife or bare metal scraper between panes.
- Do not remove random screws unless your manual tells you to.
Also be cautious with strong oven cleaners. They are made for specific oven surfaces, not necessarily for hidden door channels, gaskets, insulation, or decorative finishes.
How to Prevent Streaks from Coming Back
Most streaks between oven glass start with splatters, boil-overs, or greasy steam. You cannot prevent every mark, but you can reduce them.
- Cover saucy casseroles loosely when appropriate.
- Place a rimmed baking sheet under pies or bubbly dishes.
- Wipe heavy spills from the oven once it cools.
- Clean the inside face of the oven door before grease bakes on repeatedly.
- Avoid slamming the oven door, which can shift residue and stress the glass.
GE also recommends wiping excess grease and food from the oven interior and door before heavy baking, broiling, roasting, or running a self-clean cycle. ([products.geappliances.com](https://products.geappliances.com/appliance/gea-support-search-content?contentId=16541&utm_source=openai))
When to Call a Professional
Call an appliance technician if your oven door has a camera, unusual side-swing design, cracked glass, broken trim, stuck hinges, or no clear access point. Also stop if you remove the door and cannot confidently reassemble it.
Cleaning between oven door glass is satisfying, but safety comes first. If you can reach the streak through a bottom slot, a damp wrapped yardstick and a dry follow-up cloth may be all you need. If the door has to come apart, let the owner’s manual—not guesswork—lead the way.