How to Clean Between Oven Door Glass Safely
Grease streaks between the panes of an oven door are maddening because the inside and outside glass can look spotless while the window still looks cloudy. The good news: on many ovens, you can clean that hidden space without taking the whole door apart.
This guide explains how to clean between oven door glass carefully, what to check before you start, and when it is safer to leave the door alone. Always treat your owner’s manual as the final word for your specific model.
Before You Start: Check Your Oven Door
Oven doors are not all built the same. Some have a vent slot along the bottom edge that lets you reach between the glass panes with a thin cloth-covered tool. Others require door removal or service access, and some newer specialty doors should not be opened by a homeowner.
GE Appliances says that if its general between-the-glass instructions do not apply to a model, service may be required to disassemble the door; it also notes that models with cameras in the door and side-swing doors are not recommended for this cleaning method. ([products.geappliances.com](https://products.geappliances.com/appliance/gea-support-search-content?contentId=34524&utm_source=openai))
Before cleaning, look for:
- A bottom vent or slot: This is usually where a slim tool can enter.
- Visible screws: Do not remove them unless your manual specifically tells you to.
- Door electronics: Cameras, display panels, sensors, or unusual wiring mean you should stop.
- A damaged gasket or cracked glass: Cleaning can wait; repair comes first.
Supplies You’ll Need
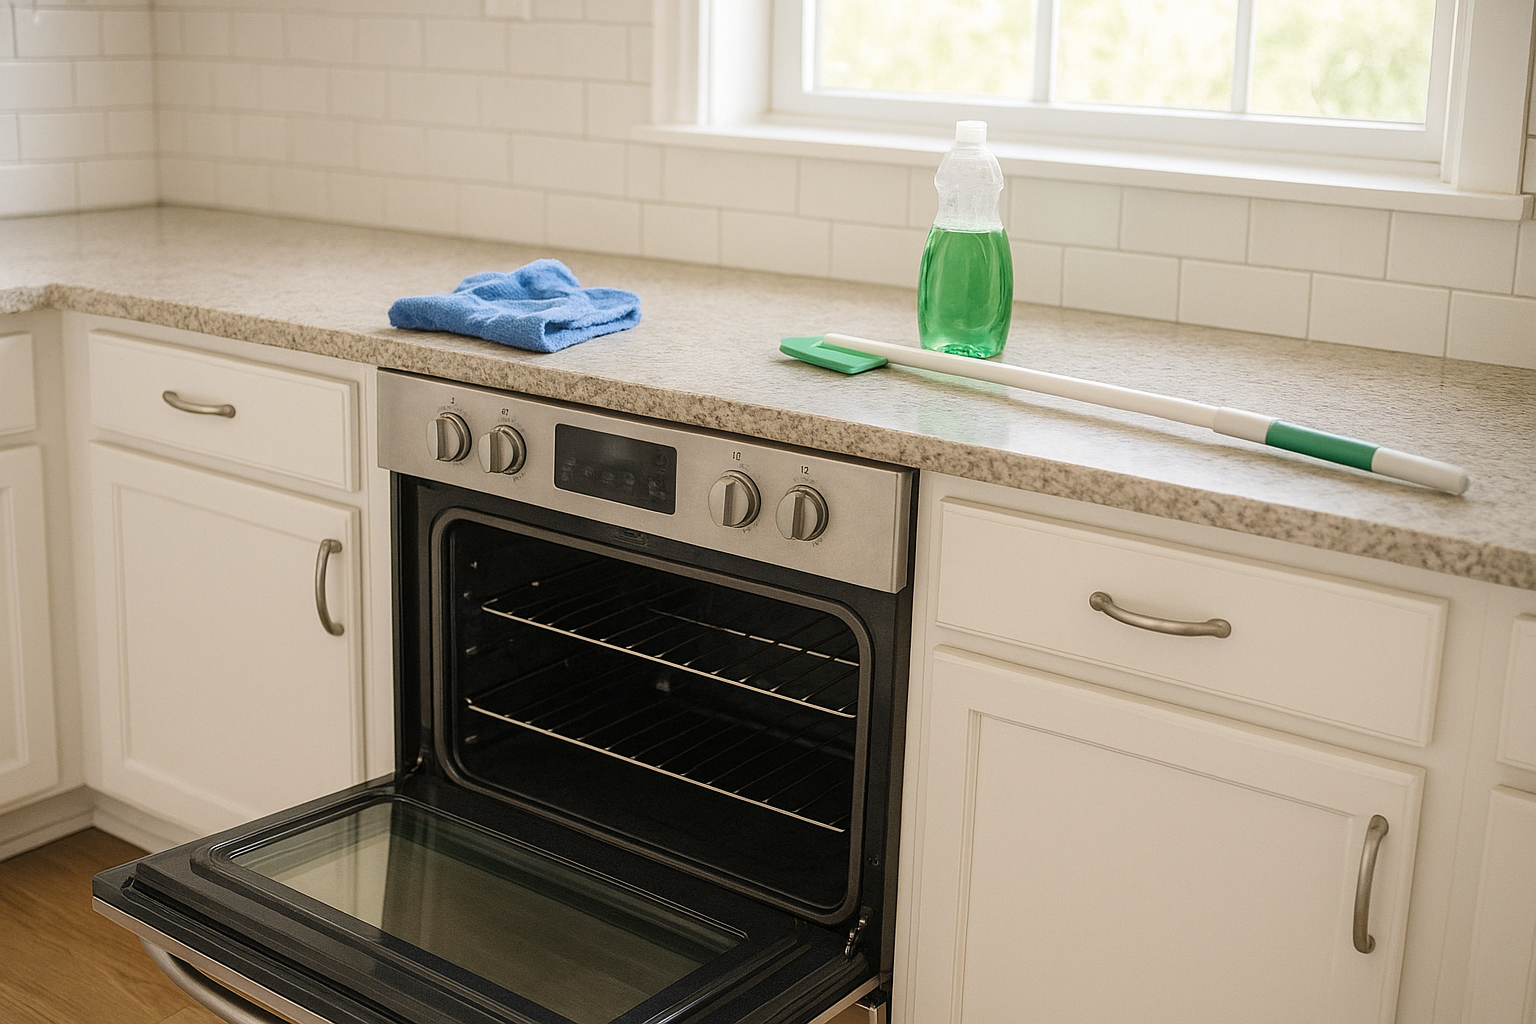
- A yardstick, long ruler, or thin flexible cleaning wand
- Two clean microfiber cloths or lint-free cloths
- Rubber bands, painter’s tape, or masking tape
- Warm water
- A few drops of mild dish soap
- A flashlight
- Optional: white vinegar for light streaks
Skip abrasive pads, steel wool, harsh oven cleaner, and anything sharp. Whirlpool’s current cleaning guidance for oven door exteriors points homeowners toward mild cleaners such as glass cleaner, mild liquid cleaner, or nonabrasive pads, and it repeatedly directs owners to model-specific instructions for oven cleaning. ([whirlpool.com](https://www.whirlpool.com/content/dam/global/documents/202510/owners-manual-w11790356-revc.pdf?utm_source=openai))
Step 1: Let the Oven Cool Completely
Do not clean a warm oven door. Let the oven cool all the way, turn it off, and make sure the door is comfortable to touch. If you recently ran a self-clean cycle, wait until the oven has cooled and unlocked according to your manual.
This is also a good time to wipe the easy-to-reach glass first. Sometimes what looks like a between-the-panes stain is actually a film on the inner glass.
Step 2: Clean the Outside and Inside Glass First
Mix warm water with a small amount of dish soap. Wipe the exterior glass, then wipe the interior glass. Dry both sides with a clean cloth.
For cooked-on spots on the inner door glass, lay a damp, soapy cloth over the area for 10 to 15 minutes to soften the residue. Use a non-scratch sponge if needed. Avoid soaking the door or flooding the gasket area.
Step 3: Find the Slot at the Bottom of the Door
Open the oven door and look along the bottom edge with a flashlight. Many doors have narrow openings where air moves between panes. That is the access point for the no-disassembly method.
If you cannot find a slot, do not force a tool between trim pieces. Some doors are not designed for this approach. Check the model manual or schedule service instead.
Step 4: Make a Slim Cleaning Tool
Wrap a microfiber cloth around the end of a yardstick or long ruler. Secure it tightly with rubber bands or painter’s tape. Keep the cloth smooth and thin so it will slide into the opening without bunching.
Use only enough cloth to clean the glass. A bulky wad can get stuck, and a loose rubber band can slip off inside the door. Tug on the cloth before inserting it to make sure it is secure.
Step 5: Dampen the Cloth Lightly
Dip the cloth-covered end in warm soapy water, then wring it out very well. It should be damp, not dripping. Too much liquid can leave new streaks, drip into lower trim, or create a mess you cannot easily reach.
For greasy haze, you can use warm water with a drop or two of dish soap. For light mineral-looking streaks, a cloth dampened with a little diluted white vinegar may help. Do not mix cleaners, and do not spray liquid directly into the door.
Step 6: Slide, Wipe, and Work Slowly
Insert the covered tool into the bottom slot and gently move it across the glass. Use slow side-to-side motions rather than jabbing upward. If you meet resistance, back out and adjust the cloth.
Work in sections:
- Start on one side of the door.
- Move across the middle with light pressure.
- Finish at the opposite side.
- Pull the tool out and check the cloth.
- Rinse, wring, and repeat if needed.
GE’s between-the-glass instructions describe using a wet cloth on a yardstick to clean inside the door opening, then replacing it with a dry lint-free cloth or paper towel to dry the inside of the door. ([products.geappliances.com](https://products.geappliances.com/appliance/gea-support-search-content?contentId=34524&utm_source=openai))
Step 7: Dry Between the Panes
Drying is not optional. A damp pass can loosen grease, but if you leave moisture between the panes, the door may dry with cloudy trails.
Remove the damp cloth and attach a dry lint-free cloth to the tool. Slide it back into the same opening and wipe the same areas. If the cloth comes out damp or gray, switch to a fresh dry cloth and repeat.
What If the Streaks Won’t Come Off?
Some streaks are baked-on grease that has been heated many times. If two or three careful passes do not improve the glass, do not keep adding wetter cloths or stronger cleaners. Let the door dry completely, then reassess in daylight.
For heavy staining, you may need one of these options:
- Use the oven’s approved cleaning cycle if your manual recommends it for your model.
- Remove the door only if the manual gives clear steps and you are comfortable handling the weight.
- Call appliance service if the door has electronics, hidden fasteners, or no access slot.
Whirlpool notes that cleaning the window glass before a high-temperature self-cleaning cycle can reduce burned-on residue, but it also tells owners to follow the oven cleaning section in their specific owner’s manual. ([producthelp.whirlpool.com](https://producthelp.whirlpool.com/Cooking/Wall_Ovens_and_Ranges/Product_Info/Oven_Cleaning_and_Care/High_Temperature_Self-Clean_Cycle_Information?utm_source=openai))
When Not to Take the Door Apart
It can be tempting to remove screws and separate the door panels, but that is where many simple cleaning jobs turn into repair calls. Oven doors are heavy, spring-loaded, and often use layered glass, insulation, trim, and hinge parts that must go back in the correct order.
Do not disassemble the door if:
- The oven is under warranty and the manual does not tell you to do it.
- The door has a camera, display, or unusual wiring.
- The glass is cracked, loose, or rattling.
- The screws are stripped or hidden under trim.
- You do not have a second person to help lift a heavy door.
How to Prevent Grease Between Oven Door Glass
You may not be able to prevent every streak, but a few small habits help a lot:
- Wipe splatters promptly once the oven is cool.
- Cover bubbly casseroles loosely when practical.
- Use a rimmed baking sheet under pies, roasts, and cheesy dishes that may overflow.
- Avoid slamming the door, which can push greasy steam through vents.
- Clean the inner glass before self-cleaning, if your manual advises it, so residue does not bake on harder.
The Bottom Line
The safest way to clean between oven door glass is to use the access slot your oven already provides, a lightly damp microfiber cloth, and a long slim tool. Work gently, dry thoroughly, and stop if your oven door design does not match the method.
If there is no safe opening or your door has electronics, do not pry it apart. A clear oven window is nice, but a properly assembled, safe oven door matters more.