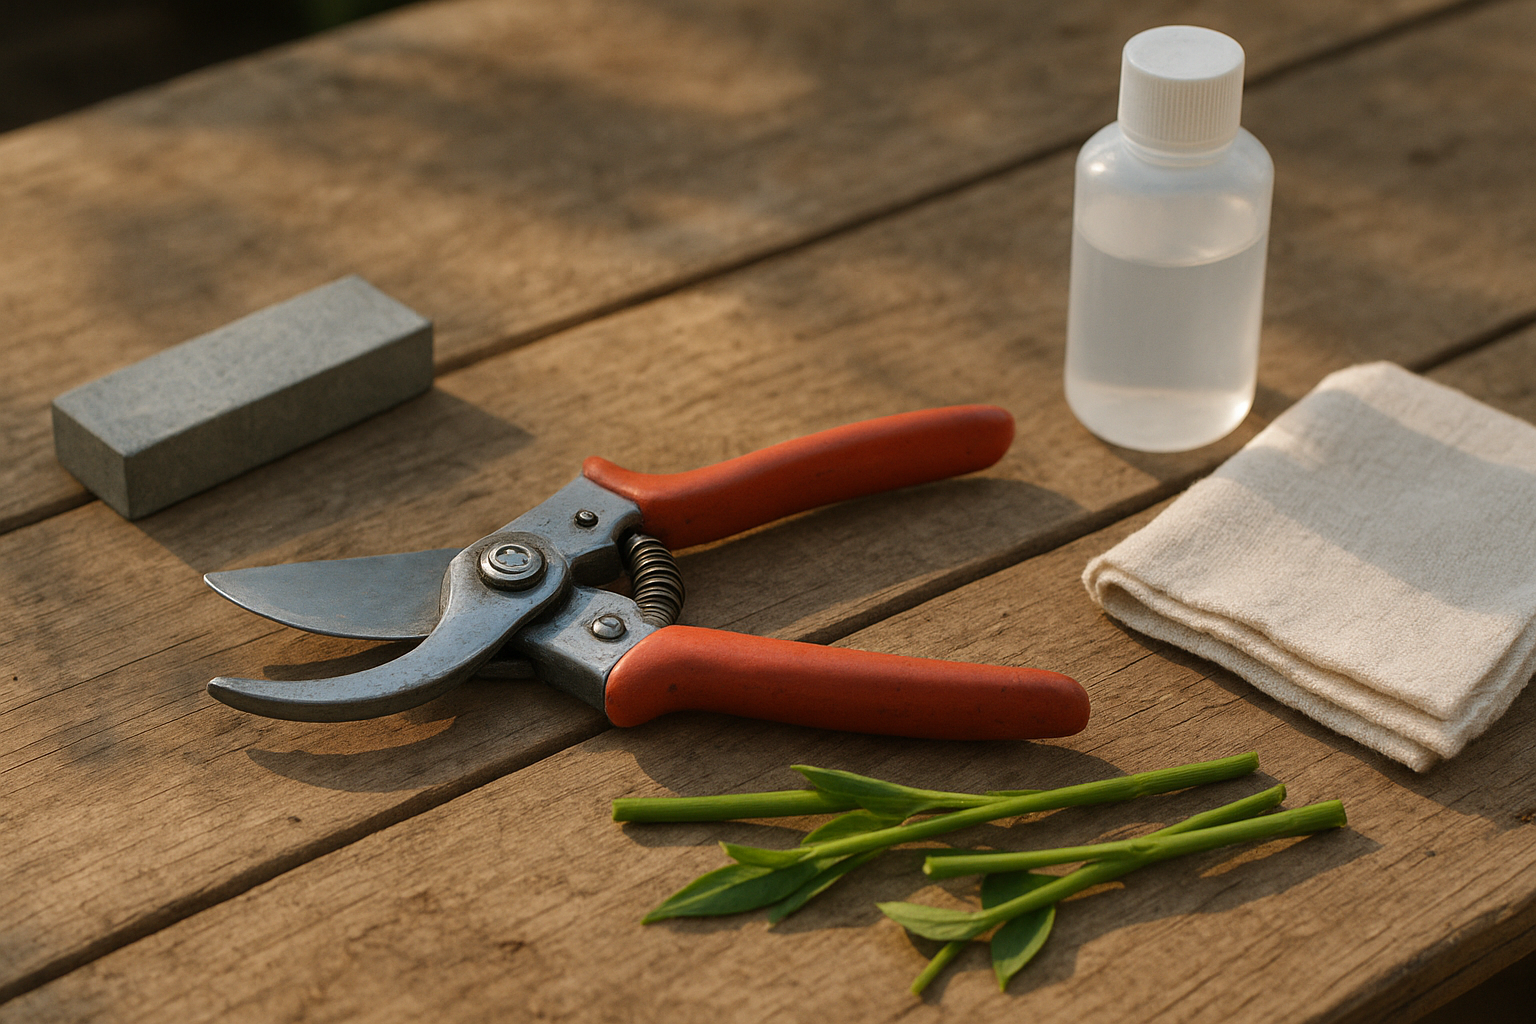
How to Clean and Sharpen Garden Pruners
A good pair of hand pruners should slice through stems cleanly, not mash, tear, or make your wrist work overtime. If yours feel sticky, rusty, or dull, you probably do not need a new pair—you need a quick tune-up.
This guide walks you through how to clean and sharpen garden pruners at home, including when to disinfect them and how to oil them so they do not rust in storage.
Why Sharp, Clean Pruners Matter
Sharp pruning tools make cleaner cuts, and cleaner cuts are better for plants because they close more readily and are less likely to invite rot or infection. University of Florida IFAS Gardening Solutions recommends keeping pruning shears and other cutting tools sharp for better plant results. ([gardeningsolutions.ifas.ufl.edu](https://gardeningsolutions.ifas.ufl.edu/care/tools-and-equipment/sharpening-your-tools/?utm_source=openai))
Dirty pruners can also carry sap, soil, and microscopic plant pathogens from one plant to another. University of Minnesota Extension notes that tools may look clean while still carrying bacteria, fungi, or viruses, which is why cleaning and disinfecting matter when disease is a concern. ([extension.umn.edu](https://extension.umn.edu/planting-and-growing-guides/clean-and-disinfect-gardening-tools?utm_source=openai))
What You’ll Need
- Work gloves to protect your hands
- Old rag or paper towels
- Warm soapy water or a bucket of water with a little dish soap
- Stiff brush, old toothbrush, or steel wool
- 70% isopropyl rubbing alcohol for disinfecting
- Small diamond file, sharpening stone, or pruner sharpener
- Light machine oil, mineral oil, or 3-in-1 oil
- Screwdriver or wrench, if your pruners come apart
If your pruners are inexpensive and riveted together, do not force them apart. You can still clean and sharpen them well enough for regular garden work.
Step 1: Check the Type of Pruners You Have
Most everyday gardeners use bypass pruners. These have one sharp blade that passes by a thicker hook, almost like scissors. Bypass pruners are best for living stems because they make a cleaner cut. Anvil pruners, which close onto a flat surface, are better suited to dead, dry wood because they can crush tender live stems. University of Maryland Extension describes bypass-style hand pruners as a standard pruning tool and emphasizes that pruning tools should be sharp for clean cuts. ([extension.umd.edu](https://www.extension.umd.edu/resource/pruning-tools?utm_source=openai))
This article focuses on bypass pruners, but the cleaning and oiling steps also apply to anvil pruners, loppers, and garden shears.
Step 2: Brush Off Dirt and Plant Debris
Start dry. Open the pruners and brush away loose soil, bark, leaves, and dried plant bits. Pay close attention to the pivot area, spring, locking catch, and the inside curve of the hook blade.
If there is heavy mud, rinse the tool or dip only the metal end into warm soapy water. Scrub until the blades feel smooth, then wipe dry right away. Do not leave pruners soaking in a bucket; long soaking encourages rust, especially around screws and springs.
Step 3: Remove Sap and Rust
Sticky sap makes pruners feel dull even when the blade still has an edge. Wipe sap with rubbing alcohol on a rag, then scrub stubborn spots with steel wool or a non-scratch pad. West Virginia University Extension suggests steel wool, sandpaper, and a solvent such as kerosene or alcohol for cleaning sticky sap residue from pruning blades. ([extension.wvu.edu](https://extension.wvu.edu/agriculture/horticulture/pruning-facts?utm_source=openai))
For light rust, use steel wool or fine sandpaper and work gently along the metal surface. You are removing the rust, not trying to grind the whole blade. If rust has created deep pits along the cutting edge, sharpening may help, but the pruners may never cut quite like new.
Step 4: Disinfect When Disease Is a Concern
You do not need to disinfect pruners after every single healthy snip in the garden. But it is smart to disinfect when pruning diseased plants, moving between suspect plants, cutting tomato vines with leaf spots, or working in an orchard where disease can spread quickly.
For most home garden jobs, wipe or spray the blades with 70% isopropyl alcohol, then let them air-dry for a short time. University of Minnesota Extension says pruners can be dipped or sprayed with disinfectant after cleaning and notes that alcohol at 70% or higher can disinfect surfaces for bacteria, fungi, and viruses. ([extension.umn.edu](https://extension.umn.edu/planting-and-growing-guides/clean-and-disinfect-gardening-tools?utm_source=openai))
Bleach is sometimes recommended, but use it carefully. Iowa State University Extension says a 10% household chlorine bleach solution can be used, with pruning blades soaked for at least 10 minutes, then rinsed with clean water to help prevent corrosion. ([yardandgarden.extension.iastate.edu](https://yardandgarden.extension.iastate.edu/faq/how-do-i-sanitize-my-pruning-shears?utm_source=openai))
For everyday homeowners, alcohol is usually the easier choice because it is ready to use, dries quickly, and is less corrosive than bleach.
Step 5: Find the Beveled Edge
Before sharpening, look closely at the cutting blade. On bypass pruners, only one blade usually has the sharp cutting edge. That edge has a sloped side called the bevel. The flat back side should stay mostly flat.
The key is simple: sharpen the beveled side only, following the original angle. University of Florida IFAS recommends following the factory bevel when resharpening tools such as pruners and axes. ([gardeningsolutions.ifas.ufl.edu](https://gardeningsolutions.ifas.ufl.edu/care/tools-and-equipment/sharpening-your-tools/?utm_source=openai))
If you sharpen both sides like a kitchen knife, the pruners may not close correctly and can leave ragged cuts.
Step 6: Sharpen the Blade
- Open the pruners fully. If you can safely remove the blade, do so. If not, open and lock the tool in the widest safe position.
- Hold the sharpener against the bevel. Match the existing angle instead of inventing a new one.
- Push the file away from you. Use smooth strokes from the base of the blade toward the tip. Do not saw back and forth.
- Repeat 5 to 10 light strokes. Check often. You want a clean, shiny edge, not a dramatically reshaped blade.
- Remove the burr. Turn the blade over and make one or two very light passes flat against the back side to knock off the tiny metal burr.
Go slowly. A few careful passes are better than aggressive grinding. If your sharpener has coarse and fine sides, start with coarse only if the blade is very dull or nicked, then finish with fine.
Step 7: Test the Cut
Test your pruners on a thin live twig, a flower stem, or a strip of paper. The cut should be clean and easy. If the stem bends, crushes, or only partially cuts, check three things: the blade may still be dull, the pivot screw may be loose, or sticky residue may still be keeping the blades from closing tightly.
To adjust a loose pivot, tighten the center nut or screw a small amount. The blades should open and close smoothly without wobbling.
Step 8: Oil the Pivot and Blade
Once the pruners are clean, dry, and sharp, add a drop or two of oil to the pivot, spring, and locking mechanism. Open and close the pruners several times to work it in, then wipe away extra oil so it does not collect grit.
Lightly wiping the metal blade with oil also helps prevent rust during storage. University of Illinois Extension recommends lightly oiling metal tool surfaces with a lubricant as part of garden tool maintenance. ([extension.illinois.edu](https://extension.illinois.edu/sites/default/files/garden_tool_maintenance.pdf?utm_source=openai))
How Often Should You Clean and Sharpen Pruners?
- After each use: Wipe off dirt and sap, then dry the blades.
- When pruning diseased plants: Clean first, then disinfect before moving to another plant.
- During heavy pruning season: Sharpen whenever cuts start to feel rough or require extra hand pressure.
- Before winter storage: Deep clean, sharpen, oil, and store in a dry place.
Common Mistakes to Avoid
- Sharpening the wrong side. On bypass pruners, sharpen the beveled cutting blade, not both blades equally.
- Using bleach and putting the tool away wet. If you use bleach, rinse and dry well to reduce corrosion risk.
- Skipping the pivot. A clean blade still feels bad if the hinge is gritty or dry.
- Cutting branches that are too thick. If you have to twist or strain, switch to loppers or a pruning saw.
- Storing pruners outside. Rain, dew, and damp sheds shorten the life of the blade and spring.
The Bottom Line
Learning how to clean and sharpen garden pruners is a small job that pays you back every time you prune. Ten or fifteen minutes with a rag, alcohol, sharpener, and a few drops of oil can make old pruners feel useful again.
Keep them clean, follow the original bevel when sharpening, disinfect when disease is a concern, and always put them away dry. Your plants—and your hands—will thank you.