How to Freeze Green Beans So They Taste Fresh
If your garden, CSA box, or farmers market haul has given you more green beans than you can cook this week, freezing is one of the easiest ways to save them. The trick is not just tossing raw beans into a bag. A short blanch, a fast chill, and good packing make a big difference in how they taste later.
This guide walks you through how to freeze green beans so they stay useful for soups, casseroles, stir-fries, sheet-pan dinners, and quick weeknight sides.
Why Blanch Green Beans Before Freezing?
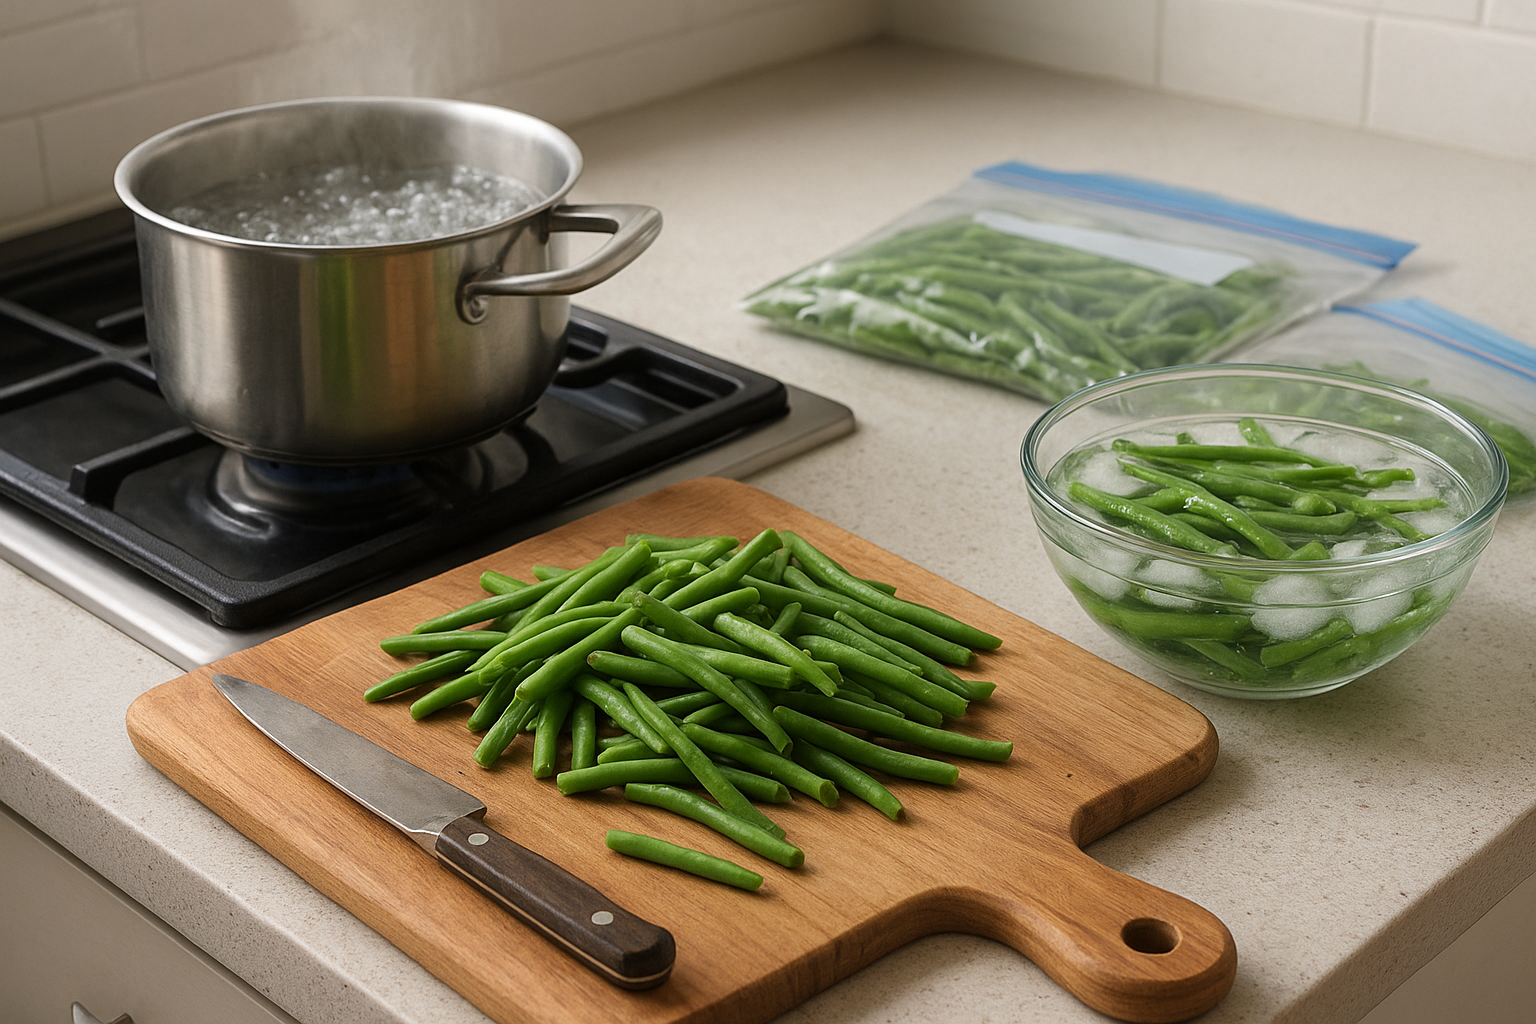
Blanching means briefly cooking vegetables in boiling water, then cooling them quickly in ice water. The National Center for Home Food Preservation explains that blanching slows or stops enzyme activity that can cause frozen vegetables to lose flavor, color, and texture. ([nchfp.uga.edu](https://nchfp.uga.edu/how/freeze?utm_source=openai))
For green beans, the standard boiling-water blanching time is 3 minutes, a timing also listed by multiple university extension resources. ([extension.psu.edu](https://extension.psu.edu/how-to-preserve-green-and-yellow-beans?utm_source=openai)) That short cook helps set the color and improves freezer quality without fully cooking the beans.
Can you freeze green beans without blanching? Technically, yes, but the quality usually drops faster. Unblanched beans may turn dull, tough, or develop a grassy off-flavor after storage. If you plan to use them within a week or two, you may not care. For better freezer storage, blanch them.
What You’ll Need
- Fresh green beans or wax beans
- Large pot with lid
- Large bowl of ice water
- Colander or spider strainer
- Clean kitchen towels or salad spinner
- Rimmed baking sheet
- Parchment paper, optional
- Freezer bags or freezer-safe containers
- Permanent marker for labeling
Choose the Best Beans for Freezing
Start with beans that are fresh, firm, and crisp. The best beans snap cleanly when bent. Avoid pods that are limp, rusty, badly bruised, oversized, or bulging with mature seeds. Utah State University Extension recommends young, tender beans for preserving, and that advice matters here because tough beans will still be tough after freezing. ([extension.usu.edu](https://extension.usu.edu/preserve-the-harvest/research/pole-bush-beans?utm_source=openai))
If you picked the beans yourself, freeze them as soon as you can. If you bought them, try to freeze them within a day or two. Freshness going into the freezer has a big effect on freshness coming out.
How to Freeze Green Beans Step by Step
1. Wash and trim the beans
Rinse the beans well under cool running water. Lift them out of the water rather than letting grit settle back onto them. Trim the stem ends with a knife or pinch them off by hand. The pointed tail ends are edible, so trim them only if you prefer a neater look.
You can freeze beans whole, halved, or cut into 1- to 2-inch pieces. Think about how you normally cook. Whole beans are nice for roasted or sautéed sides, while cut beans are easier for soups, casseroles, and skillet meals.
2. Bring a large pot of water to a full boil
Use plenty of water so the beans blanch evenly. A crowded pot cools down too much when the vegetables go in, which can throw off the timing. Work in small batches if you have a large harvest.
3. Blanch for 3 minutes
Add the green beans to the boiling water, cover the pot, and start timing as soon as the water returns to a boil. Blanch cut or whole green beans for 3 minutes. This timing is important: under-blanching may not stop enough enzyme activity, while over-blanching can make the beans softer than you want after freezing.
4. Cool immediately in ice water
As soon as the 3 minutes are up, transfer the beans to a large bowl of ice water. Oregon State University Extension recommends cooling vegetables in ice water for the same length of time used for blanching. ([extension.oregonstate.edu](https://extension.oregonstate.edu/catalog/pub/pnw-214-freezing-fruits-vegetables?utm_source=openai)) For green beans, that means about 3 minutes.
Cooling stops the cooking quickly. If you skip this step, the beans keep softening from residual heat, and you may end up with mushier beans later.
5. Drain and dry well
Drain the chilled beans thoroughly. Spread them on a clean kitchen towel and pat them dry, or run them through a salad spinner. This step is not fussy busywork. Extra water turns into ice crystals, which can make beans clump together and develop more freezer burn.
6. Tray-freeze for loose beans
For beans that pour out of the bag instead of freezing into one hard block, spread the dried beans in a single layer on a rimmed baking sheet. Freeze until firm, usually 1 to 2 hours. Utah State University Extension also notes that freezing beans in a single layer before packing helps keep them from sticking together. ([extension.usu.edu](https://extension.usu.edu/preserve-the-harvest/research/pole-bush-beans?utm_source=openai))
If you know you will use the whole package at once, you can skip tray-freezing and pack the drained beans directly. For most households, tray-freezing is worth the extra step.
7. Pack, label, and freeze
Move the frozen beans into freezer bags or containers. Press out as much air as possible before sealing. If using bags, flatten them so they stack neatly and thaw faster later. Label with the date and amount, such as “Green beans, 2 cups, July 2026.”
Place packages in the coldest part of the freezer, not in the door. Spread new packages out until frozen solid, then stack them. Penn State Extension recommends spreading unfrozen foods out in the freezer so they freeze more rapidly. ([extension.psu.edu](https://extension.psu.edu/lets-preserve-freezing-vegetables?utm_source=openai))
How Long Do Frozen Green Beans Last?
For best quality, use frozen green beans within about 8 to 12 months. They may still be safe longer if kept continuously frozen, but flavor and texture gradually decline. If you notice heavy freezer burn, lots of ice inside the bag, or an off smell after cooking, it is better to compost them and start fresh next season.
How to Cook Frozen Green Beans
In most recipes, do not thaw frozen green beans first. Thawing can make them watery and soft. Add them straight from the freezer and cook just until hot.
- For a skillet side: Sauté frozen beans in a little oil or butter over medium-high heat until the moisture cooks off and the beans are hot. Season with garlic, lemon, salt, and pepper.
- For soup: Add frozen beans during the last 10 to 15 minutes so they heat through without turning dull and overcooked.
- For casseroles: Use them frozen or partially thawed, depending on the recipe. Pat off extra ice if needed.
- For roasting: Roast from frozen on a preheated sheet pan at high heat. The texture will be softer than fresh roasted beans, but the edges can still pick up good flavor.
Common Mistakes to Avoid
- Skipping the blanch: This saves time now but usually costs you quality later.
- Overcrowding the pot: Too many beans lower the water temperature and lead to uneven blanching.
- Forgetting the ice bath: Beans keep cooking unless you cool them quickly.
- Packing wet beans: Surface water creates ice and clumps.
- Using thin storage bags: Regular sandwich bags are not designed for long freezer storage. Use freezer-grade bags or containers.
Quick Reference: Freezing Green Beans
- Prep: Wash, trim, and cut if desired.
- Blanch: 3 minutes in boiling water.
- Cool: 3 minutes in ice water.
- Dry: Drain and pat very dry.
- Freeze: Tray-freeze, then pack in freezer bags.
- Best use: Within 8 to 12 months for best quality.
Once you get the rhythm down, freezing green beans is simple: trim, blanch, chill, dry, and pack. It is an easy way to turn a summer surplus into ready-to-use vegetables for months of quick meals.