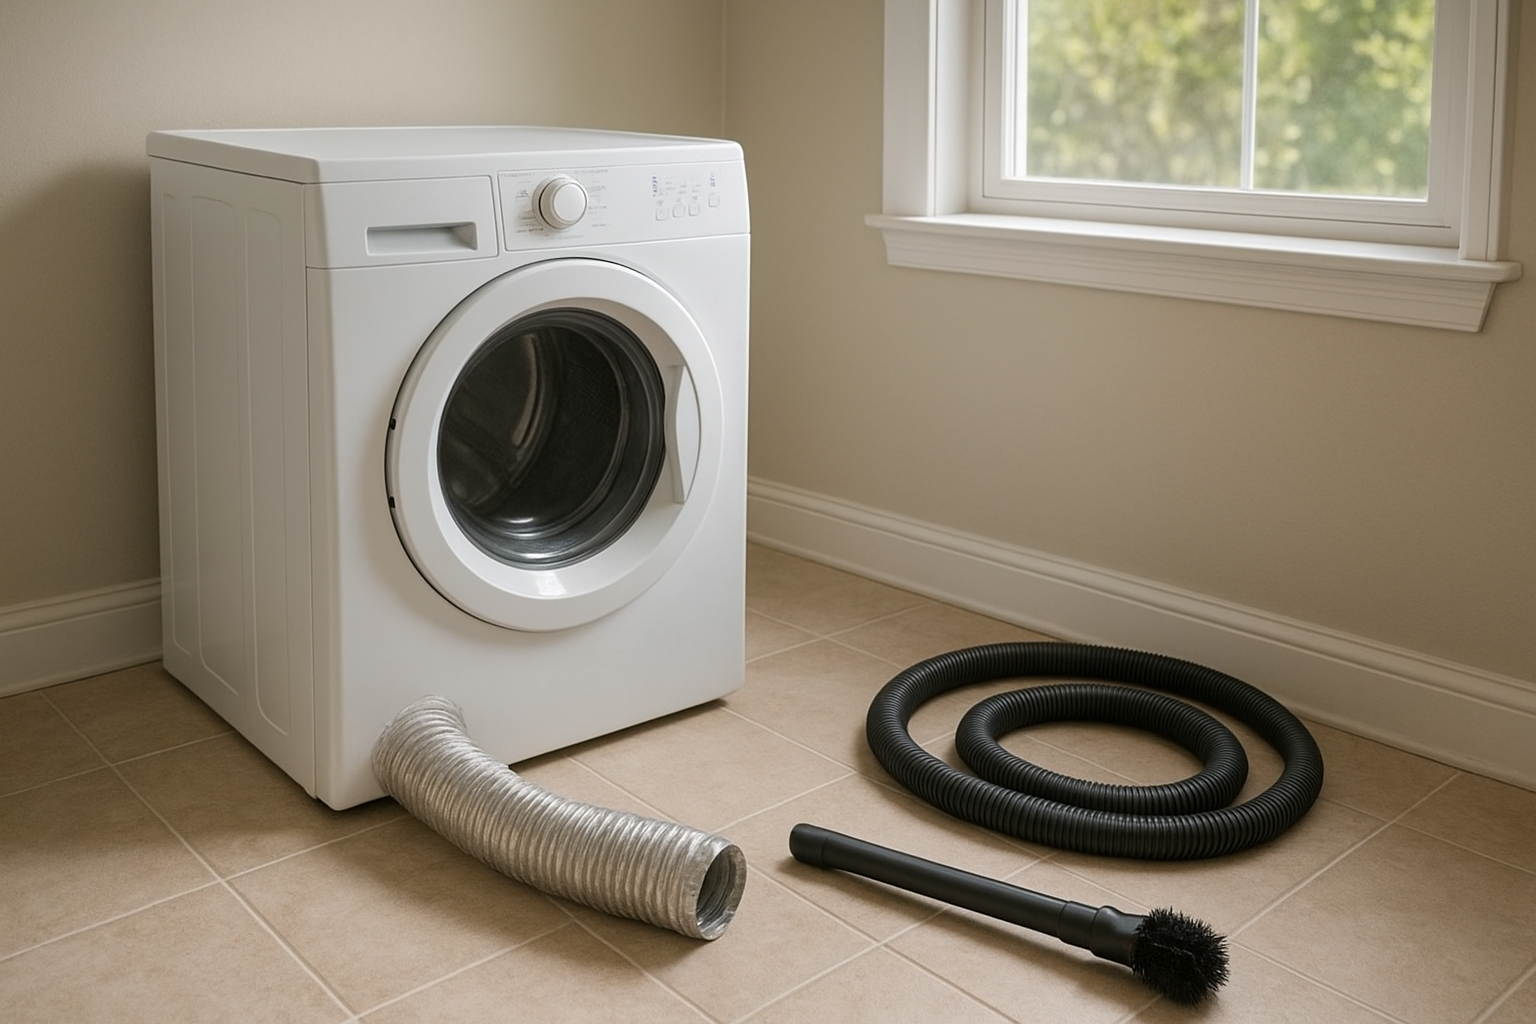
How to Clean a Dryer Vent for Faster, Safer Drying
If your towels need two cycles to dry or your laundry room feels hotter than usual, the dryer vent may be packed with lint. Learning how to clean a dryer vent is a simple home maintenance job that can improve airflow, help clothes dry faster, and reduce a common fire risk.
You do not need to take the whole dryer apart for a basic cleaning. With a vacuum, a dryer vent brush, and a little patience, most homeowners can clear the hose, duct opening, and outside vent in under an hour.
Why Cleaning the Dryer Vent Matters
The lint screen catches a lot, but it does not catch everything. Fine lint, pet hair, dust, and fabric fibers can pass through the screen and collect inside the vent hose and duct. Over time, that buildup restricts airflow.
Restricted airflow makes the dryer work harder. Clothes may stay damp, the outside of the dryer may feel very hot, and the cycle may run longer than it should. ENERGY STAR recommends cleaning the lint filter after every load to improve air circulation and dryer efficiency, and home performance guidance commonly recommends cleaning the dryer duct at least once a year.
There is also a safety reason to keep up with it. The U.S. Consumer Product Safety Commission warns that lint buildup can block airflow and contribute to overheating. That is why this is one of those little chores that is worth putting on your yearly home maintenance calendar.
Signs Your Dryer Vent Needs Cleaning
Clean the vent now if you notice any of these warning signs:
- Clothes take longer than normal to dry, especially towels, jeans, and bedding.
- Clothes come out unusually hot at the end of a cycle.
- The laundry room feels humid or warm while the dryer is running.
- The dryer shuts off before the load is dry, which can happen when the machine overheats.
- The outside vent flap barely opens when the dryer is running.
- You see lint around the exterior vent or behind the dryer.
- You smell something hot or faintly burning. Stop the dryer right away if this happens.
If your dryer is gas-powered and you smell gas, do not troubleshoot the vent first. Turn off the dryer, leave the area, and call your gas utility or a qualified professional.
Tools and Supplies
- Vacuum with hose attachment
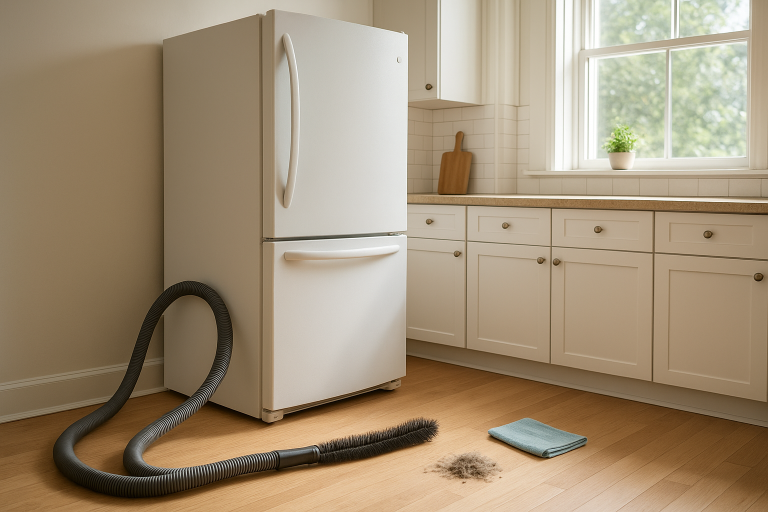
- Dryer vent cleaning brush or flexible dryer duct brush kit
- Screwdriver or nut driver, depending on your clamp
- Work gloves
- Flashlight
- Microfiber cloth or small broom
- Foil HVAC tape, if you need to reseal a rigid duct connection
Avoid using duct tape on dryer ducts. The heat and lint can cause the adhesive to fail. Foil HVAC tape is the better choice for sealing metal duct joints.
Step 1: Unplug the Dryer
Start by turning the dryer off and unplugging it from the wall. If you have a gas dryer, turn off the gas valve before moving the machine. Pull the dryer away from the wall slowly so you do not kink the vent hose, stretch the gas line, or scratch the floor.
If your dryer is stacked, tucked into a tight closet, or connected to a long hidden duct run, do not force it. It may be safer to clean what you can reach and schedule a professional cleaning for the rest.
Step 2: Clean the Lint Screen and Lint Trap Area
Remove the lint screen and pull off the lint by hand. If the screen feels waxy or looks coated, wash it with warm water and a drop of dish soap. Fabric softener residue can leave a film that slows airflow through the screen. Let it dry completely before putting it back.
Next, use a narrow vacuum attachment or lint trap brush to clean inside the slot where the screen sits. This area can hide a surprising amount of lint. Work gently so you do not damage the screen housing.
Step 3: Disconnect the Vent Hose
Behind the dryer, loosen the clamp that holds the vent hose to the dryer outlet. Slide the hose off carefully. If the hose is crushed, torn, full of holes, or made from flimsy plastic, replace it. A rigid or semi-rigid metal duct is usually a better choice than plastic or thin foil because it holds its shape and traps less lint.
Vacuum the dryer outlet first. Then vacuum inside the disconnected hose as far as your hose attachment will reach.
Step 4: Brush Out the Duct
Insert the dryer vent brush into the duct opening and rotate it as you push it forward. Pull it back slowly, removing lint as it comes out. Repeat until you are no longer pulling out clumps.
If you are using a flexible brush kit with rods, follow the tool instructions carefully. Keep the drill speed low if the kit is drill-powered, and do not reverse direction unless the manufacturer says it is safe. Reversing some rod kits can unscrew the sections inside the duct.
For best airflow, the duct should be as short and straight as possible. Long runs with several bends collect lint faster and may need more frequent cleaning.
Step 5: Clean the Outside Vent
Go outside and find the dryer exhaust vent. Remove lint from the cover and make sure the flap or louvers move freely. Use the brush and vacuum to clear what you can reach from the outside.
Do not install a screen over a dryer vent. A screen may seem like a good way to keep pests out, but it can trap lint quickly and block the exhaust. A proper dryer vent cover should allow lint and moist air to exit while keeping animals out.
Step 6: Reconnect and Test
Reconnect the hose to the dryer outlet and tighten the clamp. Push the dryer back into place carefully, checking that the hose does not get crushed behind the machine. A smashed hose can undo all your cleaning work by restricting airflow again.
Plug the dryer back in. For a gas dryer, turn the gas valve back on and check that everything is positioned correctly. Run the dryer on an air-only or low-heat cycle for a few minutes. Then go outside and confirm that air is blowing strongly from the exterior vent.
How Often Should You Clean a Dryer Vent?
For most homes, clean the dryer vent once a year. Clean it more often if you do several loads a day, have pets, wash a lot of towels or fleece, or have a long vent run from an interior laundry room to the outside wall or roof.
Make these quick habits part of your laundry routine:
- Clean the lint screen after every load.
- Check the outside vent every few months for lint, nests, leaves, or a stuck flap.
- Vacuum behind the dryer a few times a year.
- Wash the lint screen when it feels sticky or coated.
- Pay attention when loads suddenly take longer to dry.
When to Call a Professional
Some dryer vents are easy to clean. Others are not. Call a professional if your vent exits through the roof, runs a long distance through walls or ceilings, has multiple sharp turns, or still has weak airflow after you clean the accessible sections.
You should also get help if you see damaged ductwork, suspect a bird or rodent nest, smell burning, or have a gas dryer that cannot be moved safely. A professional can inspect the full run and check for problems that are hard to see from either end.
A Simple Chore That Pays Off
Cleaning a dryer vent is not glamorous, but it is one of the most useful chores in the laundry room. A clear vent helps moist air leave the dryer, which can shorten drying time, reduce strain on the appliance, and keep lint from building up where it does not belong.
If it has been more than a year, put this job on your weekend list. Clean the lint screen, clear the hose and duct, check the outside vent, and your dryer should be able to breathe again.