How to Clean a Dryer Vent Before Winter
If your towels are taking forever to dry or the laundry room feels hotter than usual, your dryer vent may be overdue for a cleaning. Fall is a smart time to handle it, before bulky sweatshirts, flannel sheets, and winter bedding start putting your dryer to work.
Cleaning the dryer vent is not glamorous, but it is one of the most useful home maintenance jobs you can do in under an hour. It can help your dryer run more efficiently, cut down on lint buildup, and reduce a real fire risk: the U.S. Fire Administration lists failure to clean as the leading factor in home clothes dryer fires from 2018 to 2020. ([usfa.fema.gov](https://www.usfa.fema.gov/prevention/home-fires/prevent-fires/appliance-and-electrical/?utm_source=openai))
How Often Should You Clean a Dryer Vent?
For most homes, plan to clean the full dryer vent at least once a year. If you do laundry daily, have pets, dry lots of towels or blankets, or have a long vent run to an outside wall or roof, check it every six months.
That is separate from the lint screen, which should be cleaned before or after every load. The U.S. Fire Administration also recommends vacuuming the lint screen slot periodically and checking that the outside vent is not blocked. ([govinfo.gov](https://www.govinfo.gov/content/pkg/GOVPUB-E-PURL-gpo159656/pdf/GOVPUB-E-PURL-gpo159656.pdf?utm_source=openai))
Signs Your Dryer Vent Needs Cleaning
You do not have to wait for a calendar reminder. Your dryer will usually give you clues that airflow is restricted.
- Clothes take longer than usual to dry. If a normal load suddenly needs a second cycle, check the vent.
- The dryer or laundry room feels unusually hot. Heat should be moving outdoors, not building up indoors.
- Clothes feel hot but still damp. That often means moisture is not exhausting properly.
- You notice a musty or slightly burnt smell. Stop the dryer and inspect it before running another load.
- Lint gathers behind the dryer or outside near the vent cover. This can mean lint is escaping or backing up.
- The exterior vent flap barely opens while the dryer runs. Weak airflow is a strong sign of a clog.
Tools and Supplies
You do not need a professional kit for every dryer, but the right tools make the job easier and safer.
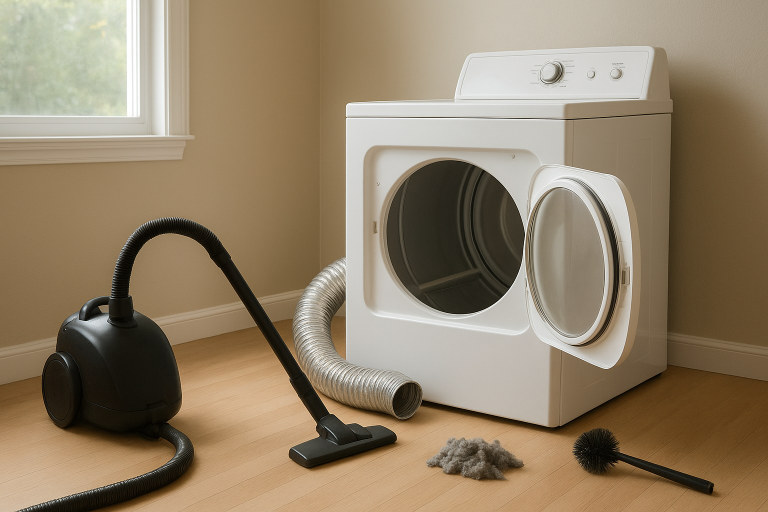
- Vacuum with hose attachment
- Dryer vent cleaning brush kit or long flexible lint brush
- Screwdriver or nut driver, depending on your vent clamp
- Work gloves
- Microfiber cloth
- Flashlight
- Foil HVAC tape, if you need to reseal a metal duct joint
Avoid using regular duct tape on a dryer vent. Heat and lint can cause it to loosen over time. If you need to seal a joint, use foil tape rated for HVAC ductwork.
Before You Start: A Few Safety Checks
First, unplug the dryer. If you have a gas dryer, turn off the gas valve before moving the appliance, and be careful not to strain the gas line. If you smell gas at any point, stop, leave the area, and call your gas utility or a qualified professional.
Next, look at the duct material. Rigid or semi-rigid metal venting is best because it holds its shape and resists crushing. The U.S. Fire Administration notes that manufacturers recommend rigid venting material rather than plastic vents, which can collapse and create blockages. ([govinfo.gov](https://www.govinfo.gov/content/pkg/GOVPUB-E-PURL-gpo159656/pdf/GOVPUB-E-PURL-gpo159656.pdf?utm_source=openai))
Step-by-Step: How to Clean a Dryer Vent
1. Clean the lint screen and lint trap slot
Remove the lint screen and peel off the lint by hand. Then use your vacuum hose or a long lint brush to clean down inside the lint trap slot. This narrow area catches more lint than most people realize.
If your lint screen looks filmy, wash it with warm water and a drop of dish soap, then let it dry completely before putting it back. Fabric softener residue can sometimes clog the mesh and reduce airflow.
2. Pull the dryer away from the wall
Move the dryer slowly so you do not kink the vent or damage the floor. You only need enough room to reach the back. If the dryer is stacked, wedged into a tight closet, or connected to a gas line you are not comfortable handling, call a pro instead of forcing it.
3. Disconnect the vent duct
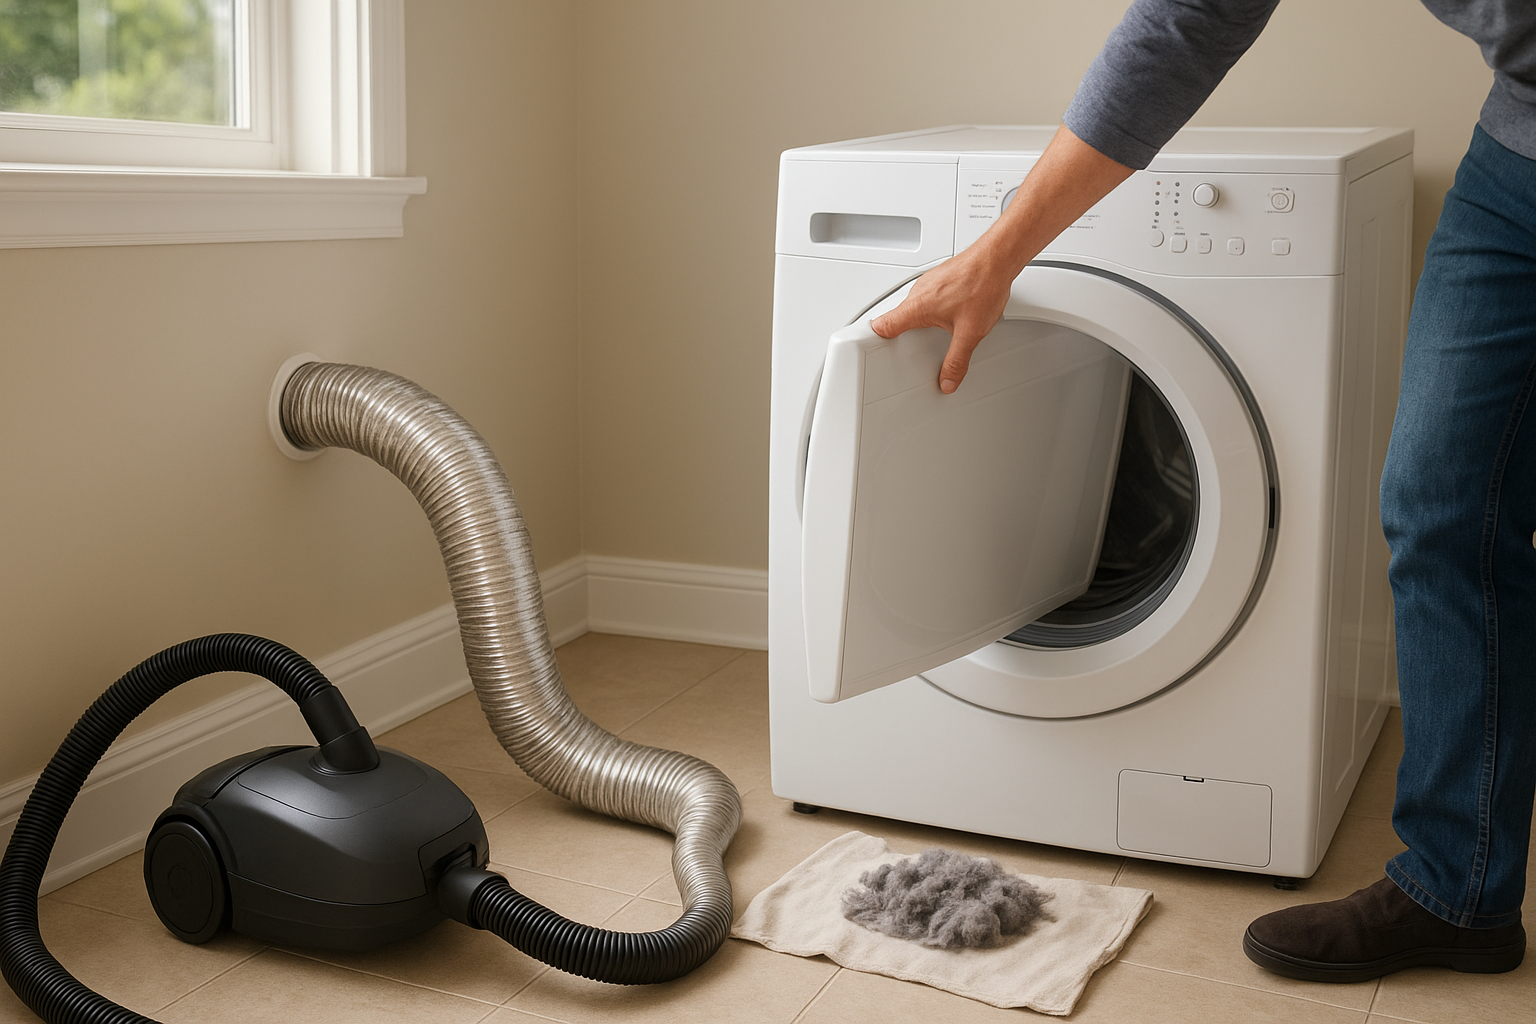
Loosen the clamp where the duct connects to the dryer. Slide the duct off gently. You may see a ring of lint right away, especially if the duct has bends or low spots.
Vacuum the dryer outlet on the back of the machine. Do not shove tools deep into the dryer body unless your owner’s manual says it is safe.
4. Brush and vacuum the duct
Feed the dryer vent brush into the duct, turning it as you go. Pull it back out and remove the lint. Repeat until the brush comes out mostly clean. Use the vacuum hose to collect loose lint from both ends.
If you are using a drill-powered brush kit, go slowly and follow the kit directions. Keep the brush rotating in the recommended direction so the rods do not unscrew inside the vent.
5. Clean the exterior vent cover
Go outside and find the vent exit. Remove lint from the flap or louvers, and make sure they move freely. Trim away leaves, vines, or snow-prone debris around the opening.
Do not install a screen over the dryer vent opening. Screens can trap lint and clog quickly. A proper vent cover should keep pests out while still allowing lint and moist air to escape.
6. Reconnect the duct carefully
Slide the duct back onto the dryer outlet and tighten the clamp. Keep the duct as short and straight as practical. Crushed, sagging, or sharply bent ducting makes the dryer work harder and can trap lint.
If your old duct is torn, plastic, or foil-like and easily crushed, consider replacing it with rigid or semi-rigid metal ducting. This is a small upgrade that can improve airflow and safety.
7. Test the airflow
Plug the dryer back in. For a gas dryer, turn the gas valve back on and check that everything is secure. Run the dryer on an air-only or low-heat setting for a few minutes, then go outside and check the vent.
The flap should open, and you should feel steady airflow. If airflow is still weak after cleaning, the clog may be deep in the wall, in a roof vent, or in a long duct run. That is a good time to call a dryer vent cleaning professional.
When to Call a Professional
DIY cleaning works well for short, accessible vents. Call a professional if your vent exits through the roof, runs a long distance through walls or ceilings, has several turns, or still dries poorly after cleaning.
You should also get help if you see damaged ductwork, suspect a bird nest or pest problem, cannot safely move the dryer, or have a gas dryer connection you are unsure about. The cost of a service call is worth it when the alternative is a hidden clog you cannot reach.
Simple Habits That Keep the Vent Cleaner
- Clean the lint screen every load. This is the easiest prevention step.
- Do not overload the dryer. Packed loads shed lint and dry unevenly.
- Shake out pet bedding outdoors first. Hair and fuzz can clog the lint screen fast.
- Use dryer sheets lightly. Too much residue can coat the lint screen.
- Check the outside vent after storms. Leaves, nests, and snow can block airflow.
The Bottom Line
If you only tackle one laundry room chore before winter, make it the dryer vent. A clean vent helps clothes dry faster, keeps heat and moisture moving outside, and lowers the chance of lint-related trouble.
Put it on your fall home maintenance list, right alongside changing HVAC filters and checking weatherstripping. Once it is done, your dryer should run better through the heavy laundry season ahead.