How to Weatherstrip an Exterior Door for Winter
A drafty exterior door can make a whole room feel cold, even when the heat is running. The good news is that learning how to weatherstrip an exterior door is a very manageable weekend project, and most doors can be improved with basic supplies from the hardware store.
Weatherstripping seals the moving parts of a door, while caulk is used for fixed gaps around trim and frames. The U.S. Department of Energy describes caulking and weatherstripping as simple air-sealing tasks that can offer quick returns, often paying for themselves in about a year. ([energy.gov](https://www.energy.gov/cmei/buildings/articles/energy-efficient-home-improvement-credit-insulation-and-air-sealing?utm_source=openai))
Best Door Weatherstripping Setup for Most Homes
For a typical hinged exterior door, you are usually dealing with two problem areas: the top and sides of the door, and the gap at the bottom. The most practical fix is a combination of compression weatherstripping around the jamb and a door sweep along the bottom edge.
The Department of Energy’s air-sealing guidance lists weatherstripping for doors and door sweeps among common materials used to reduce air leaks. It also notes that caulk is better for stationary cracks, such as gaps between a door frame and the house. ([energy.gov](https://www.energy.gov/sites/prod/files/guide_to_air_sealing.pdf?utm_source=openai))
What You’ll Need
- Tape measure
- Utility knife or sharp scissors
- Screwdriver or drill
- Cleaning cloth and mild soap
- Adhesive-backed foam, rubber, vinyl, or silicone weatherstripping
- Door sweep sized to your door width
- Exterior-grade caulk, if you find fixed gaps around the trim
- Paper, dollar bill, or flashlight for checking leaks
Most exterior doors are 32 to 36 inches wide and about 80 inches tall, but measure yours before shopping. Buy a little extra weatherstripping so you can cut cleanly without stretching it.
Step 1: Find the Drafts First
Before you peel anything or remove screws, close the door and inspect it on a bright day. Look for visible light around the top, sides, and bottom. If you can see daylight, air can move through that gap.
You can also use a simple paper test. Close the door on a strip of paper or a dollar bill at several points around the jamb. If it slides out with no resistance, that section needs a tighter seal. On a windy day, slowly move your hand around the edge of the door and feel for cold air.
Step 2: Decide What Needs Replacing
If your door already has weatherstripping, inspect it closely. Replace it if it is flattened, cracked, loose, sticky, torn, or missing in sections. Weatherstripping works by compressing slightly when the door closes. Once it no longer springs back, it cannot seal properly.
Check the bottom seal too. A worn sweep often causes the strongest draft because cold air pours in at floor level. Recent home weatherization advice from the Associated Press notes that door sweeps are commonly used to cover the gap at the bottom of a door, while felt or rubber weatherstripping is commonly used around the top and sides. ([apnews.com](https://apnews.com/article/a68a8daff99a4ad46b4229f474186e0b?utm_source=openai))
Step 3: Clean and Dry the Door Jamb
Adhesive weatherstripping will not stay put on dust, old adhesive, grease, or peeling paint. Open the door and wipe the stop molding along the top and latch side, then the hinge side if that is where your strip will sit. Use mild soap and water, then dry the area completely.
If old adhesive remains, gently scrape it away with a plastic scraper. Avoid gouging the wood or metal surface. A smooth, dry surface gives the new strip the best chance of lasting through daily use.
Step 4: Install Weatherstripping on the Top and Sides
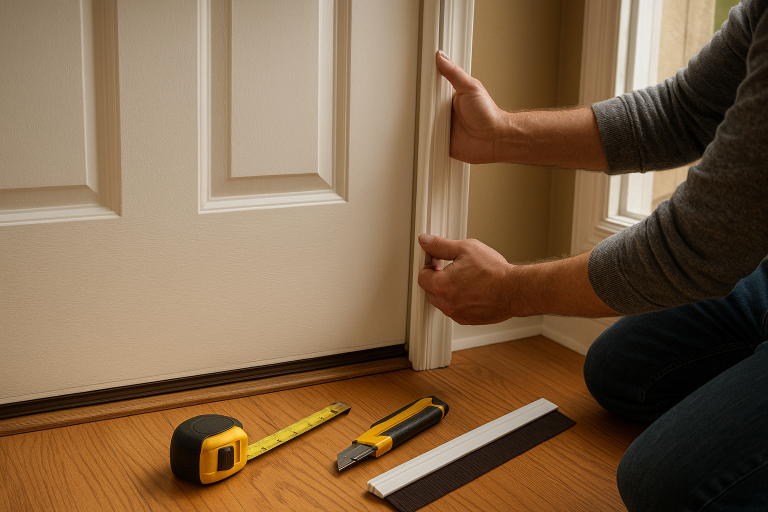
Start at the top of the door frame. Measure the inside width where the door meets the stop, then cut your weatherstripping to length. Press it into place without stretching it. Stretching seems harmless, but it can cause the strip to shrink back later and leave gaps at the corners.
Next, measure each side from the top strip down to the threshold. Cut each side piece slightly long, test the fit, then trim as needed. The corners should meet neatly, but they do not need to overlap in a bulky lump.
Close the door slowly after each section. The door should latch without slamming. If it will not close, the weatherstripping may be too thick or placed too far toward the door. The right fit creates light compression, not a hard shove.
Step 5: Add or Replace the Door Sweep
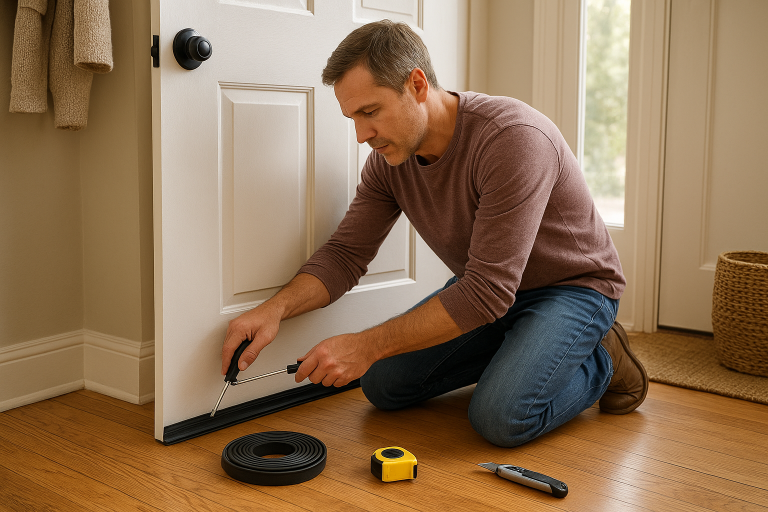
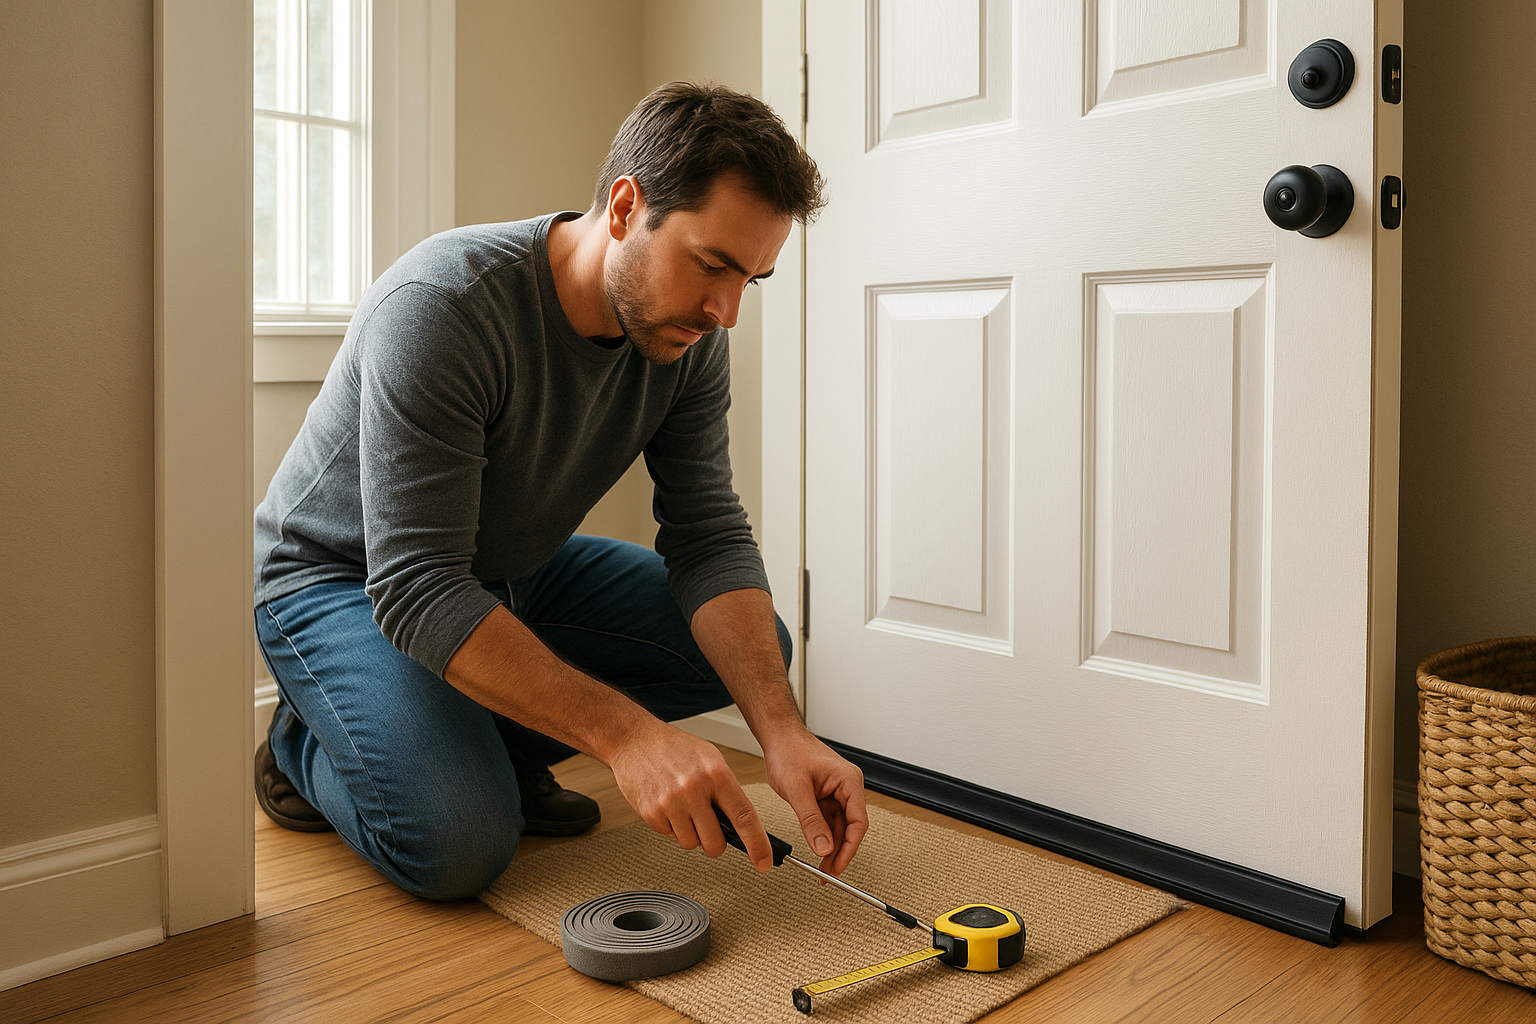
Most door sweeps attach to the interior face of the door with screws. With the door closed, hold the sweep against the bottom of the door so the flexible fin or brush just touches the threshold. It should block light without dragging heavily.
- Measure the width of the door.
- Cut the sweep to length if needed, following the product directions.
- Hold it level against the door bottom.
- Mark the screw holes with a pencil.
- Drill small pilot holes if the door is wood or metal and the screws need help starting.
- Screw the sweep in place, but do not overtighten.
- Open and close the door several times to check for rubbing.
If the sweep catches hard on the threshold, raise it slightly. If you can still see light underneath, lower it a bit. Small adjustments make a big difference.
Step 6: Seal Fixed Gaps Around the Door Frame
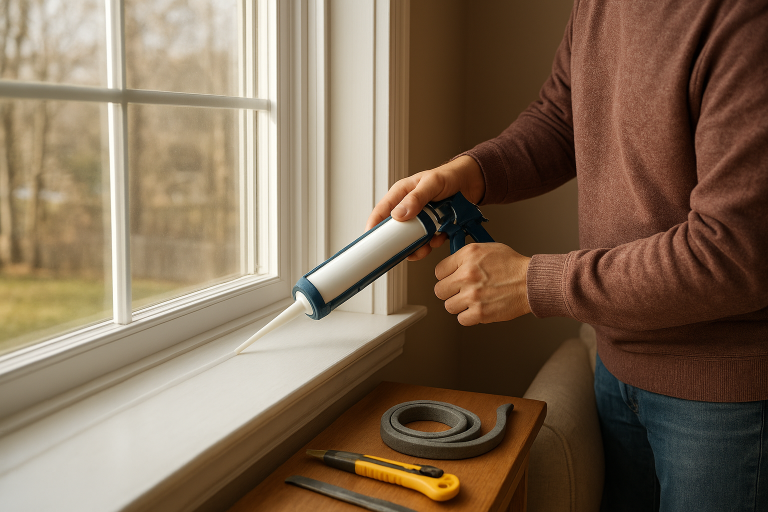
Weatherstripping fixes the movable seal between the door and frame. It does not fix cracks between the trim and siding, gaps at the threshold, or openings around the rough frame. For those, use exterior-grade caulk or backer rod plus caulk if the gap is wide.
The Department of Energy recommends caulk for stationary cracks around door and window frames, while weatherstripping is used where parts move. For gaps around window and door framing, foam backer rod plus caulk or low-expansion spray foam may be appropriate when trim can be removed and replaced without damage. ([energy.gov](https://www.energy.gov/cmei/buildings/articles/energy-efficient-home-improvement-credit-insulation-and-air-sealing?utm_source=openai))
Do not caulk the door shut, and do not block weep holes or drainage paths at thresholds. If you see rot, soft wood, active water leaks, or a loose threshold, repair those problems before sealing.
Step 7: Check Your Work
After installation, repeat the daylight and paper tests. You should feel light resistance when you pull paper from the closed door. At night, have someone stand outside with a flashlight while you look from inside. Any bright line of light usually means the seal needs a small adjustment.
Also listen to the door. If it whistles on windy days, there is still a narrow gap. If the door suddenly needs to be slammed, the weatherstripping is too thick or poorly positioned.
Common Mistakes to Avoid
- Using foam that is too thick: It may stop the door from latching and will compress unevenly.
- Stretching adhesive strips: They can pull back from the corners later.
- Skipping the cleaning step: Dirt and old adhesive shorten the life of the seal.
- Ignoring the bottom gap: A new jamb seal will not help much if cold air is coming under the door.
- Caulking moving parts: Caulk belongs on fixed gaps, not where the door opens and closes.
When to Call a Pro
Weatherstripping is a good DIY job, but some door problems need more than a new seal. Call a carpenter or door installer if the door is badly warped, the frame is out of square, the threshold is rotted, or the door will not latch even after hinge and strike plate adjustments.
You may also want a professional energy audit if several rooms feel drafty. The Department of Energy notes that professional assessments can use tools such as a blower door or infrared camera to locate air leaks throughout the home, not just at doors. ([energy.gov](https://www.energy.gov/energysaver/why-energy-efficiency-matters?utm_source=openai))
The Bottom Line
To weatherstrip an exterior door well, focus on fit: a snug seal around the top and sides, plus a properly adjusted sweep at the bottom. Take your time measuring, clean before sticking anything down, and test the door as you go. In an hour or two, you can make your entryway feel noticeably less drafty before cold weather settles in.