How to Weatherstrip a Drafty Door Before Winter
A drafty exterior door can make a whole room feel chilly, even when the heat is running. The good news: most door drafts are caused by worn weatherstripping, a loose threshold, or a gap at the bottom of the door, and those are usually fixable with basic tools in an afternoon.
This guide walks you through how to weatherstrip a drafty door without overcomplicating it. You will check where air is leaking, choose the right material, seal the sides and top, then finish with a door sweep at the bottom.
Why This Small Project Is Worth Doing
Caulking and weatherstripping are two of the simplest air-sealing jobs for homeowners, and the U.S. Department of Energy notes they often pay for themselves in a year or less when installed correctly. Caulk is best for stationary gaps around trim and framing, while weatherstripping is meant for moving parts like doors and operable windows. ([energy.gov](https://www.energy.gov/cmei/buildings/articles/energy-efficient-home-improvement-credit-insulation-and-air-sealing?utm_source=openai))
ENERGY STAR also points to doors, windows, and baseboards as common places where air leaks make a home feel drafty, especially during cold weather. Sealing those leaks can improve comfort before you get into bigger insulation projects. ([nepis.epa.gov](https://nepis.epa.gov/Exe/ZyPURL.cgi?Dockey=P100U06J.TXT&utm_source=openai))
What You’ll Need
- Tape measure
- Flashlight
- Rag and mild cleaner
- Putty knife or small pry bar, if removing old strips
- Scissors or utility knife
- Weatherstripping for the top and sides of the door
- Door sweep for the bottom edge
- Screwdriver or drill, depending on the sweep
- Exterior-grade caulk, if there are gaps around the door trim
For most modern exterior doors, a compression-style foam, vinyl, or rubber weatherstrip works well because it presses gently against the closed door. For older wood doors, a nailed-on vinyl-clad foam strip or spring bronze may be a better fit, especially if the frame is uneven. This Old House recommends vinyl-clad foam on wood molding as a practical option for door jambs because it fastens to the doorstops and can be painted or stained to blend in. ([thisoldhouse.com](https://www.thisoldhouse.com/doors/how-to-weatherstrip-an-exterior-door?utm_source=openai))
Step 1: Find the Draft Before You Buy Anything
Do not start by guessing. Close and latch the door, then inspect it from the inside on a bright day. If you see daylight around the sides, top, or bottom, air can get through there too.
Next, run your hand slowly around the frame. Pay special attention to the latch side, the hinge side near the corners, and the threshold. If the weather is windy, drafts are easier to feel. The Department of Energy suggests using smoke to find leaks: if the smoke stream moves horizontally, you have found a leak that may need sealing, caulking, or weatherstripping. ([energy.gov](https://www.energy.gov/sites/prod/files/2013/06/f2/energy_savers.pdf?utm_source=openai))
Step 2: Check the Door Fit
Before adding new material, make sure the door actually closes properly. A loose hinge, sagging door, or misaligned latch can create a gap that weatherstripping alone will not fix.
- Tighten hinge screws. If the door sags toward the latch side, tighten the hinge screws. Replace stripped screws with longer screws that bite into the framing.
- Check the latch. The door should close firmly without needing to slam. If it rattles when closed, adjust the strike plate slightly so the door pulls into the seal.
- Look at the threshold. Some thresholds have adjustment screws. Turning them can raise or lower the threshold so it meets the door sweep more evenly.
If the door is badly warped or the frame is out of square, you can still improve the draft, but you may need a more forgiving weatherstrip rather than thin adhesive foam.
Step 3: Remove Old Weatherstripping
Open the door and pull off the old weatherstripping. Some types slide out of a kerf, which is the narrow groove in the jamb. Others are nailed, stapled, screwed, or stuck on with adhesive.
Scrape away loose adhesive and wipe the surface clean. Adhesive-backed products need a clean, dry surface or they will peel off too soon. If you are using nailed or screwed weatherstripping, cleaning still helps the new seal sit flat.
Step 4: Measure the Top and Sides
Measure the top of the door frame first, then the two sides. Write the measurements down instead of trusting memory. Cut each piece slightly long, test fit it, then trim as needed. Corners should meet neatly without bunching.
If you are installing kerf-in weatherstripping, press the barbed edge into the groove with your fingers or a blunt putty knife. Do not stretch it as you install it; stretched weatherstripping can shrink back later and leave a gap.
If you are installing adhesive-backed strips, peel just a few inches of backing at a time. Press the strip firmly into place along the doorstop where the closed door will compress it. The goal is a snug seal, not a thick cushion that keeps the door from latching.
Step 5: Test the Seal With Paper
Close the door on a sheet of paper or a dollar bill. Pull gently. You should feel light resistance. If the paper slides out with no drag, that section is not sealing. If you have to yank hard or the door will not latch, the weatherstripping is too thick or placed too far forward.
Repeat this test along the top and both sides. It takes a few minutes, but it prevents one of the most common mistakes: sealing one side beautifully while leaving a leaky corner untouched.
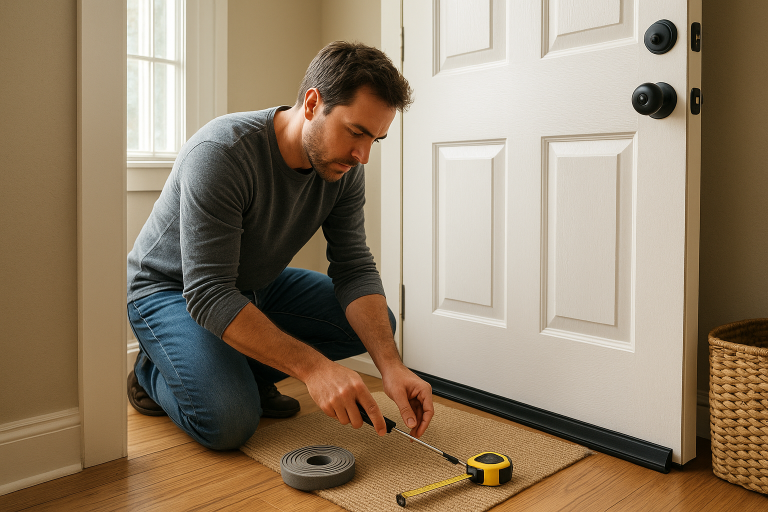
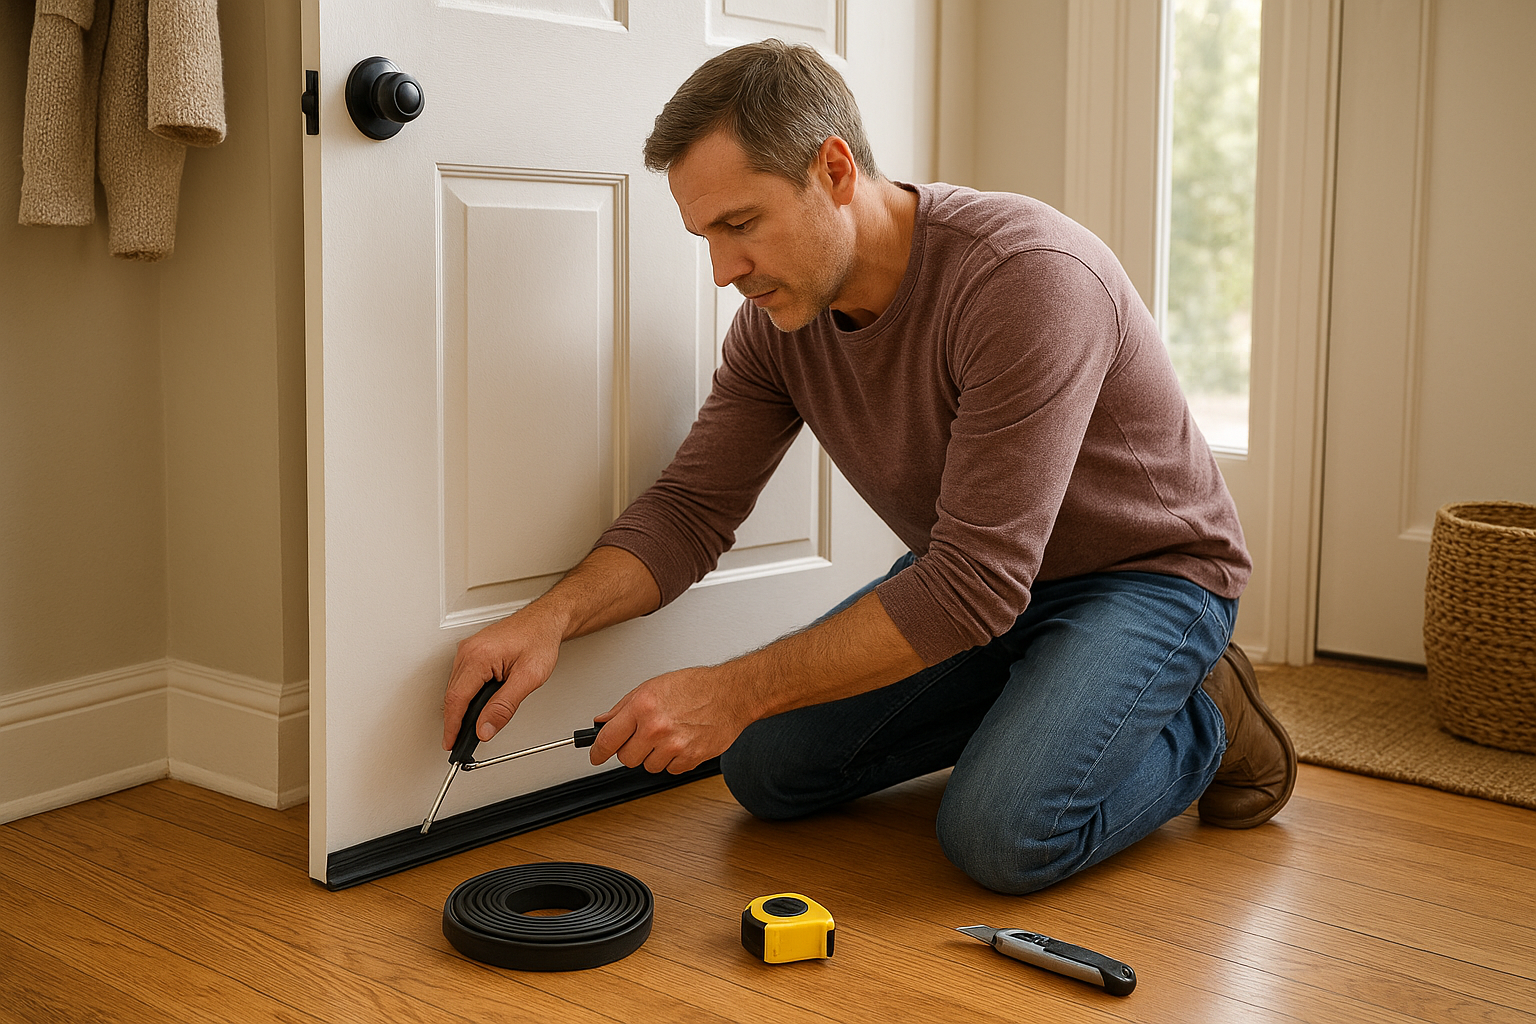
Step 6: Add a Door Sweep at the Bottom
The bottom of the door often leaks the most because the gap has to clear the threshold. A door sweep closes that gap with a flexible vinyl, rubber, silicone, or brush edge. The Associated Press notes that door sweeps are commonly used to cover the gap at the bottom of a door and are often an inexpensive fix for drafts. ([apnews.com](https://apnews.com/article/a68a8daff99a4ad46b4229f474186e0b?utm_source=openai))
Choose a sweep that matches your door. Screw-on sweeps are sturdier than stick-on versions and are usually the better choice for exterior doors that get daily use.
- Close the door and measure its width.
- Cut the sweep to fit, if needed.
- Hold it against the inside bottom edge of the door.
- Position it so the flexible fin just touches the threshold.
- Mark the screw holes.
- Drill small pilot holes if needed.
- Screw the sweep in place, starting in the center.
- Open and close the door to make sure it does not drag too hard.
A little contact is good. Heavy scraping is not. If the sweep drags so much that the door is hard to open, raise it slightly.
Step 7: Seal Around the Door Trim If Needed
Weatherstripping seals the moving part of the door. It does not seal cracks between the door casing and the wall. If you feel air coming from the trim around the door, use paintable exterior-grade caulk on small gaps. For larger gaps, backer rod plus caulk may give a cleaner, longer-lasting seal.
The Department of Energy distinguishes caulk from weatherstripping this way: caulk is for cracks and openings between stationary building parts, while weatherstripping is for components that move. That simple rule helps you put the right product in the right place. ([energy.gov](https://www.energy.gov/cmei/buildings/articles/energy-efficient-home-improvement-credit-insulation-and-air-sealing?utm_source=openai))
Common Mistakes to Avoid
- Using foam that is too thick. If the door will not latch, the seal will fail quickly or get ripped off.
- Skipping the hinge check. A sagging door needs adjustment before sealing.
- Leaving dirty adhesive behind. New adhesive strips stick poorly to dust, paint flakes, and old glue.
- Forgetting the bottom corners. Drafts often sneak in where the side weatherstrip meets the threshold.
- Caulking the door shut. Caulk belongs around stationary trim, not where the door needs to open.
When to Call a Pro
Most homeowners can handle basic weatherstripping. Call a pro if the door frame is rotted, the threshold is loose or water-damaged, the door is badly warped, or you see signs of water entering under the sill. Drafts are annoying, but water intrusion can lead to bigger repairs if ignored.
For a typical drafty door, though, this is a satisfying weekend fix: clean the frame, replace the side and top seals, add a properly adjusted sweep, and test your work. The room should feel less chilly, the door should still latch easily, and you will have one less winter annoyance to deal with.