How to Clean Outdoor Cushions Before Storing Them
Outdoor cushions work hard all summer: sunscreen, pollen, bird droppings, wet swimsuits, snack crumbs, and surprise rain all end up in the fabric. Before you tuck them into a deck box, garage shelf, or basement corner, give them a proper cleaning so you are not storing stains, mildew spores, and musty smells until next spring.
The good news is that most patio cushions do not need harsh treatment. A soft brush, mild soap, plenty of rinsing, and patient drying will handle most grime without damaging the fabric or foam.
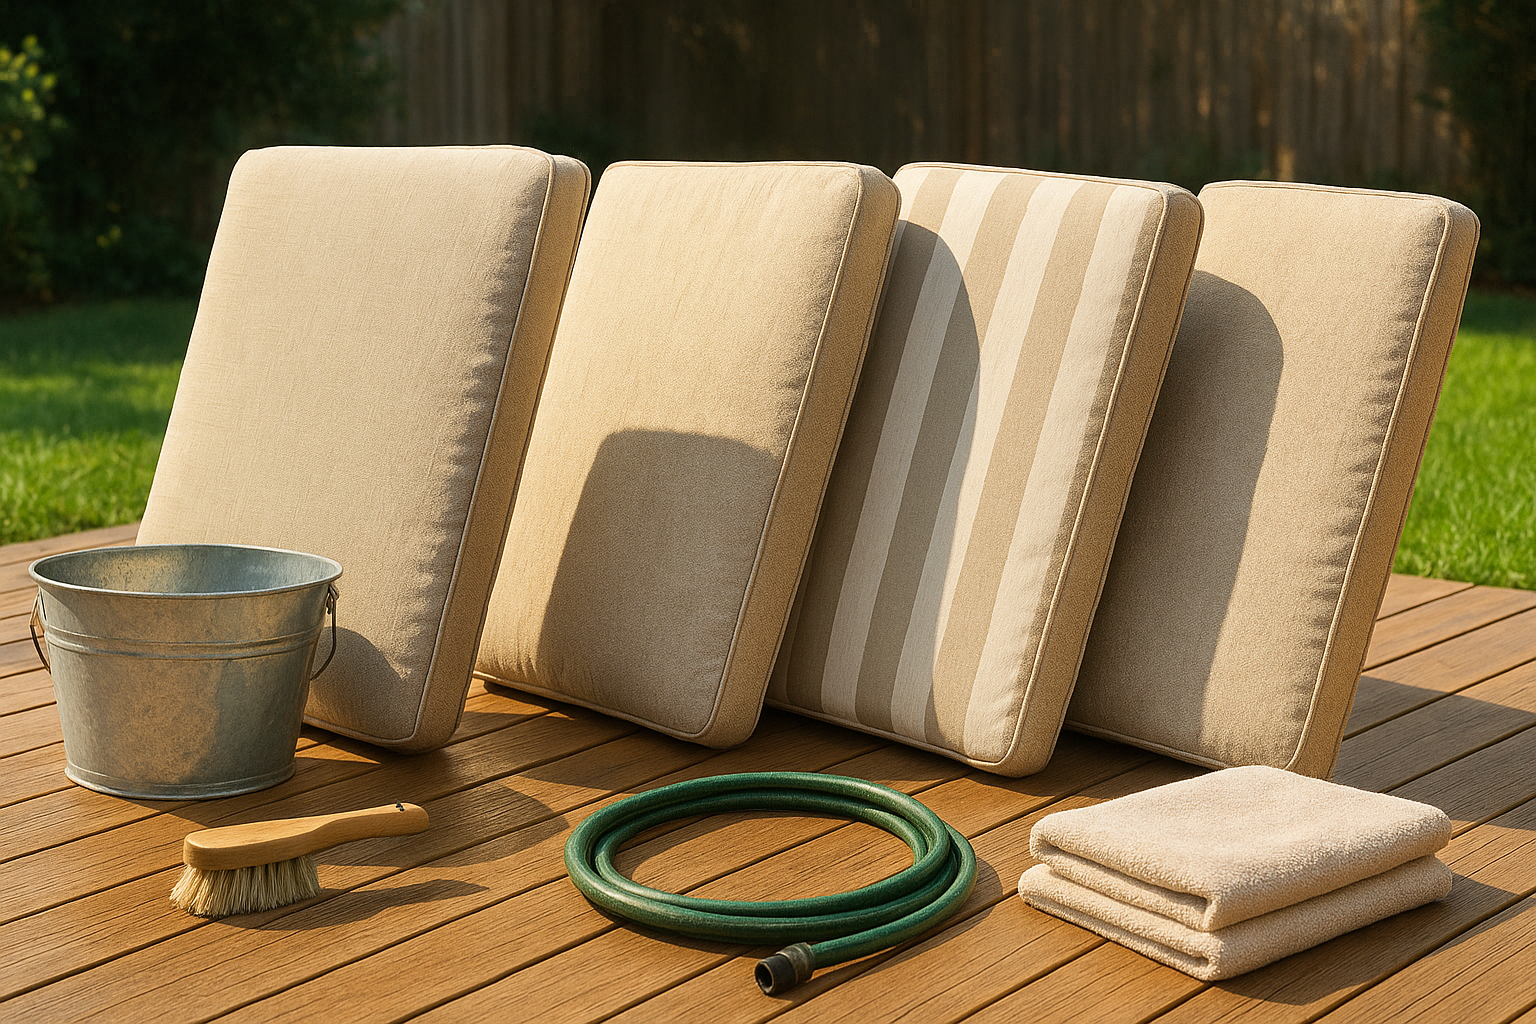
What You’ll Need
- Vacuum with upholstery attachment or a dry soft-bristle brush
- Bucket
- Mild dish soap or gentle laundry detergent
- Warm water
- Soft scrub brush or sponge
- Garden hose
- Clean towels
- White vinegar, optional for odors and light mildew spots
- Protective gloves and eye protection if dealing with visible mold or mildew
Skip the pressure washer. It can drive water deep into the cushion, rough up seams, and damage water-resistant fabric finishes. A regular hose gives you better control.
Step 1: Check the Care Tag First
Before you mix anything, look for the manufacturer’s care label. Some cushion covers unzip and can be machine washed; others should only be cleaned by hand. If the tag says the cover is removable, that does not automatically mean it belongs in the washer. Follow the label for water temperature, detergent, drying, and whether bleach is allowed.
If there is no tag, treat the cushion gently: hand wash with mild soap, rinse well, and air dry. This is the safest general method for mixed outdoor fabrics and cushions with unknown filling.
Step 2: Remove Loose Dirt While the Cushion Is Dry
Dry dirt is easier to remove before water turns it into muddy streaks. Stand the cushions upright and brush off leaves, cobwebs, and loose debris. Then vacuum the seams, piping, zipper area, tufted spots, and corners where crumbs collect.
Do not skip this step if your cushions look only lightly dirty. Pollen and fine dust can settle deep into textured fabric, and removing it first helps your cleaning solution work on stains instead of surface grit.
Step 3: Mix a Gentle Cleaning Solution
For general cleaning, mix about 1 tablespoon of mild dish soap or gentle laundry detergent into 1 gallon of warm water. You want sudsy water, not a thick detergent bath. Too much soap is harder to rinse out and can leave residue that attracts more dirt.
For a cushion that smells musty or has light mildew speckling, you can add 1 cup of white vinegar to the soapy water. Vinegar is useful for odor control and light buildup, but it is not a magic fix for deeply stained or rotted fabric.
If you are dealing with visible mold, protect your skin and eyes while cleaning. The CDC recommends gloves and eye protection for mold cleanup, and the EPA notes that simply killing mold is not enough because dead mold can still bother sensitive people; the growth needs to be physically removed. Never mix bleach with ammonia or other cleaners. ([cdc.gov](https://www.cdc.gov/mold-health/about/clean-up.html?utm_source=openai))
Step 4: Scrub the Fabric, Not the Foam
Dip your brush or sponge into the cleaning solution and scrub the cushion surface in small sections. Use light to medium pressure. Pay extra attention to arm-rest areas, head-rest spots, front edges, and seams where body oils and grime build up.
If the cushion has a removable cover and the insert is clean, take the cover off and wash only the cover by hand or according to the tag. If the cover is not removable, avoid soaking the cushion all the way through. Outdoor foam can hold water for a long time, and storing a damp cushion is one of the fastest ways to create mildew trouble.
For Stubborn Spots
- Food or grease: Dab with a little extra dish soap, wait 10 minutes, then scrub gently.
- Bird droppings: Scrape off dried residue first, then clean with soapy water.
- Tree sap: Use the care label as your guide. Some solvents can damage outdoor fabric coatings, so test any spot treatment in a hidden area first.
- Mildew dots: Scrub with the soap-and-vinegar mix, rinse, and repeat if needed. If black staining remains after the fabric is clean, the stain may be permanent.
Step 5: Rinse More Than You Think You Need To
Rinse each cushion thoroughly with a garden hose until the water runs clear and no suds appear when you press the fabric. Soap left behind can make cushions feel stiff, attract dirt, and leave pale marks on darker fabrics.
Work from top to bottom and rinse seams carefully. If the cushion is thick, tip it on its side and let water run off instead of pooling on the surface.
Step 6: Dry Cushions Completely Before Storage
This is the most important part. A cushion that feels dry on the outside can still be damp inside. Press a clean towel against the cushion to remove extra moisture, then stand the cushion upright in a sunny, breezy spot. Flip it every few hours so all sides get air.
Do not pile damp cushions on a table or stack them in a storage bin. Air needs to move around each piece. Thick cushions may need a full day or longer to dry, especially in humid weather. If evening dew is likely, bring them into a covered area overnight and put them back outside in the sun the next day.
How to Store Outdoor Cushions So They Stay Fresh
Once the cushions are fully dry, store them somewhere clean, dry, and protected from pests. A deck box is convenient, but it should not leak or trap standing water. A garage shelf, basement rack, or indoor closet can also work if the area stays dry.
- Use breathable storage when possible. Fabric storage bags or old cotton sheets help keep dust off while allowing some airflow.
- Avoid sealing in moisture. Do not put cushions in plastic trash bags unless you are absolutely sure they are dry and the storage area does not swing between hot and cold.
- Keep cushions off the floor. Use shelves, pallets, or a clean bench to protect them from damp concrete and pests.
- Do not store them under heavy items. Long-term compression can flatten foam and crease fabric.
- Add a label. If you have several sets, label bags by chair, loveseat, or dining set so spring setup is painless.
When a Cushion Is Not Worth Saving
Cleaning can remove dirt and fresh mildew, but it cannot fix every cushion. Consider replacing a cushion if the foam stays sour-smelling after a full cleaning and drying, if the fabric tears when scrubbed lightly, if there is heavy mold growth throughout the filling, or if the cushion never fully dries because the inner foam has broken down.
If only the cover is stained but the insert is in good shape, replacement covers may be enough. Measure carefully: length, width, thickness, and the shape of corners all matter.
Quick Maintenance During Patio Season
You can make the end-of-season cleaning much easier with a few small habits. Brush crumbs off after meals, stand cushions upright after rain, and let wet cushions dry before covering furniture. If you know several rainy days are coming, move cushions to a covered spot instead of relying on water-resistant fabric alone.
For most households, a light monthly cleaning during heavy-use season and one thorough cleaning before storage is enough. The goal is simple: remove the grime, dry the cushion all the way through, and store it where moisture cannot undo your work.