How to Store a Window AC for Winter
If your window air conditioner worked hard all summer, do not just yank it out of the window and shove it into a closet. A little end-of-season care helps prevent mildew smells, bent fins, missing hardware, and that unpleasant surprise of finding a grimy unit next June.
Here is how to store a window AC for winter in a practical, no-fuss way: clean it, let it dry fully, remove it safely, and keep it upright in a dry spot. ENERGY STAR recommends checking and cleaning air filters regularly because dirty filters can raise energy use and contribute to equipment problems, so this is a smart habit before storage too. ([energystar.gov](https://www.energystar.gov/saveathome/heating-cooling/maintenance-checklist?utm_source=openai))
Before You Start: Pick the Right Day
Choose a dry, mild day if you can. You will have the unit out of the window, possibly on a towel or low work surface, and it needs time to dry before you cover it.
If the AC has been running recently, switch it off and unplug it. Give it several minutes to settle before moving it. Window units are heavier and more awkward than they look, so plan on having a second adult help, especially if the unit is above the first floor or over a walkway.
What You’ll Need
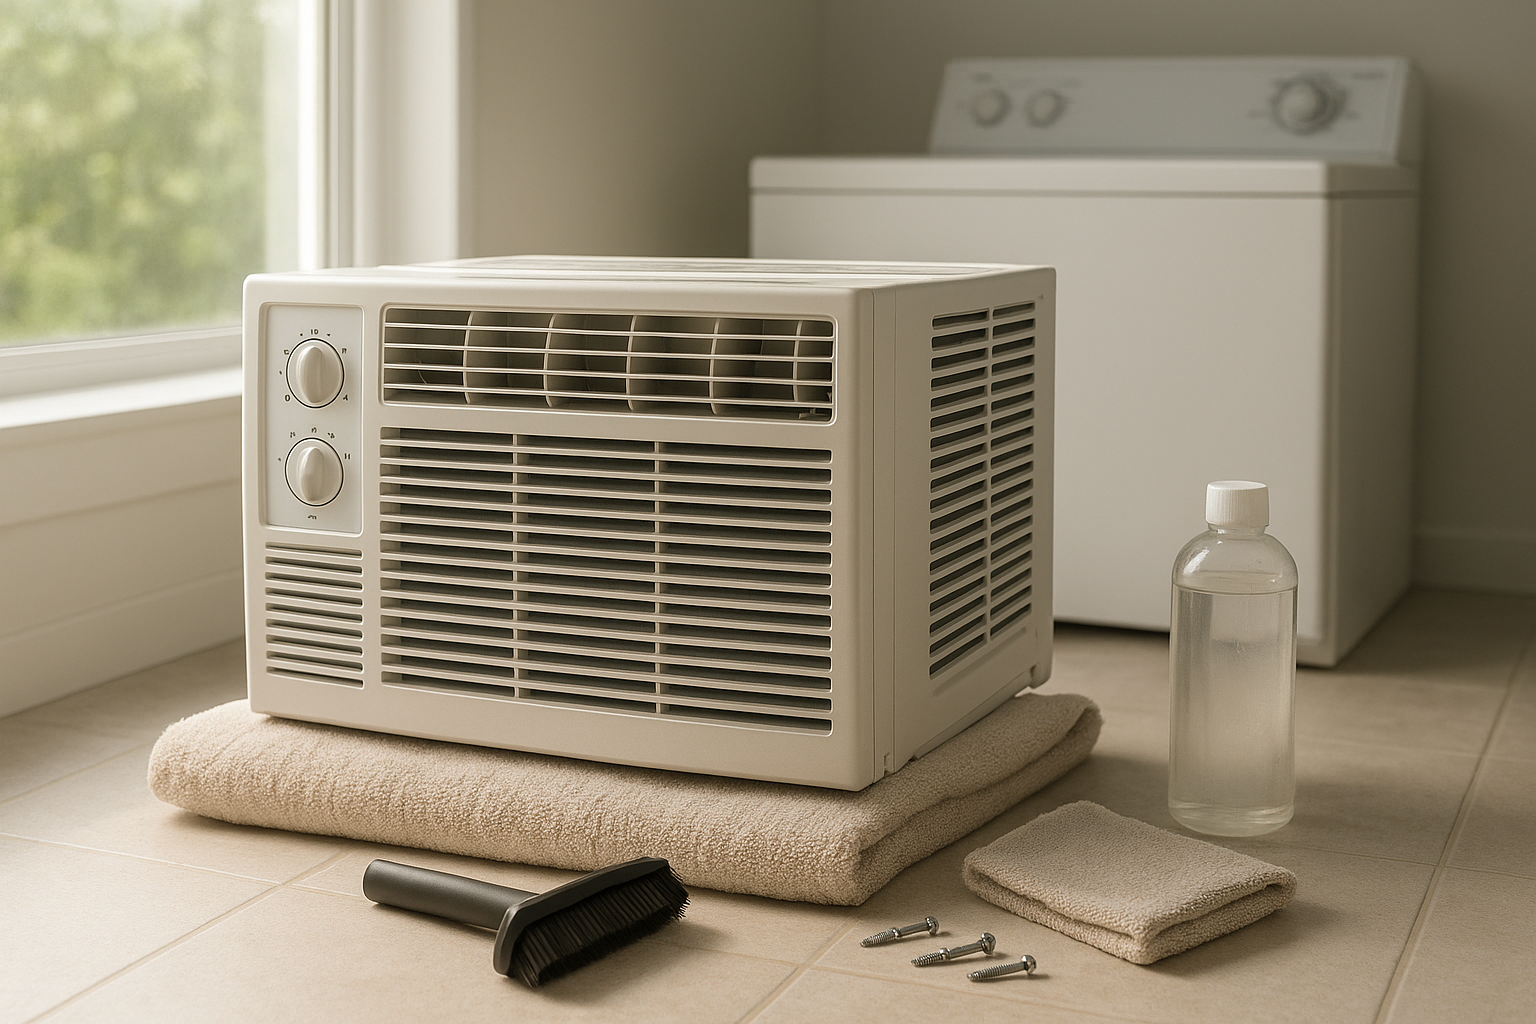
- Work gloves
- Phillips screwdriver or drill driver
- Small container or zip-top bag for screws
- Vacuum with brush attachment
- Soft brush or old paintbrush
- Mild dish soap
- Bucket or sink of warm water
- Microfiber cloths or old towels
- Foam or cardboard to protect the floor
- Painter’s tape and marker for labeling parts
- Original box, breathable cover, or sturdy storage bin
Step 1: Run Fan Mode to Dry the Inside
If your unit has a fan-only setting, run it for 30 to 60 minutes on a dry day before cleaning. This helps move moisture off the coils and interior surfaces. If your model does not have fan mode, simply turn it off and let it sit unplugged for a while before you handle it.
Do not spray water into an installed unit while it is still plugged in. Always unplug first. Several manufacturer care guides warn against cleaning a plugged-in air conditioner and recommend careful removal according to the model’s installation instructions before winter storage. ([owner.frigidaire.com](https://owner.frigidaire.com/support-articles/article/1847760-room-air-conditioners-how-do-i-store-my-room-air-conditioner-for-winter-storage-?utm_source=openai))
Step 2: Clean the Filter
Remove the front grille or filter cover, then slide out the filter. Most washable window AC filters can be vacuumed first, then rinsed in warm water with a little mild dish soap. Rinse well and let the filter air-dry completely before putting it back.
Do not reinstall a damp filter. Trapping moisture inside a covered appliance is one of the easiest ways to create musty odors. Set the filter on a towel and give it several hours, or overnight if needed.
Step 3: Vacuum Dust from the Grille and Coils
Use a vacuum brush attachment to clean the front grille, louvers, and any dusty surfaces you can reach. If you can see the coils behind the front cover, brush gently in the direction of the fins. Do not scrub across the fins or press hard; the thin metal can bend.
If your unit has heavy grime, check the owner’s manual before using any coil cleaner. Some manufacturers recommend cleaning accessible evaporator and condenser coils with a soft brush or appropriate coil cleaner, but the exact access points vary by model. ([support.tcl.com](https://support.tcl.com/en_US/window-air-conditioner-end-of-season-care-and-storage?utm_source=openai))
Step 4: Wipe the Exterior
Wipe the plastic front, top, sides, and control panel with a barely damp cloth and mild soapy water. Follow with a clean damp cloth, then dry with a towel. Avoid harsh solvents such as gasoline, acetone, or abrasive cleaners; some appliance manuals specifically warn against these because they can damage the finish and plastic parts. ([homedepot.com](https://www.homedepot.com/catalog/pdfImages/3a/3a5bd16a-9dd4-448d-80c9-a4bae5368a7f.pdf?utm_source=openai))
Pay attention to the side accordion panels. Dirt and pollen collect in the folds, and those panels often sit against your indoor air all summer. Vacuum first, then wipe carefully.
Step 5: Remove the Unit Safely
Open the window enough to access mounting screws, brackets, and the top rail. Remove screws slowly and place them straight into a labeled bag. If there are side panels, foam strips, or brackets that belong with this unit, label those too.
Have one person support the air conditioner from inside while the other loosens the window sash and any brackets. Tilt the unit only as much as your manual allows. Window AC units can hold condensation in the base pan, so keep an old towel handy in case water drips.
Once it is free, lift the unit straight back into the room. Do not let it drop onto the sill or scrape the window frame. Set it upright on a towel, cardboard, or a low, sturdy surface.
Step 6: Drain and Dry the Base
Some window air conditioners have a drain plug; many do not. Check the manual for your model. If there is standing water in the base pan, drain it as directed. Wipe what you can reach, then leave the unit uncovered in a dry, ventilated place until all visible moisture is gone.
This step matters. Storing a wet AC in a plastic bag or tight bin can encourage mildew. If the unit smells musty now, it will smell worse after months in storage.
Step 7: Store It Upright
Store the air conditioner upright, not on its side or upside down. A Home Depot-hosted window AC manual specifically warns never to store the unit upside down or on its side, and Frigidaire also recommends removing and storing room air conditioners carefully for winter according to the model instructions. ([homedepot.com](https://www.homedepot.com/catalog/pdfImages/3a/3a5bd16a-9dd4-448d-80c9-a4bae5368a7f.pdf?utm_source=openai))
The best storage spot is dry, clean, and out of the way: a basement shelf, utility closet, insulated garage, or spare-room corner. Avoid damp sheds, uncovered patios, and places where the unit could freeze while sitting in moisture. If you must store it in a garage, raise it off the concrete on a board or shelf.
How to Cover a Window AC in Storage
If you kept the original box and foam inserts, use them. If not, cover the unit with a breathable cloth, old sheet, or manufacturer cover. A plastic bin can work if the unit is bone dry and the lid is not trapping moisture, but do not seal up a damp appliance.
Bundle the power cord loosely and secure it with a hook-and-loop strap or twist tie. Do not kink the cord, wrap it tightly around sharp edges, or tuck it where it will be crushed.
If You Cannot Remove the AC
Removing the unit is usually better for insulation, security, and protecting the appliance from harsh weather. GE Appliances notes that, when possible, smaller window units can be uninstalled and stored during the winter months. ENERGY STAR also says a properly sized cover can be used during winter for room air conditioners that remain installed. ([products.geappliances.com](https://products.geappliances.com/appliance/gea-support-search-content?contentId=18606&utm_source=openai))
If your unit has to stay in the window, clean and dry it first, then install a snug exterior cover designed for window ACs. From inside, check for air gaps around the side panels and window sash. Use removable weatherstripping or rope caulk where appropriate, but do not block drainage openings or vents that the manufacturer says must remain clear.
Do Not Forget the Window
Once the unit is out, clean the sill and lower sash. Vacuum dead bugs, dust, and pollen from the track. Wipe the sill dry, then lock the window. If you used foam insulation strips, remove old adhesive bits now so spring installation is easier.
This is also a good time to inspect the sill for soft wood, peeling paint, or water stains. A small leak around a summer AC can become a bigger winter draft if you ignore it.
Quick End-of-Season Checklist
- Unplug the unit before cleaning.
- Wash and fully dry the filter.
- Vacuum the grille, vents, and accessible fins gently.
- Wipe the exterior with mild soap and water.
- Save screws, brackets, foam, and panels in a labeled bag.
- Drain any standing water as your manual directs.
- Let the unit dry completely before covering.
- Store upright in a dry place.
When to Replace Instead of Store
If the AC rattled badly, tripped breakers, smelled burnt, leaked indoors, or struggled to cool even after filter cleaning, make a note before you store it. You do not have to solve the problem today, but you will thank yourself next summer when you know whether to repair, replace, or reinstall with better support.
For a unit that is simply dusty, this end-of-season routine is usually enough. Clean it now, keep the hardware together, and store it upright. Next summer, you will be starting with a cleaner machine, a cleaner window, and one less hot-weather chore.