How to Clean a Dryer Vent Before Winter Laundry Season
If your towels are taking forever to dry or the laundry room feels warmer than usual, your dryer vent may be overdue for a cleaning. Fall is a smart time to handle it, before bulky sweatshirts, blankets, and winter bedding start putting your dryer to work.
Learning how to clean a dryer vent is a practical home chore that can improve drying performance and reduce lint buildup. It matters for safety, too: the National Fire Protection Association says failure to clean is the leading cause of home clothes dryer fires, and ENERGY STAR recommends cleaning the lint filter after every load to improve airflow and efficiency. ([nfpa.org](https://www.nfpa.org/-/media/project/storefront/catalog/files/safety-tip-sheets/dryersafetytips.pdf?rev=8af04b5662ec41ebaed95e6064888f71&utm_source=openai))
How Often Should You Clean a Dryer Vent?
For most homes, a good rule is to clean the full dryer vent duct about once a year. If you have a large family, pets, a long vent run, or you wash lots of towels and fleece, check it more often. The U.S. Department of Energy’s Building America Solution Center notes that annual dryer duct cleaning can help clothes dry faster, save energy, and reduce fire risk. ([basc.pnnl.gov](https://basc.pnnl.gov/diy-guides/clean-dryer-exhaust?utm_source=openai))
You should also clean the lint screen every single load. That little screen catches a lot, but not everything. Fine lint still slips past it and can collect in the lint chute, transition hose, wall duct, and outdoor vent flap.
Signs Your Dryer Vent Needs Cleaning
You do not need to wait for a full year if your dryer is already giving you clues. Watch for these warning signs:
- Clothes take longer than one normal cycle to dry.
- The dryer feels unusually hot on the outside.
- The laundry room feels humid, hot, or dusty while the dryer runs.
- You notice a burning or musty smell during a cycle.
- The outside vent flap barely opens when the dryer is running.
- Lint is collecting around the dryer, hose, or exterior vent.
If you smell burning, stop the dryer and unplug it. Do not keep running more cycles to “finish the load.”
What You’ll Need
- Vacuum with hose attachment
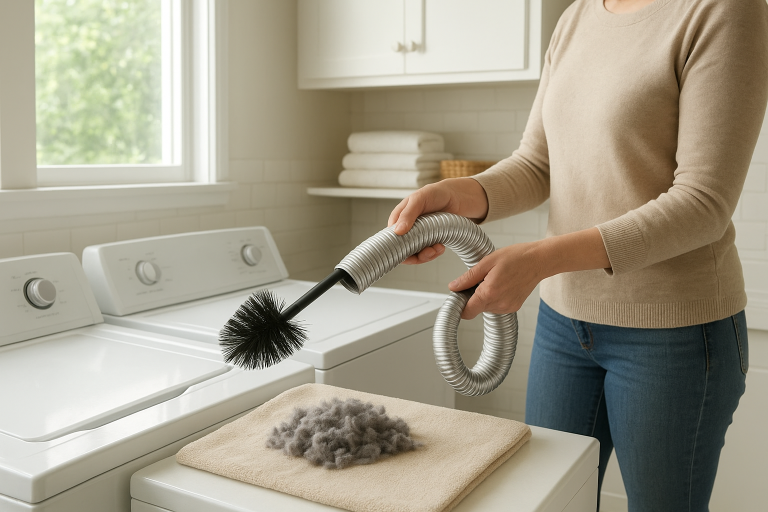
- Dryer vent cleaning brush kit or flexible lint brush
- Screwdriver or nut driver
- Work gloves
- Flashlight
- Microfiber cloth or small broom
- Foil HVAC tape, if the duct connection needs resealing
A dryer vent brush kit is inexpensive and useful if your vent run is more than a couple of feet. Choose one designed for dryer ducts, not a stiff plumbing snake, which can damage thin ductwork.
Before You Start: A Few Safety Checks
First, unplug the dryer. If you have a gas dryer, turn off the gas supply valve before moving the machine, and avoid straining the gas line. If you are not comfortable disconnecting or moving a gas dryer, call a qualified appliance technician.
Also take a look at your duct material. The safest and most efficient setup is generally a short, straight run of smooth metal duct to the outdoors. Building America guidance for proper dryer venting points to smooth, rigid metal duct and direct outdoor exhaust as best practice for performance and safety. ([basc.pnnl.gov](https://basc.pnnl.gov/resource-guides/proper-clothes-dryer-venting?utm_source=openai))
If you find crushed plastic or thin foil-style ducting behind the dryer, consider replacing it with rigid or semi-rigid metal duct. A crushed hose traps lint and restricts airflow.
Step-by-Step: How to Clean a Dryer Vent
1. Clean the lint screen and lint trap area
Remove the lint screen and clear it by hand. If it feels waxy or coated, wash it with warm water and a little dish soap, then let it dry fully before putting it back.
Next, use a long flexible lint brush or vacuum crevice tool to clean inside the lint trap slot. Move slowly so you pull lint out instead of pushing it farther down.
2. Pull the dryer away from the wall
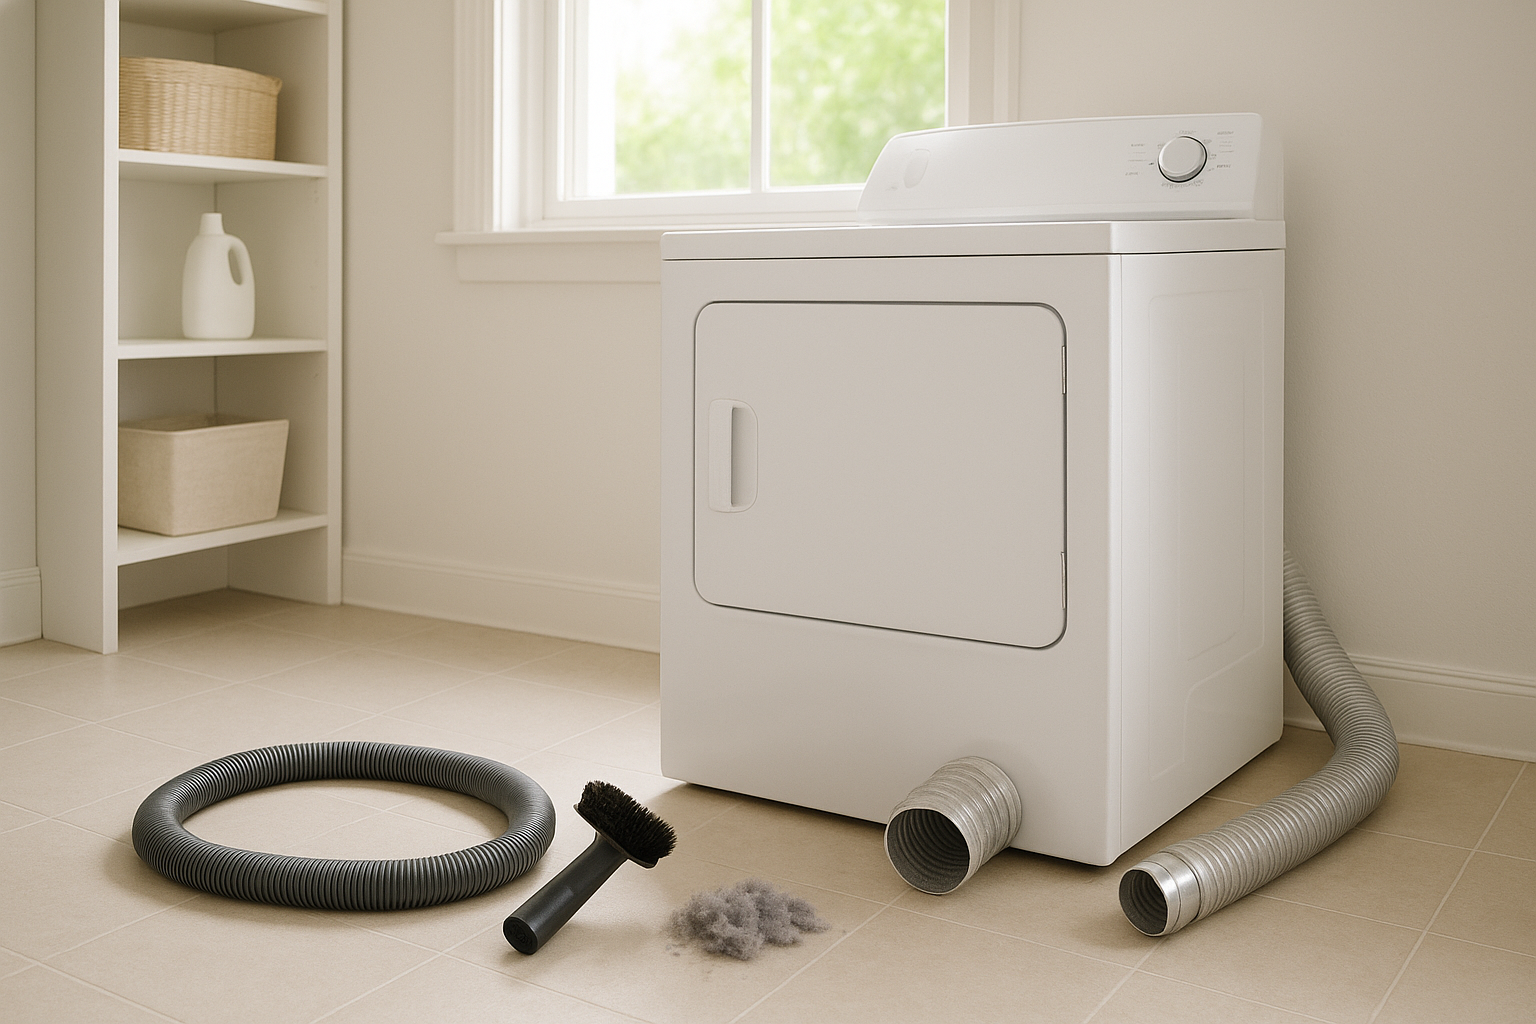
Carefully slide the dryer forward just enough to reach the back. Do not yank it; the vent hose and power cord may be shorter than you expect. For gas dryers, be extra gentle and stop if the gas line feels tight.
3. Disconnect the vent hose
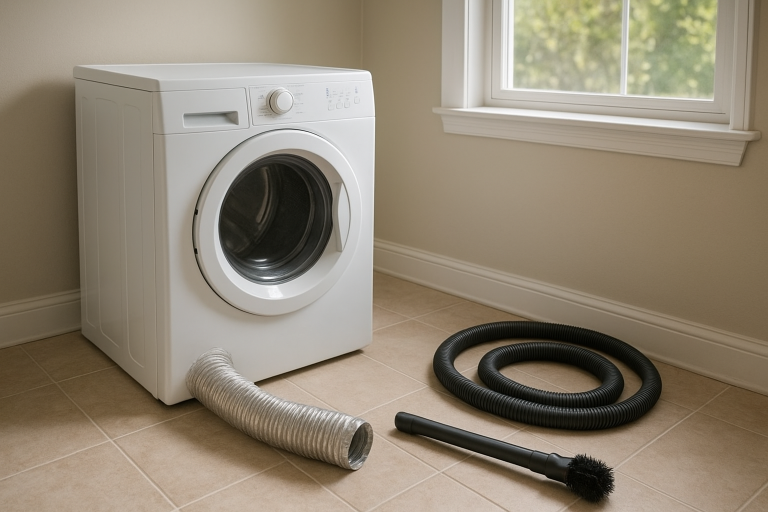
Loosen the clamp that holds the transition duct to the back of the dryer. Set the clamp aside where it will not roll under the machine. Disconnect the other end from the wall duct if you can reach it.
Peek inside the hose with a flashlight. If it is packed with lint, crushed, torn, or sagging badly, replacement may be better than cleaning.
4. Vacuum the dryer outlet and hose
Vacuum the dryer outlet on the back of the machine. Then vacuum both ends of the vent hose. If the hose is rigid or semi-rigid metal, use the brush to loosen lint, then vacuum again. Avoid forcing tools through fragile ducting.
5. Brush the wall duct
Insert the dryer vent brush into the wall duct and work it forward gently. Rotate as directed by your brush kit, pulling out lint as you go. If your kit attaches to a drill, use a low speed and keep control of the rods so they do not separate inside the duct.
Long vent runs may need cleaning from both ends: inside at the laundry room and outside at the exterior vent.
6. Clean the exterior vent
Go outside and find the dryer vent cover. Clear away lint, leaves, mulch, snow, or nests. The flap or louvers should open freely when air blows out. The Building America guide notes that a louvered vent cap without screening works well because screens can trap dryer lint. ([basc.pnnl.gov](https://basc.pnnl.gov/diy-guides/clean-dryer-exhaust?utm_source=openai))
If your exterior cover has a mesh screen, check it often or replace it with a dryer-rated vent cover. Screens can clog quickly and block airflow.
7. Reconnect everything securely
Reconnect the duct to the dryer and wall. Tighten the clamps, but do not crush the duct. If a joint needs sealing, use foil HVAC tape rather than regular cloth duct tape, which can dry out and fail.
Push the dryer back carefully, leaving enough room so the hose is not kinked. A smooth, gently curved path is much better than a smashed or twisted one.
8. Test the airflow
Plug the dryer back in. For a gas dryer, turn the gas valve back on only if everything is properly connected. Run the dryer on an air-only or low-heat setting for a few minutes, then check the outside vent. You should feel a steady flow of air, and the flap should open easily.
When to Call a Pro
Some dryer vents are simple: a short duct straight through an exterior wall. Others run up through attics, across basements, or out the roof. Call a professional if your vent is very long, exits at the roof, has multiple sharp bends, or still has poor airflow after cleaning.
You should also get help if you find bird nesting, damaged ductwork inside a wall, a disconnected duct, or signs of moisture damage. Dryer air should always exhaust outdoors, never into an attic, crawl space, garage, or wall cavity.
Simple Habits That Keep the Vent Cleaner
- Clean the lint screen before or after every load.
- Do not overload the dryer. Crowded clothes shed lint and dry slowly.
- Shake out blankets and pet bedding before washing and drying.
- Keep the area around the dryer clear of boxes, cleaning supplies, and piles of laundry, as NFPA recommends keeping combustibles away from the dryer. ([nfpa.org](https://www.nfpa.org/-/media/project/storefront/catalog/files/safety-tip-sheets/dryersafetytips.pdf?rev=8af04b5662ec41ebaed95e6064888f71&utm_source=openai))
- Check the outside vent seasonally, especially after leaf drop, storms, or snow.
A Small Chore That Pays Off
Cleaning a dryer vent is not glamorous, but it is one of those home tasks you can feel right away. Loads dry faster, the laundry room stays cooler, and the machine does not have to work as hard.
Put it on your fall home checklist along with changing furnace filters and checking weatherstripping. An hour of lint removal now can make winter laundry days safer, easier, and a lot less frustrating.