How to Clean a Dryer Vent Before It Becomes a Problem
If your dryer has started taking two cycles to dry towels, the problem may not be the dryer itself. A clogged vent can trap damp air, slow drying, waste energy, and create a real safety concern.
Here is how to clean a dryer vent the practical way, plus the signs that tell you it is time to stop and call a pro.
Why Dryer Vent Cleaning Matters
Every load of laundry sheds lint. The lint screen catches a lot of it, but not all of it. Some lint travels into the dryer duct, where it can collect along elbows, seams, crushed hose sections, and the outdoor vent hood.
The U.S. Fire Administration warns that not cleaning lint filters and dryer vents increases the risk of a clothes dryer fire, and ENERGY STAR recommends cleaning the lint filter after every load to improve air circulation and dryer efficiency. ([usfa.fema.gov](https://www.usfa.fema.gov/downloads/pdf/publications/clothes_dryer_fire_safety_flyer.pdf?utm_source=openai))
A clean vent also helps the dryer do its job. When air can move freely, moisture leaves the drum faster. That can mean shorter drying times, less heat stress on clothing, and fewer frustrating half-damp loads.
Signs Your Dryer Vent Needs Cleaning
You do not need to wait for a total clog. Clean the vent if you notice any of these warning signs:
- Clothes take longer than usual to dry, especially towels, jeans, and bedding.
- The dryer feels very hot on top or around the door during a normal cycle.
- The laundry room feels humid or smells musty while the dryer runs.
- You see lint around the outside vent flap or on the ground near the vent outlet.
- The outdoor vent flap barely opens when the dryer is running.
- The dryer shuts off mid-cycle or shows an airflow warning, if your model has one.
If you smell burning, see smoke, or the dryer is scorching hot, stop using it and unplug it or shut off power at the breaker. Do not keep testing it “one more time.”
What You’ll Need
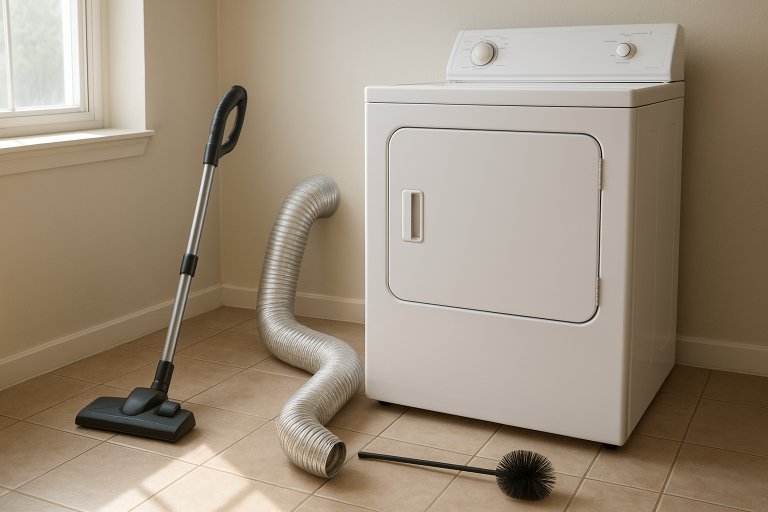
- Vacuum with hose attachment
- Dryer vent cleaning brush kit, preferably with flexible rods
- Screwdriver or nut driver for the vent clamp
- Work gloves
- Flashlight
- Microfiber cloth or old towel
- Foil HVAC tape, if you need to reseal duct joints
Avoid using regular duct tape on dryer ducts. Heat and lint can make it fail. Foil HVAC tape is a better choice for metal duct seams.
Step 1: Unplug the Dryer and Pull It Out Carefully
For an electric dryer, unplug it from the wall. For a gas dryer, turn off the gas supply valve before moving the appliance. If you are not comfortable moving a gas dryer or the gas line looks tight, kinked, or old, stop here and call a qualified technician.
Pull the dryer straight out just far enough to reach the vent connection. Go slowly. Many vent hoses get crushed because the dryer is shoved back too hard or pulled at an angle.
Step 2: Disconnect the Vent Hose
Use a screwdriver or nut driver to loosen the clamp that holds the duct to the back of the dryer. Slide the hose off gently. If the duct is rigid metal, support it as you work so you do not bend or crack a seam.
Look inside the hose and the dryer outlet with a flashlight. If you see packed lint, bird nesting material, or moisture, take your time. A clog often forms near bends or at the exterior hood.
Step 3: Vacuum the Dryer Outlet and Lint Trap Area
Remove the lint screen and clean it by hand. Then use your vacuum hose to clean inside the lint screen slot as far as you can reach without forcing the hose.
Next, vacuum the round dryer outlet on the back of the machine. Do not push a brush deep into the dryer’s internal parts unless your owner’s manual says it is safe. The goal is to remove loose lint near the opening, not to damage wiring, sensors, or seals.
Step 4: Brush the Vent Duct
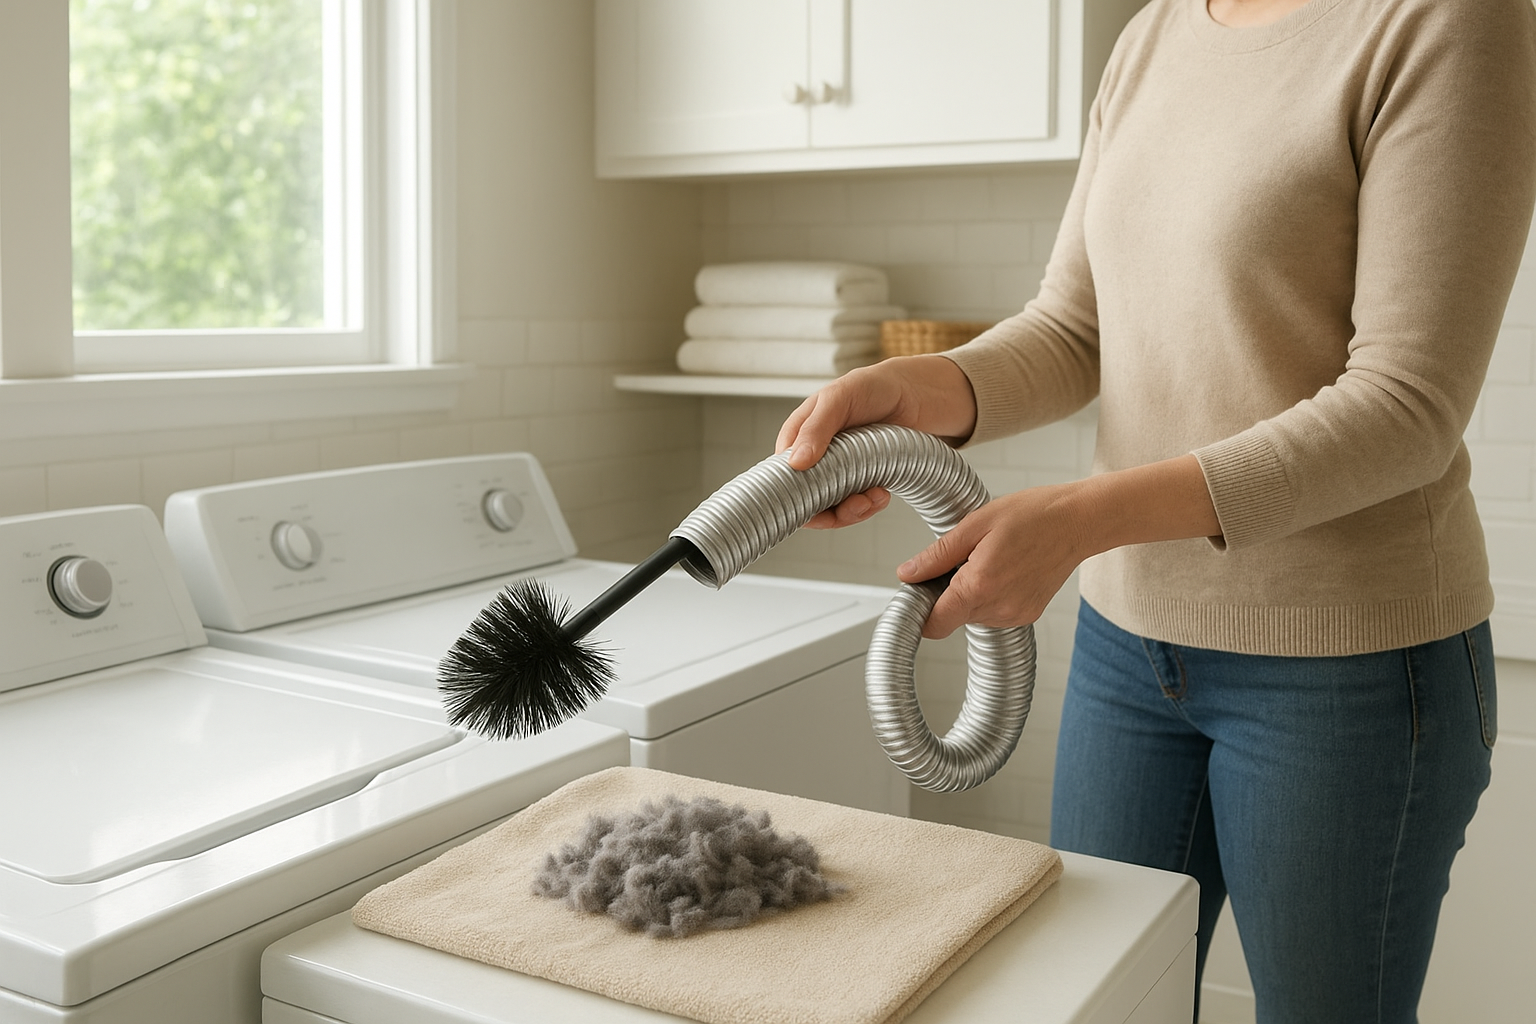
Feed the dryer vent brush into the duct and rotate it as you move it forward. Work in short sections and pull the brush back often to remove lint. If your brush kit attaches to a drill, use a low speed and keep control of the rods so they do not whip around or disconnect inside the duct.
For long vent runs, clean from both ends if possible: from behind the dryer and from the outdoor vent. The Building America Solution Center notes that spiral duct designs can trap lint and reduce airflow, which is one reason smooth, properly installed dryer ducting matters. ([basc.pnnl.gov](https://basc.pnnl.gov/resource-guides/proper-clothes-dryer-venting?utm_source=openai))
If your dryer vents through the roof, is on a second story, or has a very long hidden run, a professional cleaning may be safer and more thorough.
Step 5: Clean the Outdoor Vent Hood
Go outside and find the dryer vent outlet. Remove lint from the hood, flap, louvers, or screen if one is present. The flap should open freely when the dryer runs and close when it stops.
Do not leave a fine mesh screen over a dryer vent. It may seem helpful for keeping pests out, but it can catch lint quickly. A proper dryer vent hood should block animals while still allowing lint and damp air to escape.
Step 6: Reconnect the Duct Without Crushing It
Reconnect the duct to the dryer outlet and tighten the clamp. Keep the duct as short and straight as practical. Avoid sharp bends, crushed flexible hose, and extra loops behind the dryer.
If you find flimsy plastic or thin foil accordion hose, consider replacing it with rigid or semi-rigid metal dryer duct. Metal ducting holds its shape better and is less likely to sag, tear, or trap lint in deep ridges.
Step 7: Test the Airflow
Plug the dryer back in. If it is gas, turn the gas valve back on and check that nothing was disturbed. Run the dryer on an air-only or low-heat setting, then go outside and check the vent hood.
You should feel steady airflow, and the flap should open easily. If the airflow is still weak after cleaning, there may be a blockage deeper in the line, a damaged duct, a stuck exterior hood, or a dryer problem that needs service.
How Often Should You Clean a Dryer Vent?
Clean the lint screen before or after every load. That small habit matters. ENERGY STAR specifically points to lint filter cleaning as a way to improve air circulation and efficiency. ([energystar.gov](https://www.energystar.gov/products/clothes_dryers?utm_source=openai))
For the full vent, a good rule for many homes is once a year. Clean it more often if you do laundry daily, have pets, dry lots of towels or blankets, or have a long duct run with several bends. Also clean it any time drying performance suddenly gets worse.
When to Call a Professional
Call a dryer vent professional or appliance technician if the vent exits through the roof, the duct run is long and hidden, you cannot reach the outside vent safely, the rods get stuck, you smell gas, or airflow is still poor after cleaning.
You should also get help if you discover disconnected ductwork inside a wall or ceiling. A dryer that vents moist air indoors can lead to humidity, lint buildup, and possible mold problems.
A Simple Dryer Maintenance Routine
- Every load: Clean the lint screen.
- Monthly: Vacuum around the dryer and check for lint behind it.
- Seasonally: Look at the outdoor vent while the dryer runs.
- Yearly: Clean the full vent duct or schedule a pro cleaning.
Dryer vent cleaning is not glamorous, but it is one of those small home jobs that pays you back quickly. If your dryer runs better afterward, you may save time on laundry day and reduce unnecessary strain on the appliance.