How to Clean a Drip Coffee Maker Without Vinegar Taste
If your morning coffee tastes bitter, takes longer to brew, or smells a little stale, your coffee maker may need more than a quick rinse. The good news: learning how to clean a drip coffee maker is simple, and most of the work uses supplies you already have at home.
This guide covers both everyday cleaning and the deeper descaling that removes hard-water minerals inside the machine. Always check your owner’s manual first, especially if your coffee maker recommends a specific descaling product instead of vinegar.
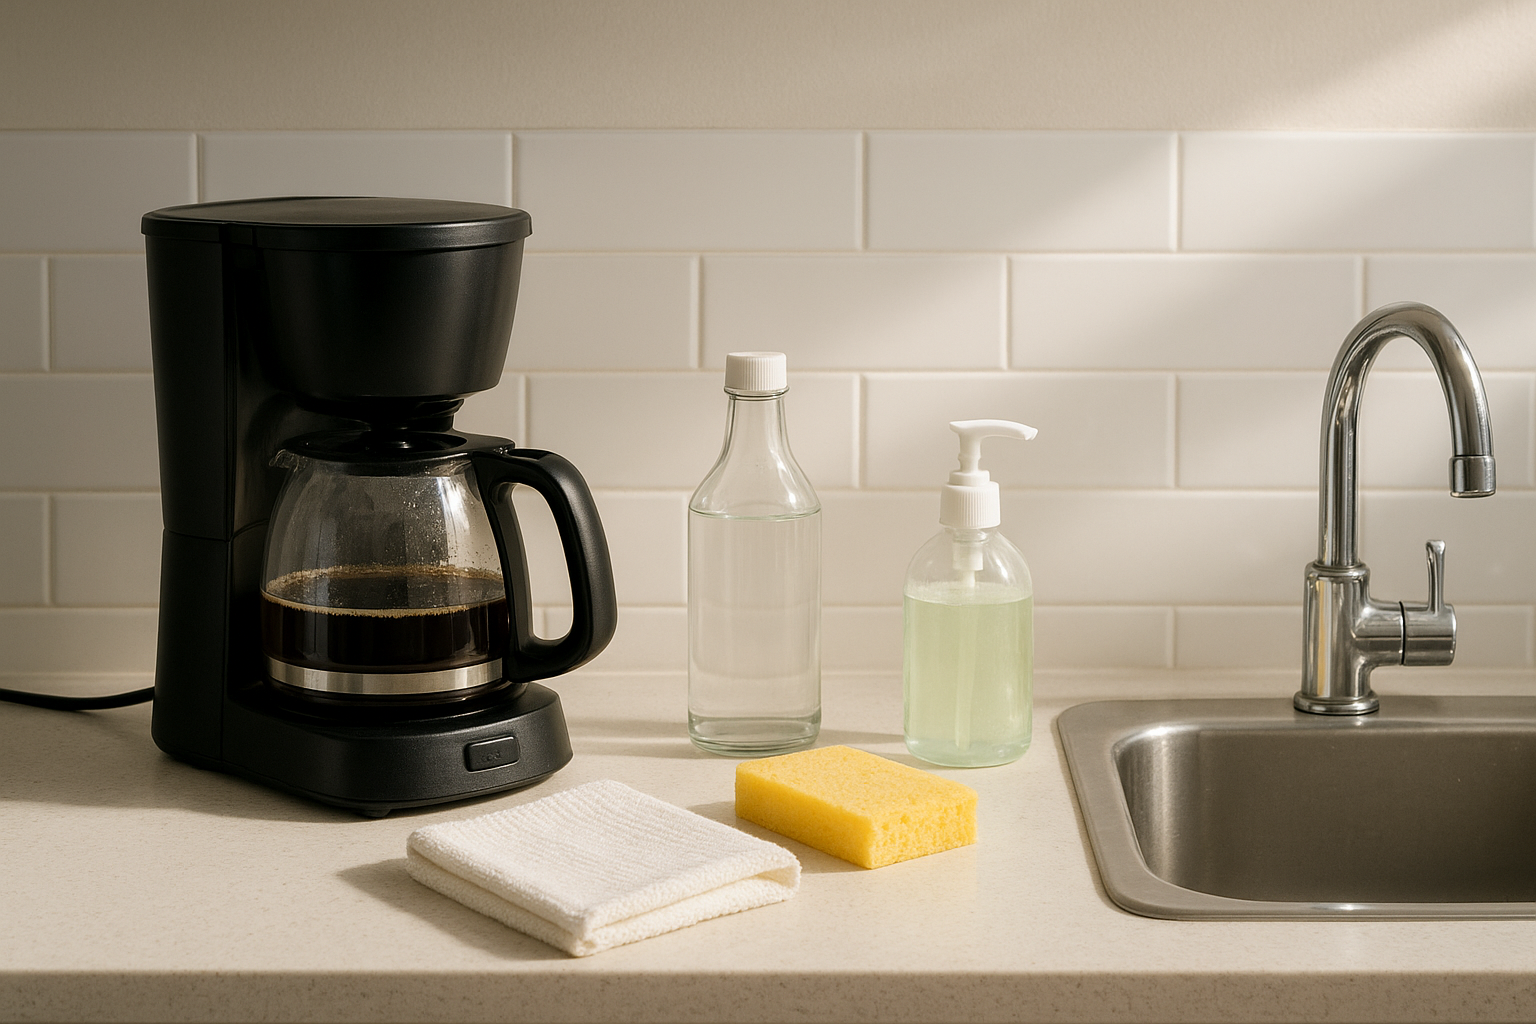
What You’ll Need
- Warm water
- Mild dish soap
- Soft sponge or dishcloth
- White vinegar or manufacturer-approved descaler
- Paper coffee filter, if your machine uses one
- Clean towel
- Baking soda, optional for the carafe
How Often to Clean a Drip Coffee Maker
For the best-tasting coffee, wash the removable parts after each use or at least daily if you brew every morning. Coffee oils and grounds build up quickly in the basket, carafe, and lid, and that residue can make fresh coffee taste old. Good Housekeeping’s cleaning guidance also notes that the reservoir lid should be left open so it can dry between uses. ([goodhousekeeping.com](https://www.goodhousekeeping.com/home/cleaning/a71152382/how-to-clean-coffee-maker/?utm_source=openai))
For the inside of the machine, plan to descale about once a month to once every three months, depending on your water and how often you brew. Mr. Coffee recommends a monthly deep clean for regular use, while other cleaning experts suggest descaling every few months for many standard machines. If you have hard water, brew daily, or notice slower brewing, clean it sooner. ([mrcoffee.com](https://www.mrcoffee.com/blog/how-to-clean-your-coffee-maker-the-easy-way.html?utm_source=openai))
Step 1: Empty the Coffee Maker Completely
Unplug the machine and let it cool if it was recently used. Toss used grounds, remove the paper filter, and empty any coffee left in the carafe. If your machine has a reusable filter, take it out now so you can wash it separately.
Also check the warming plate. Dried coffee splatters can bake onto the surface and cause a burnt smell the next time you brew.
Step 2: Wash the Removable Parts
Wash the carafe, lid, brew basket, and reusable filter in warm, soapy water. Use a soft sponge rather than anything scratchy, especially on plastic parts and glass carafes. Rinse well so soap doesn’t end up in tomorrow’s pot.
If the carafe has brown coffee stains, sprinkle in a spoonful of baking soda, add a little warm water, and scrub gently with a sponge. Baking soda is mildly abrasive, which helps lift stains without harsh scouring.
Step 3: Wipe the Outside and Warming Plate
Dampen a cloth with warm, soapy water and wipe the outside of the machine, the control buttons, the area under the brew basket, and the warming plate. For sticky spots, hold the damp cloth on the stain for a minute before wiping again.
Do not submerge the coffee maker base in water. The electrical parts are inside the machine, so keep your cleaning focused on wipeable surfaces.
Step 4: Descale the Inside
Descaling removes mineral buildup from the water lines and heating parts. If your manual says to use a specific cleaner, follow that direction. Consumer Reports cautions that some manuals specify the proper ratio, and vinegar may not be right for every machine. ([consumerreports.org](https://www.consumerreports.org/appliances/coffee-makers/how-to-clean-your-coffee-maker-a9071238280/?msockid=1508ea840aae6df01b46fc630b036c58&utm_source=openai))
For many basic drip coffee makers, white vinegar and water are commonly used. Mr. Coffee suggests using about half as much vinegar as water, running the cleaning or brew cycle, then letting the solution sit for 15 to 30 minutes before rinsing. ([mrcoffee.com](https://www.mrcoffee.com/blog/how-to-clean-your-coffee-maker-the-easy-way.html?utm_source=openai))
Basic vinegar descaling method
- Place a clean paper filter in the brew basket if your machine normally uses one.
- Fill the reservoir with a mixture of 1 part white vinegar to 2 parts water, unless your manual gives a different ratio.
- Put the empty carafe in place.
- Run the clean cycle if your machine has one. If not, start a regular brew cycle.
- About halfway through, pause the machine if possible and let it sit for 15 to 30 minutes.
- Finish the cycle, then discard the vinegar-water mixture.
If the smell of vinegar bothers you, a manufacturer-approved descaler is a good alternative. Some experts prefer citric-acid-based descalers because they can rinse cleaner and leave less odor, but your manual should be the final word for your specific machine. ([homesandgardens.com](https://www.homesandgardens.com/kitchens/appliances/why-to-avoid-vinegar-in-coffee-makers?utm_source=openai))
Step 5: Rinse Until the Vinegar Smell Is Gone
This is the step people rush, and it’s why coffee sometimes tastes like vinegar after cleaning. Fill the reservoir with fresh water only and run a full brew cycle. Dump the water, refill the reservoir, and run a second full cycle. Mr. Coffee recommends repeating with clean water to remove remaining vinegar, and Consumer Reports also advises running water cycles a couple of times before brewing coffee again. ([mrcoffee.com](https://www.mrcoffee.com/blog/how-to-clean-your-coffee-maker-the-easy-way.html?utm_source=openai))
After the second rinse, smell the carafe and the brew basket. If you still detect vinegar, run one more plain-water cycle. It is better to spend an extra five minutes rinsing than to ruin the first pot of coffee.
Step 6: Dry It Properly
Once the machine is clean, leave the reservoir lid open and let the inside air-dry. Set the carafe lid, basket, and reusable filter on a towel until fully dry before reassembling. Moisture trapped in a closed reservoir can contribute to stale smells.
Troubleshooting Common Coffee Maker Problems
The coffee still tastes bitter
Wash the carafe and brew basket again with warm, soapy water. Bitter flavor often comes from old coffee oils, not just mineral buildup. If you use a reusable filter, scrub it gently because fine oils cling to the mesh.
The machine is brewing slowly
Slow brewing is a classic sign of mineral buildup, especially in hard-water homes. Descale again if it has been months, but do not run vinegar repeatedly in one day unless your manual says it is safe. If the machine still struggles after cleaning, check the manual for troubleshooting or replacement guidance.
The clean light will not turn off
Some machines need the clean cycle to run completely before the light resets. Others have a button sequence for resetting the indicator. Check the manual for your model rather than guessing.
The reservoir smells musty
Wash removable parts, wipe the reservoir area if accessible, and let the lid stay open between uses. If water sits in the reservoir for days, empty it and start fresh before brewing.
What Not to Use
- Bleach: Do not run bleach through a coffee maker. It is not needed for normal cleaning and is difficult to rinse safely from internal parts.
- Harsh scrubbers: Steel wool and abrasive pads can scratch glass, plastic, and nonstick warming plates.
- Strongly scented soap: Fragrance can linger and affect the taste of coffee.
- Random cleaners: Only use products labeled safe for coffee makers or recommended by your manufacturer.
A Simple Cleaning Routine to Remember
- After brewing: Toss grounds and leave the reservoir lid open to dry.
- Daily: Wash the carafe, lid, brew basket, and reusable filter.
- Weekly: Wipe the exterior, warming plate, and reservoir area.
- Monthly to quarterly: Descale with vinegar or an approved descaler, depending on your water and your manual.
A clean coffee maker does not just look better on the counter. It brews faster, smells fresher, and gives your coffee a cleaner taste without that stale, burnt edge. Once you build the quick wash-and-dry habit into your routine, the deep clean becomes much easier too.