How to Clean Moldy Shower Caulk Without Replacing It
Black spots on shower caulk are frustrating because they make the whole bathroom look dirty, even after you scrub the tile. The good news is that many mildew stains on caulk can be improved with careful cleaning, better drying habits, and a little patience.
This guide explains how to clean moldy shower caulk safely, what not to mix, and how to tell when cleaning is no longer enough. If the caulk is peeling, cracked, or moldy underneath, replacement is the better fix.
First: Is It Surface Mildew or Failed Caulk?
Before you start scrubbing, look closely at the caulk line where the tub or shower pan meets the wall. If the dark spots sit on the surface and the caulk still feels smooth and firmly attached, cleaning is worth trying. If the caulk is loose, gummy, cracked, shrunken, or pulling away from the tile, water may be getting behind it.
Caulk that has failed should be removed and replaced, not just cleaned. Trapped moisture behind old caulk can keep feeding mold growth and may eventually affect grout, drywall, or framing. The U.S. Environmental Protection Agency advises fixing moisture problems and cleaning visible mold with water and detergent, and it does not recommend chemical biocides like bleach as a routine mold-cleanup step. ([epa.gov](https://www.epa.gov/indoor-air-quality-iaq/biological-contaminants-and-indoor-air-quality?utm_source=openai))
What You’ll Need
- Rubber gloves
- Safety glasses or eye protection
- An old toothbrush, grout brush, or small nylon scrub brush
- Microfiber cloths or paper towels
- Mild dish soap
- Warm water
- 3% hydrogen peroxide or oxygen bleach cleaner
- Cotton coil, paper towels, or toilet paper for holding cleaner against the caulk
- A fan or open window for ventilation
Avoid stiff wire brushes, abrasive pads, or scraping tools unless you plan to recaulk. They can rough up the surface and create tiny grooves where mildew returns faster.
Safety Rules Before You Clean
Ventilation matters in a small bathroom. Open a window if you have one, turn on the exhaust fan, and keep the door open. The CDC recommends protecting your mouth, nose, skin, and eyes when cleaning mold, especially if you are sensitive to mold or cleaning fumes. ([cdc.gov](https://www.cdc.gov/mold-health/about/clean-up.html?utm_source=openai))
Most important: do not mix cleaning products. Never mix bleach with ammonia, vinegar, toilet bowl cleaner, or other cleaners. The CDC warns that bleach should not be mixed with other cleaners or disinfectants, and the EPA specifically warns that mixing chlorine bleach with ammonia-containing products can produce toxic fumes. ([cdc.gov](https://www.cdc.gov/hygiene/about/cleaning-and-disinfecting-with-bleach.html?utm_source=openai))
Step-by-Step: How to Clean Moldy Shower Caulk
1. Wash Away Soap Scum First
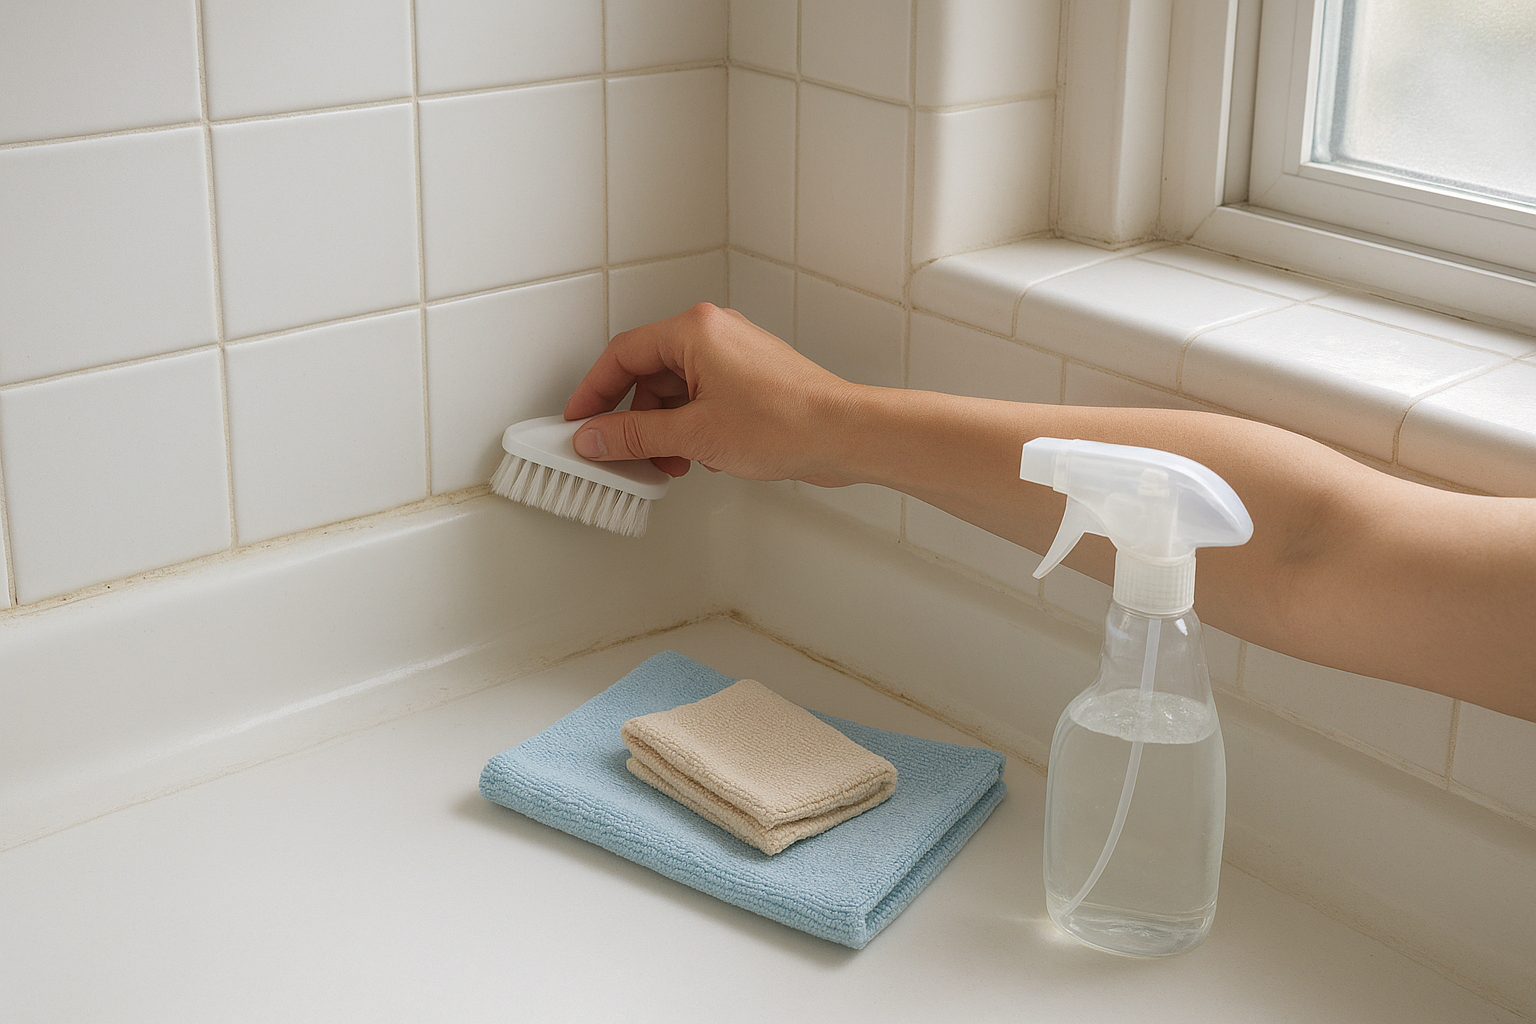
Mildew often clings to soap residue and body oils, so start with a basic wash. Mix a few drops of dish soap into a bowl of warm water. Dip your brush into the soapy water and scrub along the caulk line with light pressure.
Wipe with a damp cloth and rinse the area well. This first pass may not remove the black spots, but it clears the film that can block your cleaner from reaching the stain.
2. Apply Hydrogen Peroxide or Oxygen Bleach
For most households, 3% hydrogen peroxide is a practical next step. Pour a small amount onto a folded paper towel, cotton coil, or strip of toilet paper, then press it against the moldy caulk. The goal is to keep the cleaner in contact with the stained area instead of letting it run down the wall.
Let it sit for 20 to 30 minutes. Keep the bathroom ventilated while it works. Remove the paper, scrub gently with your brush, then rinse thoroughly with clean water.
3. Repeat for Stubborn Stains
Deep stains in white silicone caulk may need more than one treatment. Repeat the peroxide soak once or twice, rinsing well between rounds. If the caulk looks cleaner but still has faint gray staining, the mold may have dyed the caulk rather than simply sitting on top.
At that point, you can either live with light discoloration or plan to recaulk the joint. Repeated harsh scrubbing can damage caulk and shorten its life.
4. Dry the Caulk Completely
After cleaning, dry the shower with a towel and run the fan for at least 20 minutes. Mold and mildew thrive where moisture lingers, so drying is not a finishing touch; it is part of the treatment.
Can You Use Bleach on Shower Caulk?
Bleach can lighten some surface stains, but it is not always the best first choice for routine bathroom mold. The EPA notes that bleach is not recommended as a routine mold-cleanup practice, while the CDC says bleach should be used only with proper safety precautions and should never be mixed with other products. ([epa.gov](https://www.epa.gov/sites/default/files/2016-10/documents/moldguide12.pdf?utm_source=openai))
If you choose to use bleach, read the product label first, ventilate the room, wear gloves and eye protection, and use only bleach diluted with water according to label directions. Do not apply bleach after vinegar, peroxide, ammonia-based glass cleaner, or any other cleaner unless the area has been thoroughly rinsed and dried.
When Cleaning Won’t Fix the Problem
Replace the caulk if you notice any of these signs:
- The caulk is peeling away from the tub, tile, or shower pan.
- There are gaps, cracks, or missing sections.
- The black staining returns within a few days of cleaning.
- The caulk feels soft, sticky, or crumbly.
- You can see mold behind or underneath the caulk.
- Water leaks outside the shower or into nearby walls or flooring.
To recaulk properly, remove all old caulk, clean the joint, let it dry completely, and apply a bathroom-rated silicone caulk labeled for tub and tile use. Do not caulk over moldy or loose caulk; the new bead will not bond well, and the problem will come back.
How to Keep Shower Caulk from Getting Moldy Again
The best prevention is simple moisture control. After showers, use a squeegee on the walls and wipe the caulk line with a towel. Run the exhaust fan during the shower and for 20 to 30 minutes afterward. If your bathroom has no fan, open the door and use a small portable fan to move damp air out.
Once a week, wash the lower tile and caulk line with warm water and a few drops of dish soap. Rinse and dry. This removes the soap film that mildew feeds on. Also check shampoo bottles, bath toys, loofahs, and shower caddies; anything that traps water against the wall can create a damp pocket.
If mildew keeps returning, look for a bigger moisture issue. A slow plumbing leak, poor ventilation, or cracked grout may be keeping the area wet even when the shower is not in use. Mold cleanup works best when the moisture source is corrected first, which is a core EPA recommendation for controlling indoor mold. ([epa.gov](https://www.epa.gov/indoor-air-quality-iaq/biological-contaminants-and-indoor-air-quality?utm_source=openai))
The Bottom Line
To clean moldy shower caulk, start with soap and water, then use a careful hydrogen peroxide soak for lingering stains. Keep the room ventilated, protect your hands and eyes, and never mix cleaning products. If the caulk is damaged or mold is growing underneath it, skip the extra scrubbing and replace the caulk for a cleaner, longer-lasting fix.