How to Clean a Dryer Vent from Inside and Outside
If your towels need two cycles to dry or the laundry room feels hotter than usual, the dryer vent may be packed with lint. Learning how to clean a dryer vent is a practical home maintenance job that can improve airflow, help clothes dry more efficiently, and reduce a common fire risk.
This guide walks you through cleaning the vent from both the laundry room side and the outdoor vent hood. Most homeowners can do it with a dryer vent brush kit, a vacuum, and about an hour.
Why dryer vent cleaning matters
A dryer lint screen catches a lot, but it does not catch everything. Over time, lint, pet hair, dust, and bits of fabric can collect in the transition hose behind the dryer and in the duct that carries moist air outside.
The National Fire Protection Association recommends cleaning lint from the dryer vent pipe at least once a year, and ENERGY STAR advises cleaning the lint filter after every load to improve air circulation and dryer efficiency. ([content.nfpa.org](https://content.nfpa.org/-/media/Project/Storefront/Catalog/Files/Research/NFPA-Research/US-Fire-Problem/Fire-causes/oswashersdryers.pdf?rev=a2ca193e4d3f4852973805277ce91d05&utm_source=openai))
A clogged vent can also make the dryer work harder. If moisture and heat cannot escape freely, loads take longer, the dryer may run hotter, and you may spend more on energy than necessary.
Signs your dryer vent needs cleaning
You do not have to wait for a problem to clean the vent, but these are good clues that lint buildup is already slowing things down:
- Clothes are still damp after a normal cycle.
- Towels, jeans, or bedding take much longer than they used to.
- The outside of the dryer feels unusually hot.
- The laundry room feels humid or overly warm while the dryer runs.
- You notice a burning or hot lint smell.
- The outdoor vent flap barely opens when the dryer is running.
- Lint is collecting around the outdoor vent cover.
If you smell burning, stop the dryer right away and do not run it again until you have checked the lint screen, hose, and vent path. If anything looks scorched, melted, or damaged, call an appliance technician or dryer vent professional.
Tools and supplies
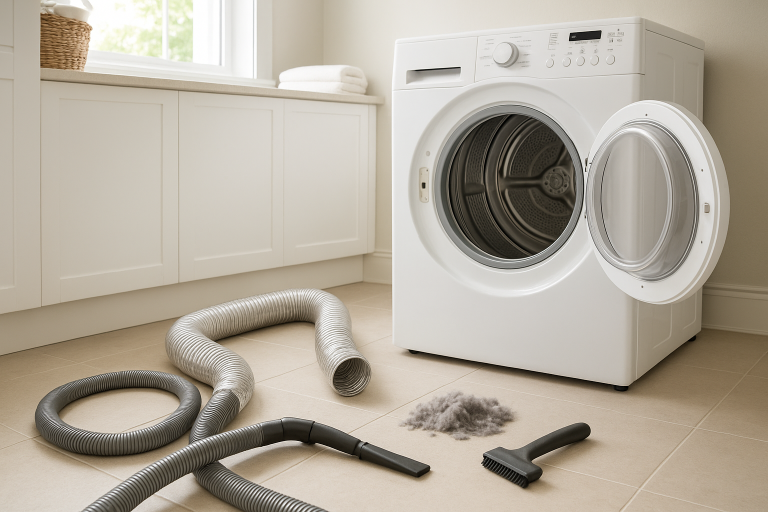
- Dryer vent cleaning brush kit with flexible rods
- Vacuum with hose attachment
- Screwdriver or nut driver
- Work gloves
- Flashlight
- Microfiber cloth
- Foil HVAC tape, if a duct joint needs resealing
- New rigid or semi-rigid metal transition duct, if the old hose is crushed or unsafe
A basic dryer vent brush kit is usually enough for a short, straight duct. If your dryer vent run is very long, has multiple elbows, exits through the roof, or has not been cleaned in years, hiring a professional may be safer and more effective.
Before you start: a few safety checks
- Turn off the dryer. Unplug an electric dryer. For a gas dryer, turn the dryer off and be careful not to disturb the gas line. If you need to move a gas dryer far enough to strain the line, stop and call a pro.
- Let the dryer cool. Wait until the machine is completely cool before working behind it.
- Pull the dryer out gently. Move it just far enough to reach the vent connection without kinking hoses, stretching cords, or damaging flooring.
- Check the duct type. Dryer ducts should be metal. If you find a thin plastic or foil-style accordion duct, consider replacing it with rigid or semi-rigid metal ducting. The Department of Energy’s Building America guidance notes that the transition hose and exhaust duct should be inspected, and cleaning kits can be used to clear the exhaust duct. ([basc.pnnl.gov](https://basc.pnnl.gov/resource-guides/proper-clothes-dryer-venting?utm_source=openai))
Step 1: Clean the lint screen and filter slot
Start with the easy part. Remove the lint screen and peel off any lint. Then use a vacuum crevice tool to clean inside the lint screen slot. This area often hides clumps that never make it to the vent hose.
If the lint screen looks waxy or clogged, wash it with warm water and a little dish soap, rinse well, and let it dry completely before putting it back. Dryer sheet residue can sometimes make the screen less breathable.
Step 2: Disconnect the vent hose behind the dryer
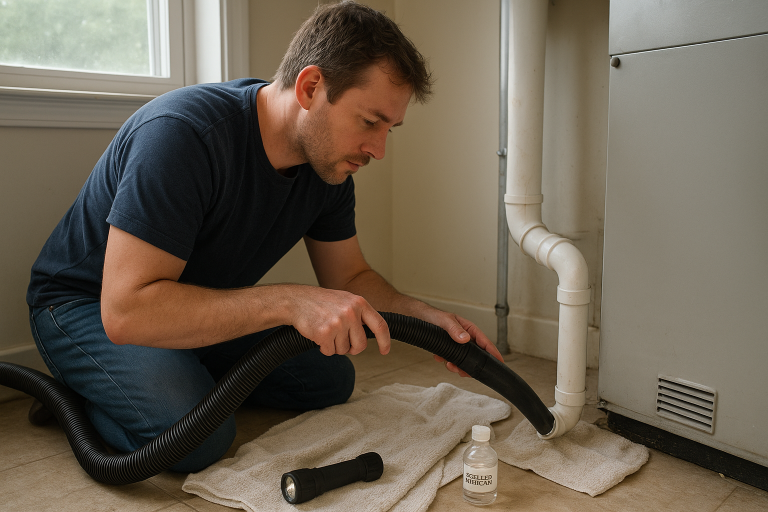
Find the duct connection at the back of the dryer. Loosen the clamp with a screwdriver or nut driver, then slide the hose off the dryer outlet. Do the same at the wall connection if you can reach it.
Use your flashlight to look inside the hose. Vacuum out loose lint from both ends. If the hose is crushed, torn, clogged with damp lint, or full of sharp bends, replace it instead of trying to save it. A crushed hose restricts airflow even after cleaning.
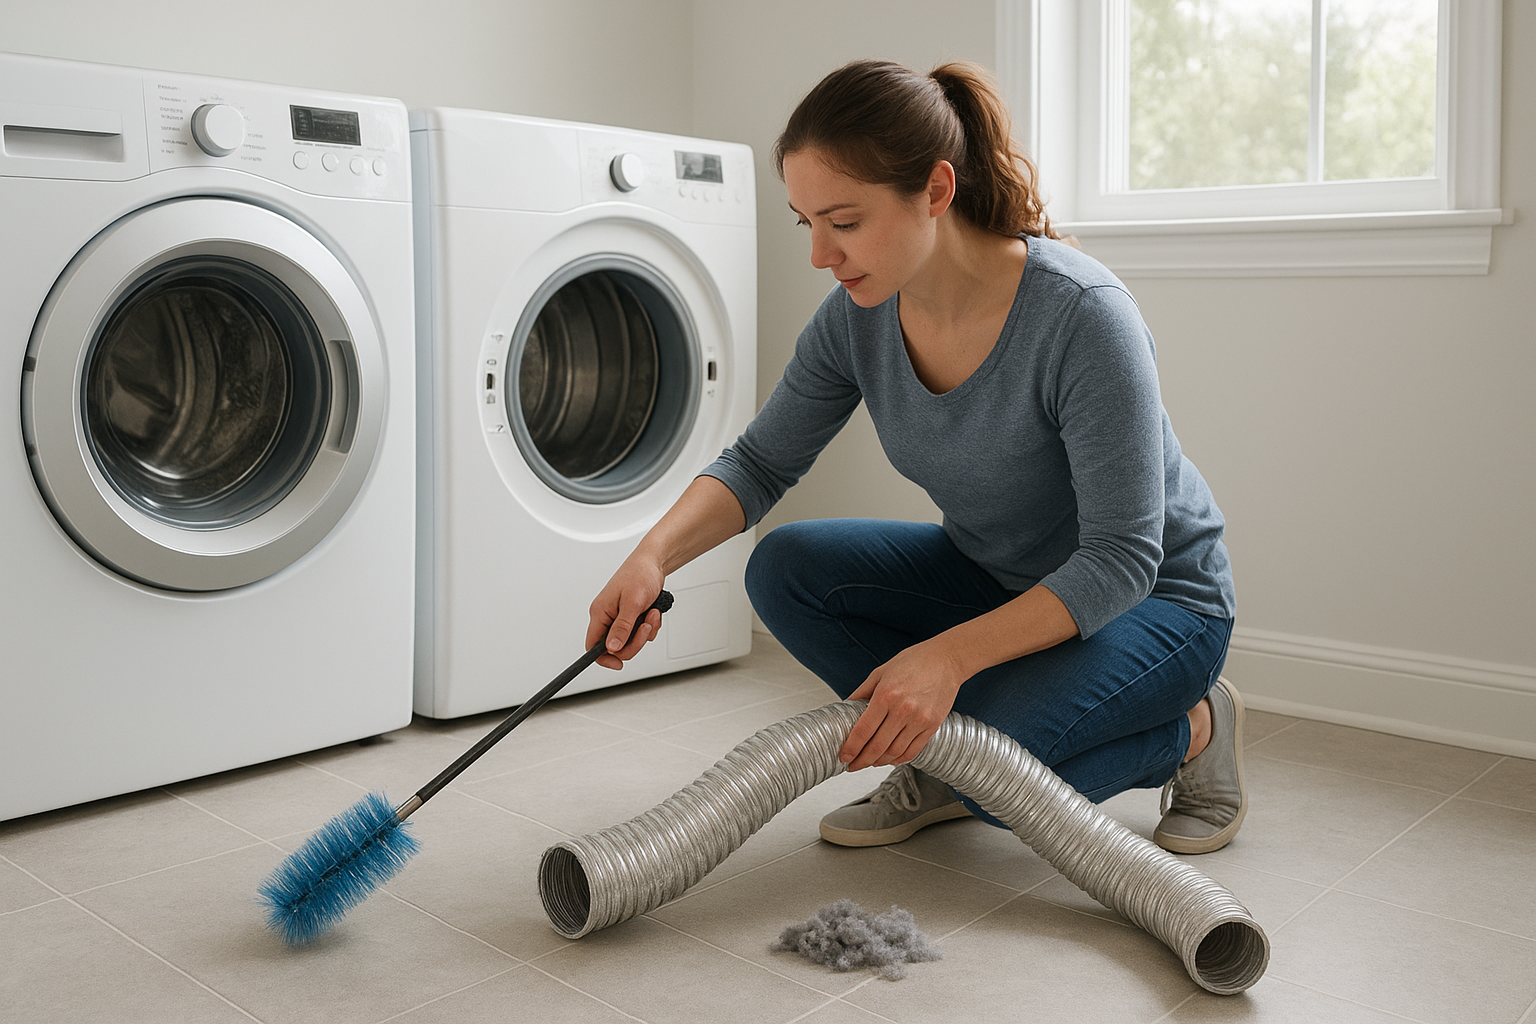
Step 3: Brush the duct from the laundry room side
Attach the first flexible rod to your dryer vent brush. Feed the brush into the wall duct a few feet at a time, turning it as you go. Add rod sections as needed.
Work slowly. Do not force the brush through a tight bend. Pull it back occasionally and vacuum up loosened lint. If your kit is designed for drill use, follow the kit directions carefully and keep the drill turning in the direction that keeps the rods tightened. Reversing direction can unscrew rods inside the duct.
Step 4: Clean the outdoor vent hood
Go outside and find the dryer vent exit. Remove lint from around the cover and make sure the flap or louvers move freely. If there is a bird guard or pest screen packed with lint, clean it thoroughly. Dryer exhaust needs a clear path out.
Feed the vent brush in from the outside, again working gently and pulling lint toward you. Vacuum what you can reach. If your vent hood is cracked, stuck, or missing its flap, replace it so pests and cold air are less likely to get in.
Step 5: Reconnect and test airflow
Reconnect the transition duct to the wall and dryer. Tighten the clamps, but do not crush the duct. Use foil HVAC tape on metal duct joints if needed, but do not use regular cloth duct tape, which can dry out and fail.
Push the dryer back carefully, leaving enough room so the hose does not flatten. Plug the dryer back in. Run an air-only or no-heat cycle, then check the outdoor vent. You should feel a steady stream of air and see the flap opening freely.
How often should you clean a dryer vent?
For most households, clean the dryer vent once a year. Clean it more often if you do laundry daily, have pets, dry lots of towels or blankets, or notice drying times getting longer. NFPA safety materials specifically call for cleaning lint from the vent pipe yearly, while the lint filter should be cleaned before or after each use. ([content.nfpa.org](https://content.nfpa.org/-/media/Project/Storefront/Catalog/Files/Research/NFPA-Research/US-Fire-Problem/Fire-causes/oswashersdryers.pdf?rev=a2ca193e4d3f4852973805277ce91d05&utm_source=openai))
It is also smart to look at the outdoor vent every couple of months. Leaves, lint, snow, mulch, and nesting materials can block the flap from the outside.
When to call a professional
DIY cleaning is best for a short, accessible vent path. Call a professional if:
- The vent exits through the roof.
- The duct run is long or has several turns.
- You cannot get good airflow after cleaning.
- You find disconnected, damaged, or hidden ductwork.
- You have a gas dryer and cannot safely access the vent without moving the gas line.
- You see scorch marks, melted plastic, or smell burning.
A pro can also measure airflow and clear lint from duct runs that a homeowner brush kit may not reach.
Simple habits that keep the vent cleaner
- Clean the lint screen every load. This is the easiest way to protect airflow.
- Do not overload the dryer. Heavy loads shed more lint and dry more slowly.
- Shake out pet bedding and rugs before drying. Remove as much hair and debris as possible first.
- Use the shortest practical duct path. Extra length and bends give lint more places to collect.
- Check behind the dryer. Make sure the hose is not crushed after moving the machine.
Once you know how to clean a dryer vent, it becomes a simple yearly chore instead of a mystery behind the machine. Put it on your home maintenance calendar, keep the lint screen clear, and your dryer will have a much easier time doing its job.