How to Clean a Dryer Vent the Right Way
If your towels need two cycles to dry or the laundry room feels hotter than usual, your dryer vent may be clogged with lint. Learning how to clean a dryer vent is a practical home maintenance job that can help your dryer work better and reduce a real fire risk.
The job is usually simple if your dryer is on an outside wall with a short vent run. If the vent goes up through the roof, runs a long distance, or you smell burning, it is smarter to call a professional.
Why Dryer Vent Cleaning Matters
A dryer does not just heat clothes. It also pushes damp, linty air out through a duct to the outdoors. When lint builds up in that duct, airflow drops. Clothes take longer to dry, the dryer runs hotter, and the motor and heating parts work harder.
The National Fire Protection Association has reported that, from 2014 to 2018, U.S. fire departments responded to an estimated average of 13,820 home structure fires per year involving dryers, and about one-third were caused by failure to clean. Lint was the material first ignited in many of those fires. ([content.nfpa.org](https://content.nfpa.org/-/media/Project/Storefront/Catalog/Files/Research/NFPA-Research/US-Fire-Problem/osdryer.pdf?hash=639DD7887A6C083F71E4FD34726B1197&rev=6e5e44af45a54ee38ab86a33bef98e86&utm_source=openai))
The U.S. Fire Administration also advises homeowners to clean the lint filter before and after each cycle, check that the vent behind the dryer is not crushed or restricted, and make sure the outdoor vent flap opens while the dryer is running. ([usfa.fema.gov](https://www.usfa.fema.gov/downloads/pdf/publications/clothes_dryer_fire_safety_flyer.pdf?utm_source=openai))
How Often Should You Clean a Dryer Vent?
Clean the lint screen every load. For the vent duct itself, a good rule for most homes is once a year. Clean it sooner if you dry a lot of towels, pet bedding, work clothes, or bulky loads.
You may need dryer vent cleaning now if you notice:
- Clothes are still damp after a normal cycle.
- The dryer or laundry room feels unusually hot.
- There is a musty or slightly burning smell while drying.
- Lint is collecting around the back of the dryer or outside vent.
- The outside vent flap barely opens when the dryer runs.
- The dryer shuts off mid-cycle from overheating.
Tools and Supplies
- Vacuum with hose attachment
- Dryer vent brush kit with flexible rods
- Screwdriver or nut driver
- Work gloves
- Flashlight
- Foil HVAC tape, if a duct joint needs resealing
- Broom or small brush
Avoid using regular cloth duct tape on dryer ducts. Heat and lint can make it fail. If you need to seal a metal duct joint, use foil HVAC tape rated for ductwork.
Before You Start: Safety First
Turn the dryer off and unplug it. If you have a gas dryer, close the gas valve before moving the appliance. If you are not comfortable moving a gas dryer or reconnecting it, stop here and call a qualified technician.
Pull the dryer straight out slowly. Do not yank it forward. The vent hose, gas line, or electrical cord may be shorter than you expect. Give yourself just enough room to work behind the machine.
Step-by-Step: How to Clean a Dryer Vent
1. Clean the lint screen and housing
Remove the lint screen and clear it completely. Then vacuum inside the lint screen slot. A narrow crevice tool works well here. If you use dryer sheets, ENERGY STAR recommends scrubbing the lint filter regularly because dryer sheets can leave a film that reduces airflow; a toothbrush and warm soapy water can help. Let the screen dry fully before putting it back. ([energystar.gov](https://www.energystar.gov/products/clothes_dryers?utm_source=openai))
2. Disconnect the vent hose
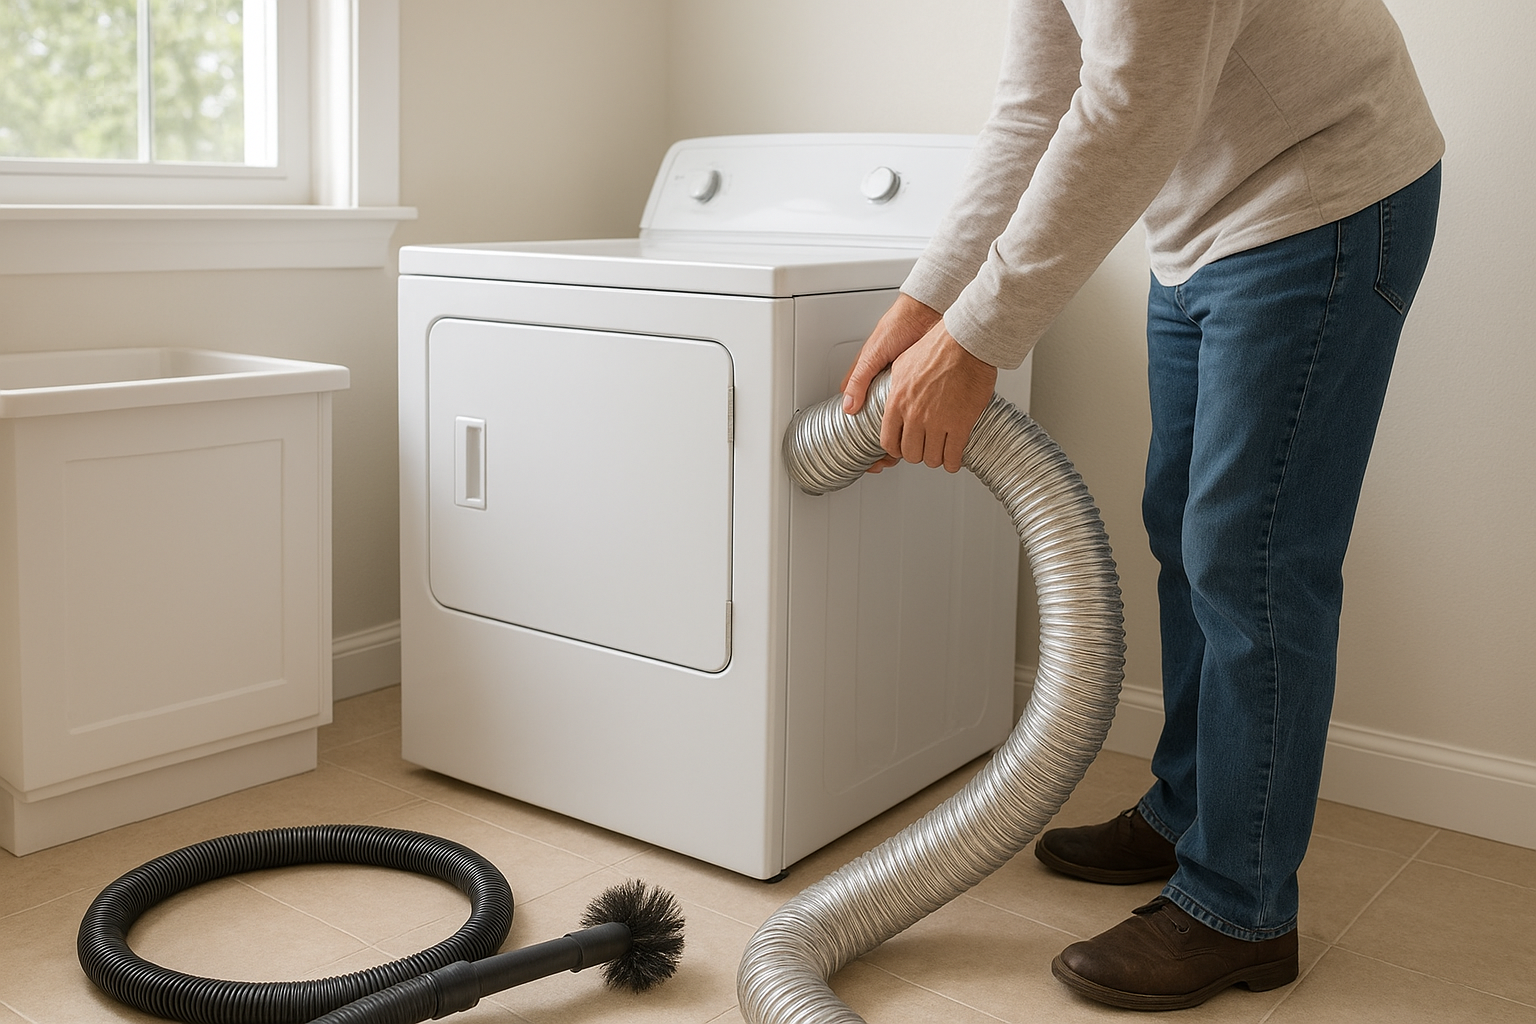
Behind the dryer, loosen the clamp that holds the vent hose to the dryer outlet. Some clamps use a screw; others squeeze open by hand. Slide the hose off gently.
Inspect the hose. If it is crushed, torn, packed with lint, or made from flimsy plastic or vinyl, replace it with a safer rigid or semi-rigid metal duct. A crushed hose can undo all your cleaning by blocking airflow as soon as the dryer is pushed back.
3. Vacuum the dryer outlet
Use the vacuum hose to remove lint from the dryer outlet at the back of the machine. Do not force tools deep into the appliance. You are cleaning the accessible opening, not taking the dryer apart.
4. Brush the duct from the laundry room side
Insert the dryer vent brush into the wall duct. Feed it in slowly, rotating as you go. If your kit attaches to a drill, use a low speed and follow the brush kit directions. Do not reverse the drill while the rods are inside the duct, or they may unscrew and get stuck.
Pull the brush back out and vacuum loose lint. Repeat until you are not getting much debris.
5. Clean from the outside vent
Go outdoors and find the vent hood. Remove lint from the cover and flap. The flap should move freely. If there is a screen over the vent, remove it; screens can trap lint and clog quickly.
Run the vent brush in from the outside as far as it will comfortably go, then pull out loosened lint. Vacuum or sweep up the mess so it does not blow back toward the house.
6. Reconnect the dryer
Reattach the vent hose to the dryer and tighten the clamp. Keep the duct as short and straight as practical, with no kinks or crushed spots. Push the dryer back carefully, checking that the hose does not fold behind it.
7. Test the airflow
Plug the dryer back in. For a gas dryer, reopen the gas valve and check that everything is properly connected. Run the dryer on an air-only or low-heat setting, then go outside. The vent flap should open and you should feel a steady stream of air.
When to Call a Professional
Some dryer vents are not good DIY candidates. Call a pro if the duct runs through the roof, travels a long distance through walls or ceilings, has several turns, or still has weak airflow after cleaning. You should also get help if you find a bird nest, damaged ductwork, disconnected duct sections, or signs of scorching.
For gas dryers, call a technician if you smell gas, if the connection looks worn, or if you are unsure how to move and reconnect the appliance safely.
Simple Habits That Keep the Vent Clear Longer
- Clean the lint screen every load. This improves airflow and efficiency, according to ENERGY STAR. ([energystar.gov](https://www.energystar.gov/products/clothes_dryers?utm_source=openai))
- Do not overload the dryer. Heavy loads shed more lint and dry unevenly.
- Shake out pet bedding and blankets before washing. Hair and fibers can build up fast.
- Check the outside flap monthly. Make sure it opens while the dryer runs and closes afterward.
- Leave space behind the dryer. A crushed hose restricts airflow even when it is clean.
Common Mistakes to Avoid
Do not ignore longer dry times. They are one of the clearest signs of poor airflow. Running a second cycle may feel easier, but it adds heat and wear without fixing the problem.
Do not use a leaf blower indoors. It can push lint into places you do not want it, especially if the duct has loose joints. A brush and vacuum give you better control.
Do not forget the exterior vent. Cleaning only behind the dryer leaves lint at the exit point, where damp air, lint, and outdoor debris can collect.
The Bottom Line
Cleaning a dryer vent is not glamorous, but it is one of those small home jobs that pays you back right away. Your dryer can move air more freely, clothes may dry faster, and you reduce a preventable safety hazard.
Add it to your yearly home maintenance list, then watch for warning signs between cleanings. If airflow still seems weak after a careful cleaning, bring in a professional before the next laundry day.