How to Harvest and Cure Garlic for Longer Storage
Knowing how to harvest and cure garlic is the difference between a few fresh bulbs for dinner and a pantry full of homegrown garlic that lasts for months. The process is simple, but timing matters: dig too early and the bulbs may be small, wait too long and the wrappers can split.
This guide walks you through when to pull garlic, how to cure it in a garage, shed, porch, or spare room, and how to store it without encouraging mold, sprouting, or soft cloves.
When Is Garlic Ready to Harvest?
Garlic is usually ready in early to midsummer, often from late June through July in many U.S. gardens, though the exact date depends on your climate, variety, and planting time. University of Minnesota Extension notes that garlic harvest often falls between late June and late July, and recommends checking whether the cloves have filled the skins before harvesting. ([extension.umn.edu](https://extension.umn.edu/vegetables/growing-garlic?utm_source=openai))
The easiest visual cue is the leaves. Start checking when the lowest leaves have turned brown and dry while several upper leaves are still partly green. Penn State Extension recommends harvesting when leaves begin to brown and at least four leaves are still partly green. ([extension.psu.edu](https://extension.psu.edu/growing-and-using-garlic?utm_source=openai))
A good rule for home gardeners: harvest when about one-third to one-half of the leaves have browned, but the plant is not completely dead. Each leaf roughly corresponds to a protective wrapper around the bulb. If you wait until every leaf is dry, the cloves may start separating in the ground, which shortens storage life.
Do a Test Dig First
Before pulling the whole bed, dig one plant to check the bulb. Use a garden fork or trowel to loosen the soil several inches away from the stem, then lift the bulb carefully.
A ready bulb should have:
- Plump cloves that fill out the bulb shape
- Several intact outer wrappers, not bare cloves
- A firm neck, not a soft or mushy stem base
- Good bulb size for the variety you planted
If the bulb is still small and the cloves are not well defined, give the bed several more days and check again. If the wrappers are splitting and individual cloves are separating, harvest the rest soon and plan to use those damaged bulbs first.
How to Harvest Garlic Without Bruising It
Garlic bruises more easily than it looks, and bruised bulbs do not store as well. Oregon State University Extension advises lifting bulbs carefully and handling garlic gently because it deteriorates quickly when bruised. ([extension.oregonstate.edu](https://extension.oregonstate.edu/food/preservation/preserving-garlic?utm_source=openai))
- Choose a dry day if possible. Dry soil shakes off more easily and helps curing get off to a better start.
- Loosen the soil first. Push a garden fork or trowel into the soil a few inches away from the bulb. Lift from underneath instead of yanking by the stem.
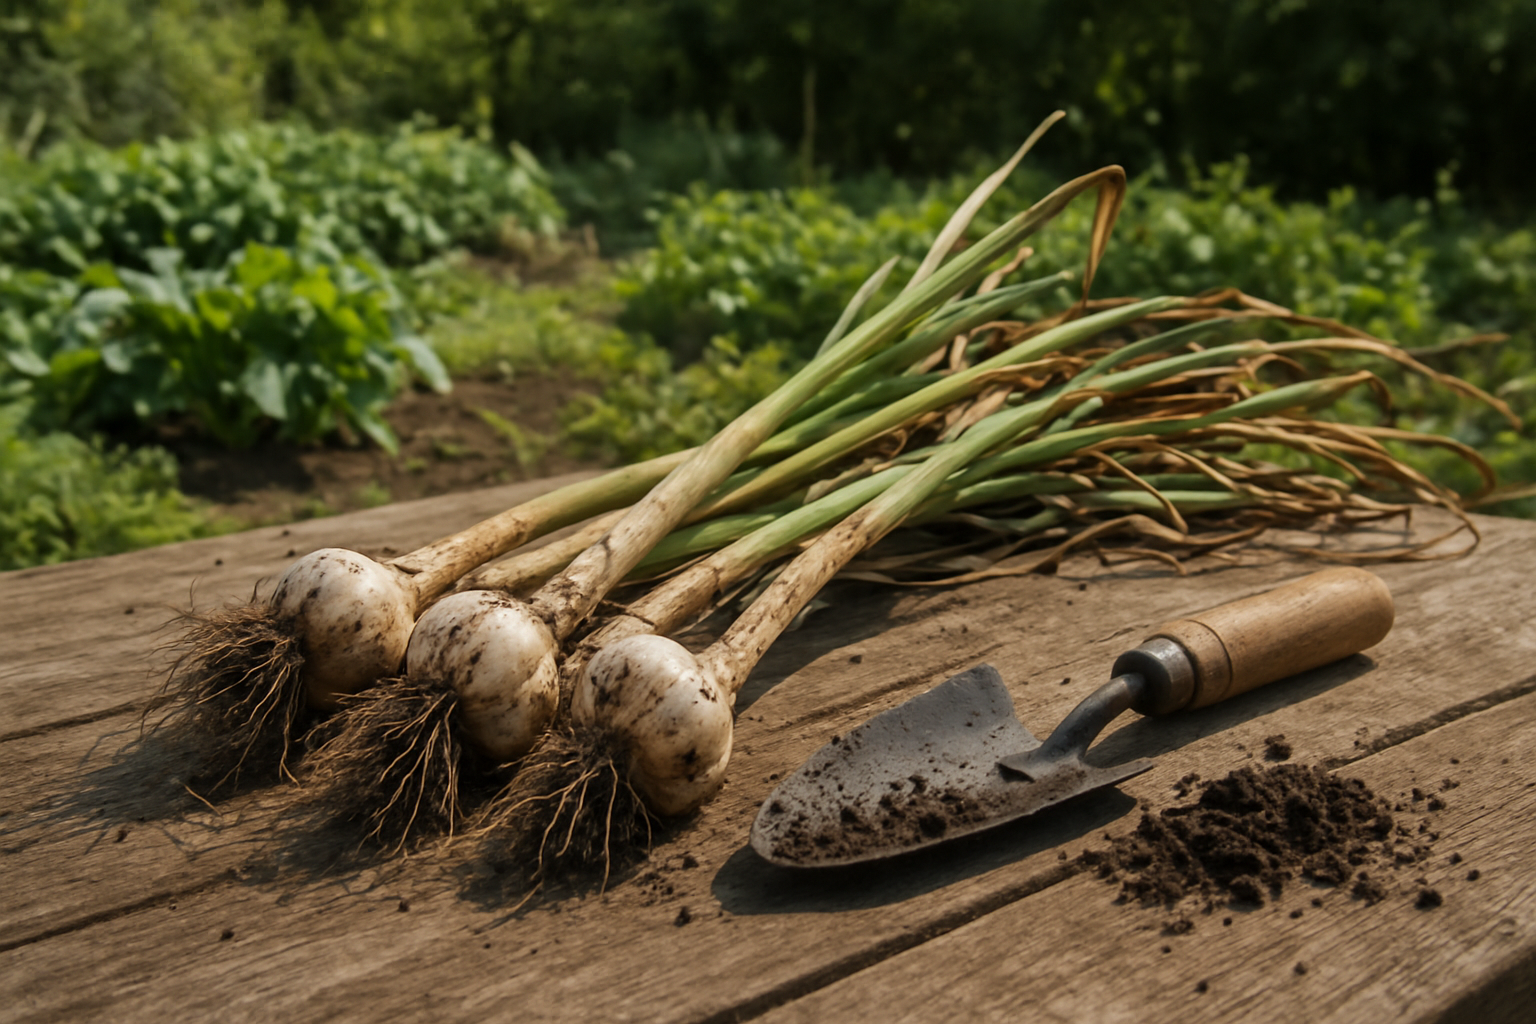
- Keep the plant whole. Leave the stalks, leaves, and roots attached during curing.
- Brush off big clumps only. Do not wash the bulbs. Extra moisture can slow curing and raise the risk of mold.
- Move bulbs out of direct sun. Freshly dug garlic can sunscald. Set it in shade as you work.
If you accidentally spear or slice a bulb, do not cure it for long storage. Set it aside, peel away dirty outer skin if needed, and use it in the kitchen within a few days.
How to Cure Garlic
Curing is simply drying the outer wrappers, neck, and roots so the bulb can store well. It does not make garlic unsafe to eat before curing; fresh garlic is delicious. But if you want bulbs to last, curing is the step you do not want to skip.
University of Minnesota Extension recommends curing garlic in a warm, dry, airy place for three to four weeks. ([extension.umn.edu](https://extension.umn.edu/vegetables/growing-garlic?utm_source=openai)) Oregon State University Extension says garlic is cured when the skin becomes papery. ([extension.oregonstate.edu](https://extension.oregonstate.edu/food/preservation/preserving-garlic?utm_source=openai))
Best places to cure garlic
- A shaded, well-ventilated porch
- A garage with airflow and no direct hot sun
- A shed with open windows or a fan
- A spare room with good air circulation
- A covered outdoor table or rack during dry weather
The key conditions are shade, dryness, and moving air. Avoid damp basements, sealed plastic bins, and sunny patios. Direct sun can heat the bulbs too much, while still, humid air encourages rot.
Three easy curing methods
- Lay bulbs in a single layer. Place whole plants on a wire rack, screen, or slatted surface so air can move around them.
- Hang small bundles. Tie 5 to 10 plants together and hang them from rafters, hooks, or a sturdy line. Do not make huge bunches; they trap moisture.
- Braid softneck garlic. Softneck varieties can be braided after the stems begin to soften but before they are completely brittle. Hardneck garlic has a stiff central stalk and is usually bundled or trimmed instead.
If your curing area is humid, run a fan nearby on a low setting. You do not need to blast the bulbs; you just want gentle air movement.
How to Tell Garlic Is Fully Cured
Most garlic takes about two to four weeks to cure, depending on bulb size, humidity, and airflow. Large, dense bulbs and softneck varieties may need longer.
Your garlic is ready to trim and store when:
- The outer skins feel dry and papery
- The roots are dry and wiry
- The neck is tight and dry, not green or juicy
- There is no musty smell
- The cloves feel firm inside the wrappers
After curing, trim the roots close to the base. Cut hardneck stems about 1/2 to 1 inch above the bulb, or leave softneck stems long if you plan to braid them. University of Minnesota Extension recommends cutting shoots one-half to one inch above the bulbs after curing. ([extension.umn.edu](https://extension.umn.edu/vegetables/growing-garlic?utm_source=openai))
How to Store Cured Garlic
Store cured garlic somewhere cool, dry, dark, and ventilated. Mesh bags, paper bags with holes, shallow baskets, slatted crates, or braids all work well. Avoid sealed jars or plastic bags, which trap moisture.
Oregon State University Extension recommends mesh bags, slatted crates, or hanging braids and notes that garlic stores best in a cool, well-ventilated place protected from freezing. It also reports that softneck garlic can store up to 9 months under good conditions, while hardneck varieties may store up to 6 months. ([extension.oregonstate.edu](https://extension.oregonstate.edu/food/preservation/preserving-garlic?utm_source=openai))
For most homes, a cool pantry, basement shelf, mudroom, or unheated closet works better than the refrigerator. Refrigerators are humid and can encourage sprouting once garlic is brought back to room temperature.
Common Garlic Harvesting Mistakes
- Waiting until all leaves are brown: This can leave you with split wrappers and exposed cloves.
- Pulling without loosening soil: Stems can snap, and bulbs can bruise.
- Washing bulbs before curing: Moisture raises the chance of mold. Brush off dry soil instead.
- Curing in direct sun: Hot sun can damage freshly harvested bulbs.
- Trimming too soon: Leave tops and roots attached until the bulb has dried down.
- Storing damaged bulbs with perfect ones: One soft or moldy bulb can affect nearby garlic.
What to Do With Small, Split, or Damaged Bulbs
Not every bulb needs to be a storage bulb. Sort your harvest before putting it away.
- Use first: Cut, bruised, split, or thin-skinned bulbs
- Save for storage: Firm bulbs with tight wrappers and dry necks
- Save for planting: Your biggest, healthiest bulbs from varieties that grew well in your garden
If you plan to replant garlic in fall, set aside the best bulbs before you start cooking with the harvest. Bigger cloves usually grow into bigger plants, so do not save the runts unless that is all you have.
Can You Eat Garlic Before It Cures?
Yes. Freshly harvested garlic is safe to use right away as long as it is clean and sound. The flavor is often juicier and a little milder than fully cured garlic. Just know that uncured garlic will not store as long, so keep it in the kitchen and use it first.
For long-term storage, let the rest of the crop cure fully. A little patience after harvest gives you tighter wrappers, drier necks, and a much better chance of enjoying your own garlic well into winter.