How to Clean a Humidifier Before You Use It
If your humidifier has been sitting in a closet since last winter, do not just fill it and switch it on. A quick rinse is not enough for a tank that may have old mineral scale, dust, or a musty film inside.
Here is how to clean a humidifier before the dry-air season starts, plus the simple habits that keep it from turning gross again. These steps are for portable room humidifiers, including many cool-mist, ultrasonic, and evaporative models.
Why Your Humidifier Needs Cleaning First
A humidifier works by putting moisture into the air, which is useful when indoor air gets dry. But the same water tank that helps your nose, skin, and houseplants can also collect minerals and support germ growth if it is left wet or dirty.
The U.S. Environmental Protection Agency recommends emptying portable humidifier tanks daily, wiping surfaces dry, refilling with fresh water, and cleaning portable humidifiers every third day during use. The EPA also advises keeping indoor relative humidity from going above 50 percent. ([epa.gov](https://www.epa.gov/indoor-air-quality-iaq/use-and-care-home-humidifiers?utm_source=openai))
The CDC gives similar practical guidance: empty the water every day, clean the unit according to the manufacturer’s instructions, let it air dry after cleaning, and use distilled or boiled-then-cooled water to further reduce germ growth. ([cdc.gov](https://www.cdc.gov/drinking-water/prevention/preventing-waterborne-germs-at-home.html?utm_source=openai))
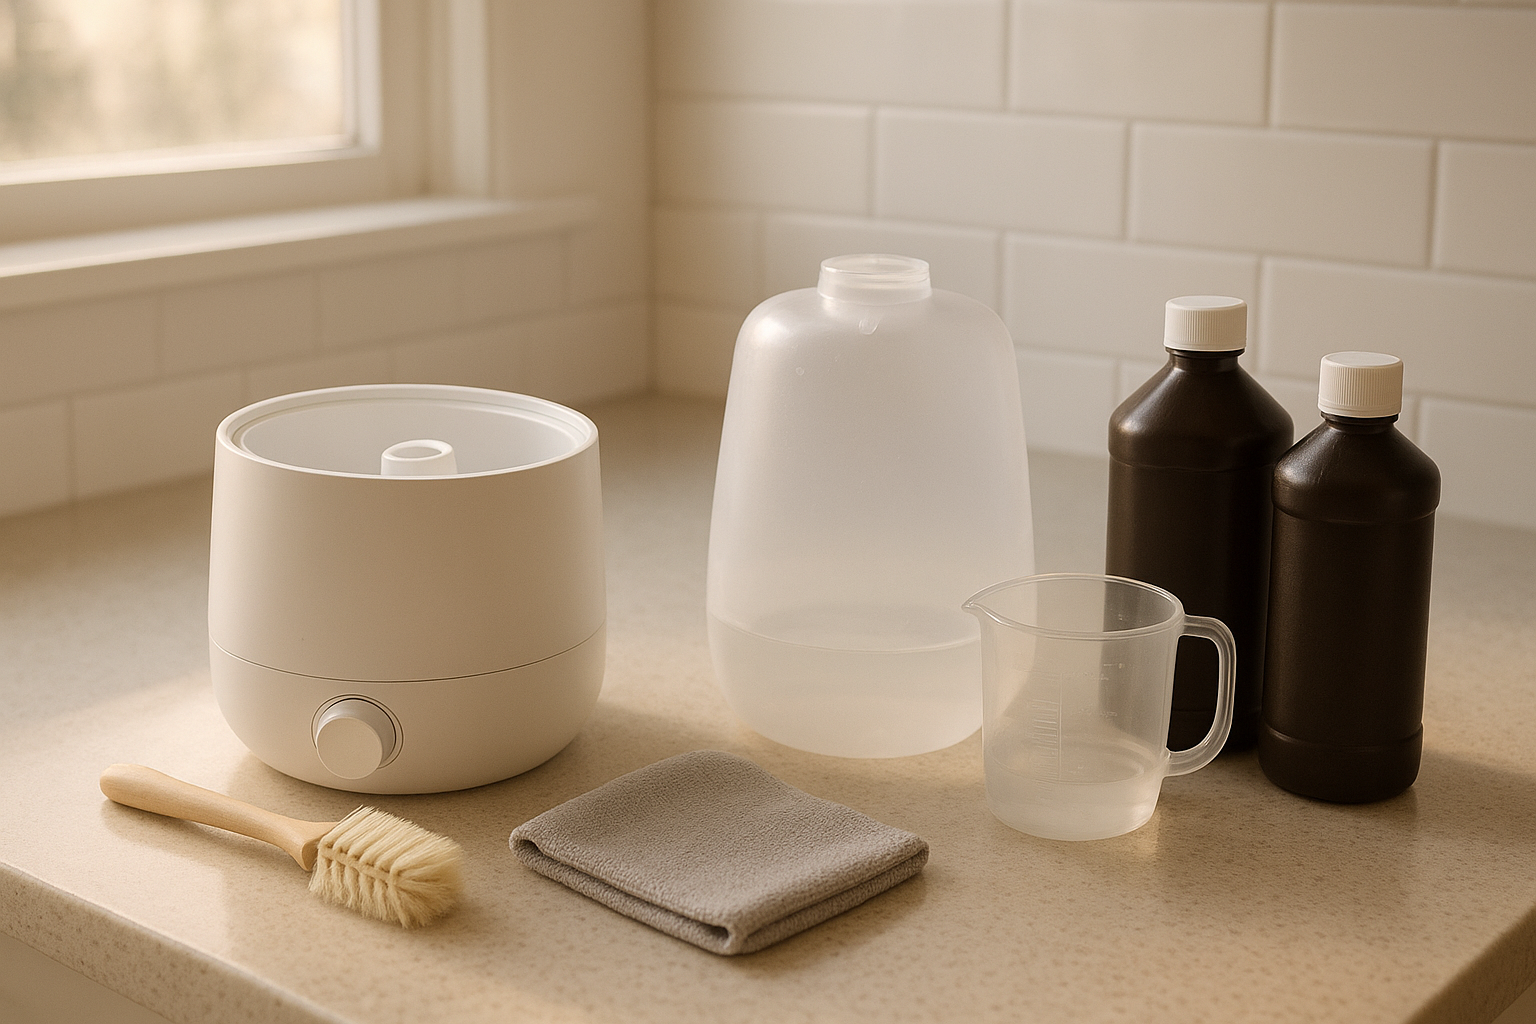
What You’ll Need
- Owner’s manual, if you have it
- Clean microfiber cloths or paper towels
- Soft bottle brush, old toothbrush, or small cleaning brush
- White distilled vinegar for mineral scale
- 3% hydrogen peroxide for disinfecting, if your manual allows it
- Clean water for several rinses
- Rubber gloves, optional but helpful
Important: Always unplug the humidifier before cleaning. Do not mix vinegar with hydrogen peroxide, bleach, or any other cleaner. Use one cleaning product at a time, rinse thoroughly, and keep cleaning products away from children and pets.
Step 1: Take the Humidifier Apart
Unplug the unit and carry it to a sink or bathtub. Remove the tank, cap, mist nozzle, tray, filter, wick, float, and any other removable pieces your model allows.
Take a quick photo with your phone before disassembling if you are not sure how the pieces fit back together. Humidifiers often have small parts that look obvious until it is time to reassemble them.
Step 2: Dump Old Water and Check for Trouble Spots
Empty the tank and base completely. Look for:
- White, crusty mineral scale
- Pink, orange, green, gray, or black film
- A sour or musty smell
- Cracked plastic, warped seals, or a damaged cord
- A stiff, stained, or moldy wick filter
If the cord is damaged, the unit sparks, or the plastic tank is cracked, do not use it. If a disposable wick or filter smells musty or will not rinse clean, replace it rather than trying to rescue it.
Step 3: Remove Mineral Scale With Vinegar
Mineral buildup is especially common if you used tap water last season. It often appears as white crust on the tank cap, base, heating plate, or ultrasonic disk area.
- Pour enough white vinegar into the tank or base to cover the scaled areas.
- Let it sit for 20 to 30 minutes.
- Scrub gently with a soft brush. Avoid gouging plastic or damaging delicate parts.
- Pour out the vinegar.
- Rinse well with clean water.
For stubborn scale in tight corners, wet a cloth or paper towel with vinegar and lay it over the crusty area for another 10 to 15 minutes. Then brush again and rinse.
Do not soak electrical housings, controls, plugs, or fan areas. If the base contains electronics, follow the manual and keep water only where the manufacturer says it can go.
Step 4: Disinfect the Water-Contact Parts
After the scale and grime are loosened, disinfect the parts that touch water. The EPA says that when manufacturer instructions do not name a specific cleaner, water-contact surfaces can be cleaned with a 3% hydrogen peroxide solution, followed by thorough rinsing with several changes of tap water so cleaning chemicals are not dispersed into the air during use. ([epa.gov](https://www.epa.gov/indoor-air-quality-iaq/use-and-care-home-humidifiers?utm_source=openai))
- Pour 3% hydrogen peroxide into the tank and swish it so it coats the inside surfaces.
- Use a little more on the base reservoir and removable water-contact parts.
- Let it sit for about 10 minutes, unless your manual gives different timing.
- Scrub any remaining film with a soft brush.
- Rinse the tank, cap, and base reservoir several times with clean water.
Mayo Clinic also notes that mineral buildup or film can be removed with a 3% hydrogen peroxide solution, and cautions not to add anything to the humidifier water or use disinfectants that are not approved. ([mayoclinic.org](https://www.mayoclinic.org/diseases-conditions/common-cold/in-depth/humidifiers/art-20048021?p=1&utm_source=openai))
Step 5: Clean or Replace the Filter
Not every humidifier has a filter or wick, but evaporative models usually do. Check the manual before washing it. Some wicks are meant to be replaced, not scrubbed.
If your filter is washable, rinse it under cool water until the water runs clear. Do not wring it hard; that can crush the fibers and make it work poorly. If it is stiff, slimy, torn, heavily stained, or smells bad after rinsing, replace it.
This is also a good time to order a spare filter. The worst moment to discover you need one is the first dry, scratchy-throat night of the season.
Step 6: Rinse, Dry, and Reassemble
Rinsing is not a small detail. Any cleaner left behind can be released into the room when the humidifier runs, especially with cool-mist and ultrasonic units.
Rinse the tank and base reservoir several times. Wipe reachable surfaces dry with a clean cloth, then let all pieces air dry fully before putting the unit back together.
Reassemble the humidifier, add fresh water, and run it for a few minutes in a well-ventilated room. If you notice a chemical smell, musty odor, strange noise, or leaking, stop and troubleshoot before using it overnight.
What Kind of Water Should You Use?
Distilled or demineralized water is the best choice for many portable humidifiers, especially ultrasonic and cool-mist models. Tap water contains minerals that can build up inside the machine and may show up as fine white dust on nearby surfaces. Mayo Clinic recommends distilled or demineralized water because it has fewer minerals than tap water. ([mayoclinic.org](https://www.mayoclinic.org/diseases-conditions/common-cold/in-depth/humidifiers/art-20048021?p=1&utm_source=openai))
If buying distilled water for daily use is not realistic, check whether your humidifier accepts demineralization cartridges. They are not a substitute for cleaning, but they can help reduce mineral buildup in some models.
How Often to Clean It During the Season
Once your humidifier is back in use, follow this easy schedule:
- Daily: Empty the tank, wipe damp surfaces if you can, and refill with fresh water.
- Every 3 days: Unplug, empty, scrub away scale or film, disinfect if needed, rinse well, and dry.
- Weekly: Check filters, caps, seals, and nozzles for buildup.
- End of season: Deep clean, dry completely, remove disposable filters, and store with the cap off so trapped moisture can escape.
Use a small hygrometer to track room humidity. Aim for comfort without overdoing it; the EPA recommends not humidifying above 50 percent relative humidity. ([epa.gov](https://www.epa.gov/indoor-air-quality-iaq/use-and-care-home-humidifiers?utm_source=openai))
Common Mistakes to Avoid
- Leaving water in the tank between uses: Stagnant water makes the next cleaning job harder.
- Adding essential oils to the tank: Unless your model is specifically designed for oils, they can damage parts and send unwanted residue into the air.
- Running vinegar through the machine: Soaking removable parts is different from misting cleaner into your room.
- Skipping the rinse: Rinse several times after using any cleaner.
- Using too much humidity: Damp windows, musty smells, or condensation are signs to turn the unit down or off.
When to Replace the Humidifier
A well-kept humidifier can last several seasons, but it is not worth fighting a unit that never gets clean. Replace it if the tank is cracked, the cord is damaged, the base leaks, the controls fail, or a musty smell returns immediately after thorough cleaning.
For the next model, look for one with a wide tank opening, simple removable parts, and filters you can easily find. The easiest humidifier to clean is the one you will actually maintain all winter.