How to Clean Window Tracks the Easy Way
Window tracks collect dust, pollen, dead bugs, pet hair, and damp grime in one narrow little place most of us forget about. The good news is that you do not need fancy tools or harsh cleaners to get them working and looking better.
This simple method shows how to clean window tracks without flooding the sill, scratching the frame, or turning a quick chore into an all-day project. It works for most vinyl, aluminum, fiberglass, and painted window tracks.
What You’ll Need
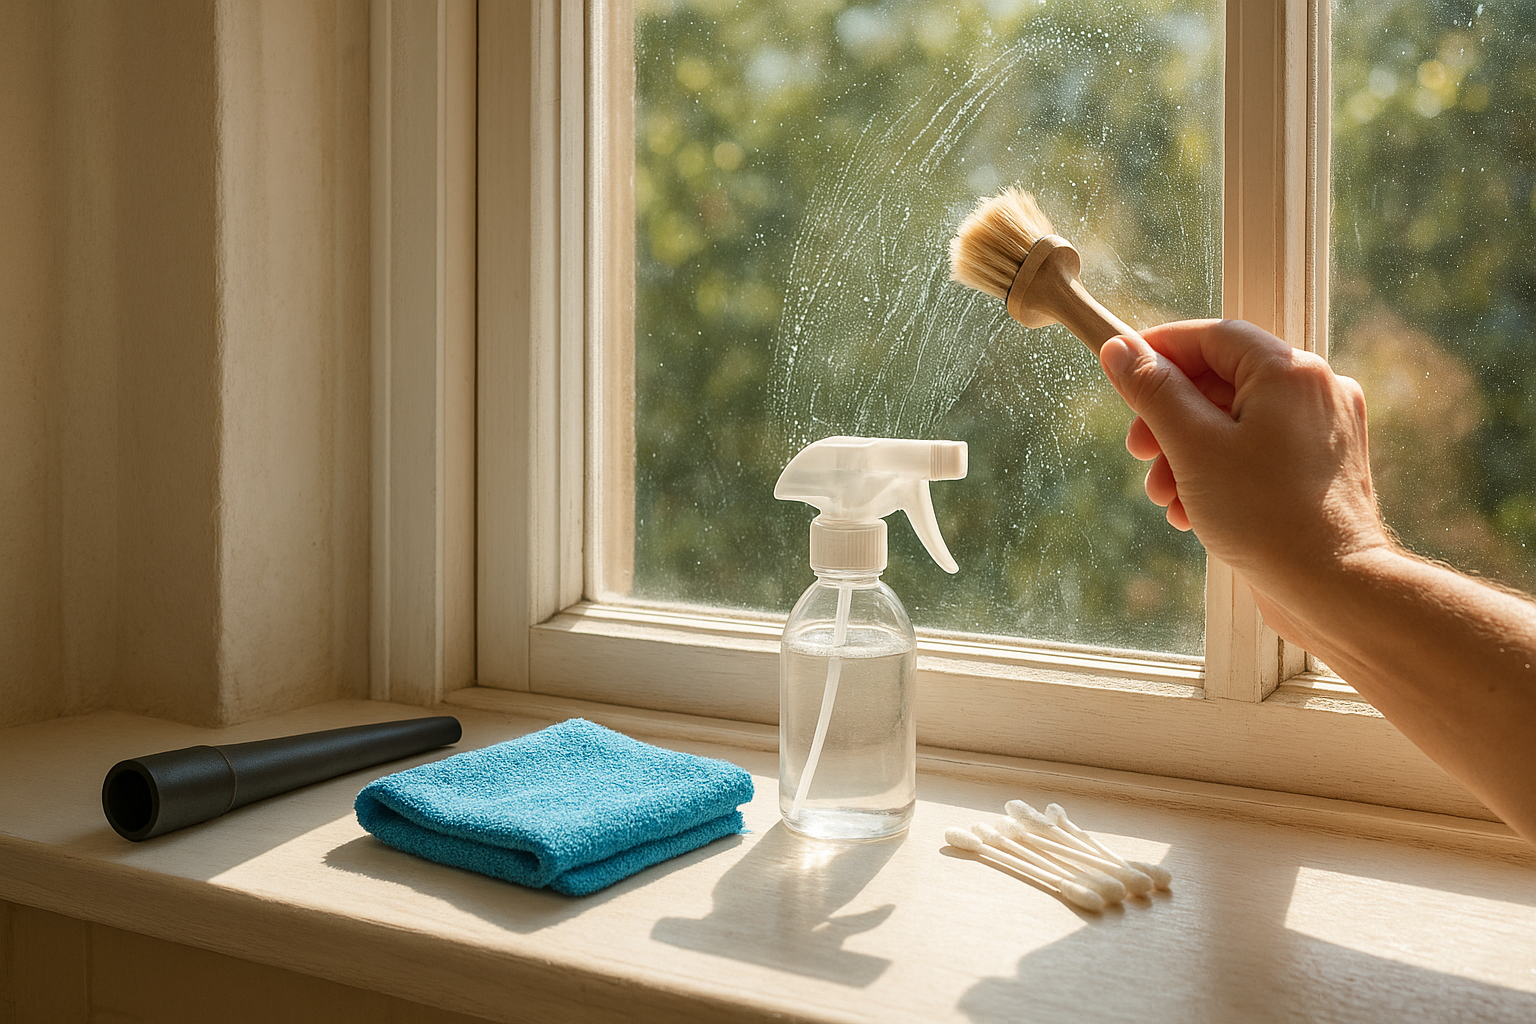
- Vacuum with crevice tool or hose attachment
- Small stiff brush, old toothbrush, or detail brush
- Microfiber cloths or old cotton rags
- Cotton swabs or wooden skewers wrapped in cloth
- Spray bottle with warm water and a few drops of dish soap
- Plastic putty knife or old gift card
- Paper towels for very dirty first passes
- Optional: white vinegar for mineral spots and odors
- Optional: disposable gloves and a mask if the track is musty
Skip steel wool, metal scrapers, and abrasive powders. Window frames often have finishes, seals, and weep holes that can be damaged by aggressive scraping.
Step 1: Open the Window and Check the Track
Open the window as far as it safely goes. If you have a screen, remove it if that gives you better access. Take a quick look before spraying anything. You are checking for three things: loose debris, standing water, and any black or fuzzy growth.
If you see a small amount of mildew or surface mold on a hard, non-porous track, clean it instead of caulking or painting over it. The EPA’s basic mold cleanup advice is to scrub mold from hard surfaces with detergent and water, then dry the surface completely. Moisture control is the key point, because mold comes back when the damp conditions remain. ([epa.gov](https://www.epa.gov/mold/what-are-basic-mold-cleanup-steps?utm_source=openai))
If the area is large, keeps returning, or the surrounding wall or wood trim feels soft, stop and look for a leak or condensation problem before doing cosmetic cleaning.
Step 2: Vacuum First, Before Anything Gets Wet
This is the step that saves the most time. Use the crevice tool to vacuum the whole track from end to end. Angle the hose into the corners and around the latch area. If dirt is packed into the corners, loosen it with a dry toothbrush or detail brush, then vacuum again.
Do not spray cleaner onto dry piles of dust and bug debris. Once that dirt turns muddy, it smears into every groove and takes twice as long to remove.
Step 3: Loosen Packed Dirt with a Dry Brush
After the first vacuum pass, scrub the track dry with a small brush. Work along the grooves, not just across them. Pay special attention to the little corners where the lower sash closes, because grit there can keep the window from sealing properly.
For narrow channels, wrap a thin cloth around a wooden skewer, chopstick, or the edge of a plastic putty knife. Run it through the channel to pull out compacted grime. Keep the pressure light so you do not gouge vinyl or painted surfaces.
Step 4: Wash with Soapy Water, Not a Flood
Mix warm water with a few drops of dish soap in a spray bottle. Lightly mist the track or spray the cloth instead of pouring water into the frame. Window tracks are designed to handle some moisture, but soaking them can send dirty water into places you cannot reach.
Wipe the track with a damp microfiber cloth. Use the brush to scrub stubborn spots, then wipe again. For corners, cotton swabs work well. For long, narrow grooves, use the cloth-wrapped putty knife trick.
EPA guidance for non-porous hard surfaces supports cleaning by damp wiping or scrubbing with water and a mild detergent, followed by drying. That is exactly the approach you want here: enough moisture to lift grime, not so much that the track stays wet. ([epa.gov](https://www.epa.gov/mold/mold-course-chapter-4?utm_source=openai))
Step 5: Use Vinegar Only Where It Helps
White vinegar can help with musty odors and light mineral deposits, especially on tracks that get condensation. Use it diluted or straight on a cloth, not poured into the window. Let it sit for a few minutes on crusty spots, scrub gently, then wipe with a clean damp cloth.
Do not mix vinegar with bleach or other cleaners. In fact, for routine window track cleaning, dish soap and water are usually enough. If you choose to use a disinfecting product, read the label and make sure it is safe for your window material and indoor use.
Step 6: Clear the Weep Holes
Many windows have small drainage openings called weep holes along the lower exterior side of the frame. Their job is to let water escape. If they clog with dirt, water can linger in the track and create more grime, odor, or mildew.
Look for tiny slots or openings near the bottom of the frame. Use a cotton swab, soft brush, or a wooden toothpick to clear visible debris. Avoid jamming metal tools into the holes. After cleaning, you can test drainage with a teaspoon or two of water, but do not flood the track.
Step 7: Dry the Track Completely
Drying is not optional. Use a clean cloth to wipe the track, corners, and underside of the sash. Leave the window open for a while if weather allows. A small fan nearby can help if the room is humid.
This matters for both cleanliness and mold prevention. The EPA notes that hard surfaces should be cleaned and dried completely, and that moisture problems should be fixed promptly. ([epa.gov](https://www.epa.gov/mold/what-are-basic-mold-cleanup-steps?utm_source=openai))
Step 8: Help the Window Slide Smoothly
Once the track is clean and dry, open and close the window a few times. If it still sticks, look for a small pebble, a bent screen frame, damaged weatherstripping, or paint buildup.
For many vinyl or aluminum tracks, a dry silicone spray made for windows and doors can help, but use it sparingly and follow the product label. Spray it onto a cloth first, then wipe the track lightly. Avoid oily lubricants that stay wet and attract more dust.
How Often Should You Clean Window Tracks?
For most homes, clean window tracks twice a year: once in spring after pollen season starts, and once in fall before you close windows for colder weather. If you live near a dusty road, have pets, or keep windows open often, a quick monthly vacuum makes the deep clean much easier.
Also clean tracks after renovation dust, heavy pollen, or a bug problem. Fine grit can make windows harder to operate and can wear on moving parts over time.
Quick Maintenance Tips to Keep Tracks Cleaner
- Vacuum before washing windows. Clean glass is nice, but dusty tracks will smear onto your cloths.
- Keep screens clean. Dirty screens shed dust and pollen into the track every time the wind blows.
- Watch condensation. Frequent moisture on the inside of windows can mean high indoor humidity or poor ventilation.
- Do not seal drainage openings. When caulking around windows, keep weep holes open so water can escape.
- Check drafts separately. Cleaning helps operation, but it will not fix missing weatherstripping or gaps around trim.
If you feel drafts after the tracks are clean, inspect the weatherstripping and the trim area. ENERGY STAR notes that sealing air leaks and adding insulation can improve comfort and energy efficiency, and simple fixes may include caulking around windows and adding weatherstripping where appropriate. ([energystar.gov](https://www.energystar.gov/saveathome/seal_insulate?utm_source=openai))
Common Mistakes to Avoid
- Using too much water: It turns dust into sludge and may leave hidden moisture behind.
- Scraping with metal: This can scratch frames and damage finishes.
- Ignoring recurring mold: If it keeps returning, solve the moisture problem.
- Caulking over dirt or mildew: Caulk sticks poorly to dirty surfaces, and mold should be cleaned and dried first.
- Forgetting the corners: That is where most packed grime hides.
The Bottom Line
The easiest way to clean window tracks is dry first, damp second, and fully dry at the end. Vacuum loose debris, scrub the grooves, wipe with mild soapy water, clear the weep holes, and leave the track dry before closing the window.
It is a small chore, but it makes windows look better, slide more smoothly, and stay fresher between deep cleans. Add it to your spring and fall home maintenance list, and future cleanups will take minutes instead of an afternoon.