How to Clean a Faucet Aerator and Fix Weak Flow
If your faucet has started spraying sideways, sputtering, or running weaker than it used to, the problem may be a tiny part at the tip: the aerator. Learning how to clean a faucet aerator is one of the easiest home fixes, and it can make a sink feel almost new again.
A faucet aerator mixes air into the water stream and helps control flow. Over time, grit, rust flakes, and hard-water minerals can clog the little screen inside, especially in kitchens and bathrooms that get daily use.
What Is a Faucet Aerator?
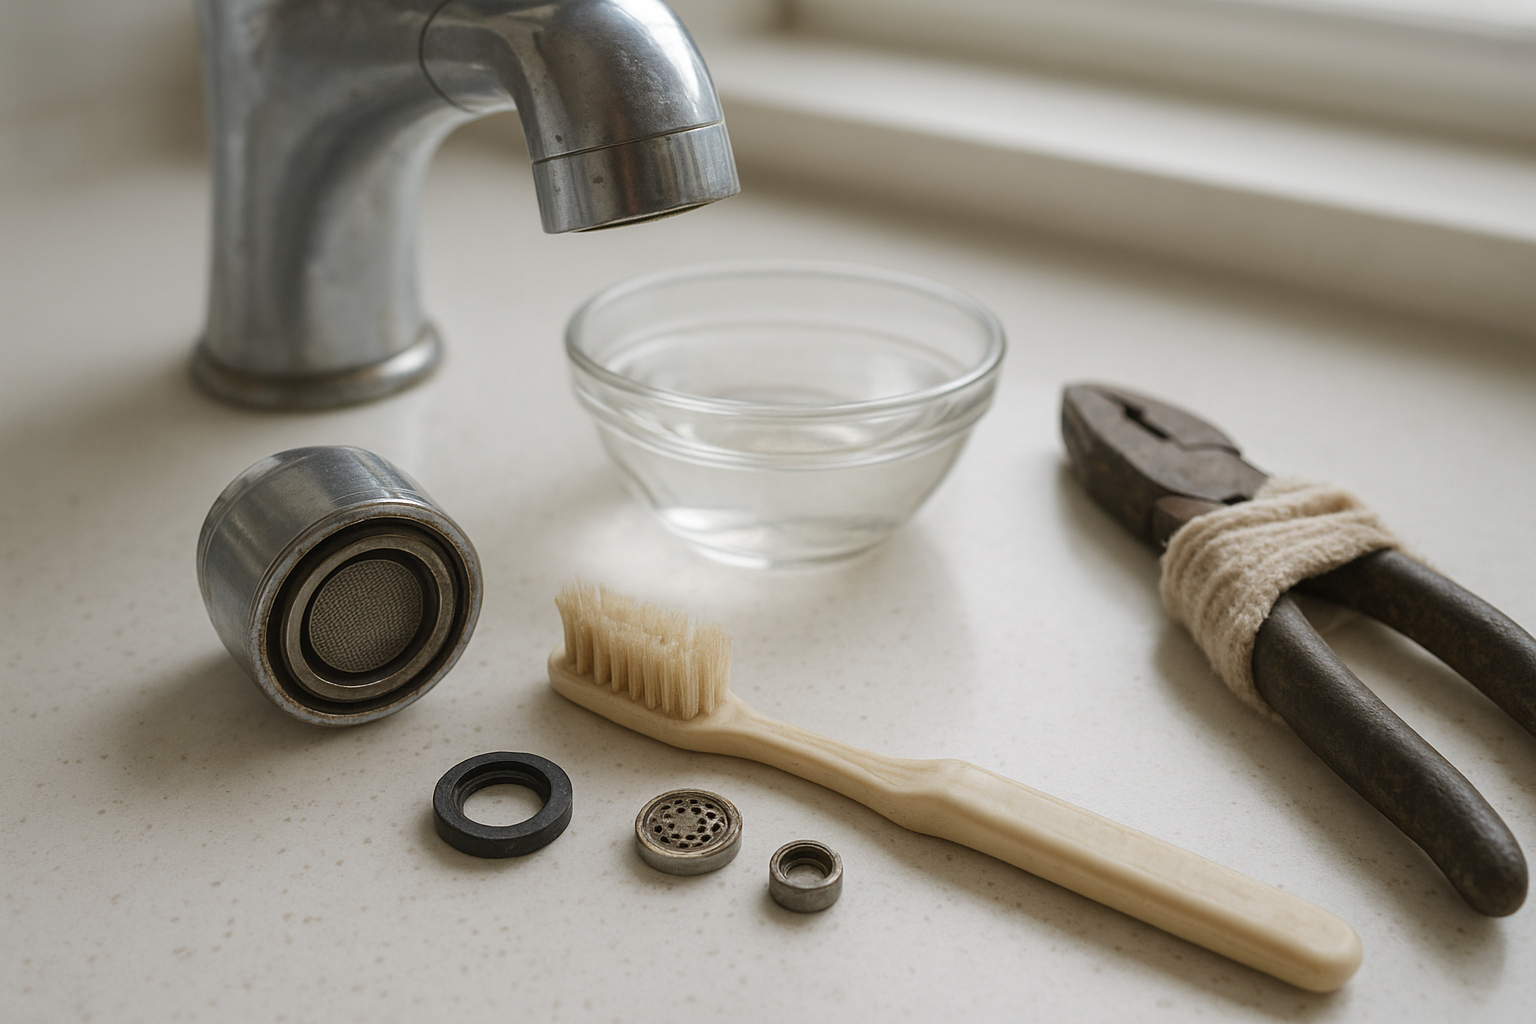
The aerator is the small round fitting screwed onto the end of many sink faucets. Inside, it usually has a screen, a small flow-control piece, and a rubber washer. Some are easy to see and unscrew by hand. Others are recessed inside the faucet tip and require a small plastic aerator key.
Aerators are useful because they shape the stream, reduce splashing, and can help limit water use. WaterSense-labeled bathroom faucet aerators are commonly designed for a maximum flow of 1.5 gallons per minute, while many kitchen faucet aerators fall around 1.5 to 1.8 gallons per minute. If yours is clogged, though, the flow may feel much lower than that.
Signs Your Aerator Needs Cleaning
You do not need to take apart the faucet right away. First, look for these common clues:
- The water stream sprays off to one side.
- The faucet sputters when you turn it on.
- Cold and hot water are both weak at the same faucet.
- Other faucets in the house work normally.
- You see white, chalky buildup around the faucet tip.
- The flow improves briefly if you rub the end of the faucet.
If only one sink is acting up, the aerator is a good first place to check before assuming you have a bigger plumbing issue.
Supplies You’ll Need
- Small bowl or cup
- White vinegar
- Warm water
- Old toothbrush
- Soft cloth or rag
- Adjustable pliers, if needed
- Aerator key, if your faucet has a recessed aerator
- Toothpick or straightened paper clip, optional
- Plumber’s tape, optional, only if threads leak afterward
Important: Vinegar is helpful for mineral buildup, but it can be rough on some specialty finishes if left sitting too long. Keep the soak focused on the removable aerator parts when possible, not the whole faucet finish.
Step-by-Step: How to Clean a Faucet Aerator
1. Close or cover the drain
Before you loosen anything, close the sink stopper or lay a towel over the drain. Aerator parts are small, and the washer can disappear down the drain in a second.
2. Remove the aerator
Try unscrewing the aerator by hand first. Most standard aerators loosen by turning clockwise from your point of view as you look down at the faucet tip from above, or counterclockwise if you are looking directly up at the faucet from below. If that sounds confusing, remember this: you are unscrewing it the same way you would loosen a jar lid, but the upside-down angle can trick your brain.
If it will not budge, wrap the aerator with a cloth and gently use pliers. The cloth protects the finish from scratches. Use steady pressure rather than crushing force.
For a recessed aerator, look for notches inside the faucet tip. You may need the matching plastic key that came with the faucet. If you no longer have it, check the faucet brand and model if possible before buying a replacement key set.
3. Note the order of the parts
As you take the aerator apart, set the pieces down in order. A quick phone photo helps. A typical stack may include the outer housing, screen, flow restrictor, and rubber washer. Reinstalling the pieces backward can cause leaks, poor flow, or a rough stream.
4. Rinse out loose grit
Hold the parts under running water. If the screen has visible sand or debris, rinse it from the back side so the grit comes out the way it entered. Use a toothpick or straightened paper clip to gently dislodge particles, but avoid gouging the screen.
5. Soak the parts in vinegar
Put the aerator parts in a small bowl with a 50/50 mix of white vinegar and water. For light buildup, 30 to 60 minutes may be enough. For crusty mineral deposits, soak the parts for a few hours. Some manufacturers recommend an overnight vinegar soak for stubborn aerator deposits, but start shorter if the parts include delicate finishes or coatings.
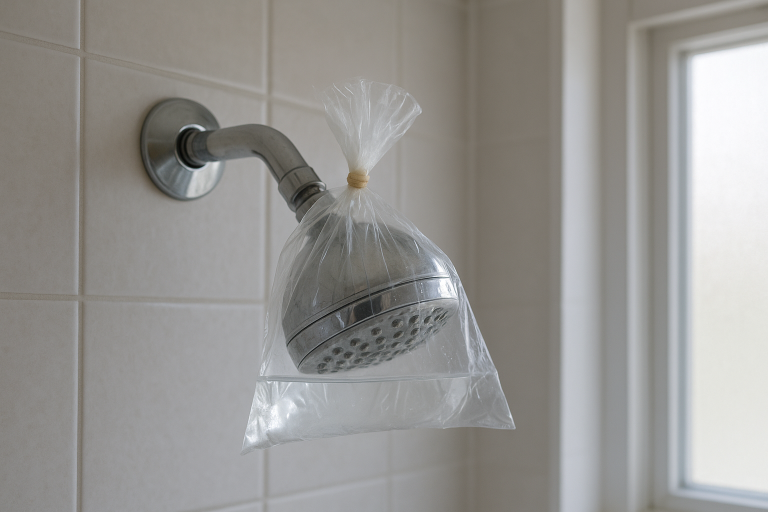
If the aerator is stuck on the faucet and you cannot remove it yet, fill a small plastic bag with the vinegar-water mix and secure it around the faucet tip so only the crusted end is soaking. Check it after 30 minutes, scrub gently, and try again.
6. Scrub with a toothbrush
After soaking, scrub the screen and threads with an old toothbrush. The white scale should loosen. Rinse well with clean water. If the screen still looks blocked, repeat the soak and scrub once more.
7. Flush the faucet before reinstalling
With the aerator still off, turn the faucet on gently for a few seconds. This flushes out any loose grit sitting in the faucet spout. Do not blast the water full force unless you are ready for splashing.
8. Reassemble and hand-tighten
Put the aerator parts back in the same order they came out. Make sure the rubber washer is seated flat. Screw the aerator back on by hand until snug. Turn on the water and check the stream.
If you see a drip around the threads, tighten it a little more with your hand. If it still leaks, remove it and check that the washer is not cracked, folded, or missing. A tiny wrap of plumber’s tape on the threads can help, but the washer usually does the sealing.
When Cleaning Is Not Enough
Sometimes an aerator is too worn, cracked, or clogged to save. Replace it if:
- The screen is torn or crushed.
- The plastic insert is brittle or broken.
- The threads are stripped.
- The faucet still has poor flow after cleaning.
- You want to change the flow rate or reduce splashing.
To buy the right replacement, take the old aerator to the hardware store or measure it carefully. Aerators come in different sizes, thread types, and styles. Common differences include male threads, female threads, standard housings, recessed housings, and swivel versions. Do not force a close-but-wrong fit, because cross-threading can damage the faucet spout.
How Often Should You Clean a Faucet Aerator?
For most homes, cleaning faucet aerators every 6 to 12 months is enough. If you have hard water, well water, older pipes, or frequent mineral buildup, check them every 3 to 6 months. Kitchen faucets may need attention more often because they handle cooking mess, sediment, and heavy daily use.
A good routine is to clean aerators when you deep-clean the sink, descale the showerhead, or replace water filters. It takes only a few minutes once you know how the parts come apart.
Quick Troubleshooting
The aerator is stuck
Soak the faucet tip with the vinegar-water bag method, then try again with a cloth and pliers. Avoid bare metal pliers on a finished faucet. If it is recessed, stop before stripping the notches and get the correct key.
The stream is still weak
Remove the aerator again and test the faucet without it. If the water is strong without the aerator, the aerator is still clogged or needs replacing. If the water is weak even with the aerator off, the issue may be the supply valve, cartridge, supply line, or plumbing.
The water sprays after reinstalling
The screen or insert may be upside down, or a piece may be missing. Take it apart, compare the order with your photo, and reassemble carefully.
The Bottom Line
A clogged faucet aerator is a small problem that can feel like a big annoyance. Remove it, soak the parts in vinegar and water, scrub away the mineral buildup, flush the faucet, and reinstall everything in the right order.
If the aerator is damaged or still weak after cleaning, replacement is inexpensive and quick. Either way, this simple fix can restore a smooth, steady stream without calling a plumber.