How to Recaulk a Bathtub So It Actually Lasts
Old bathtub caulk has a way of making an otherwise clean bathroom look tired. Worse, cracked or moldy caulk can let water sneak behind tile, tub surrounds, and trim where it does not belong.
The good news: learning how to recaulk a bathtub is a very doable weekend project if you slow down on the prep. The bead itself takes minutes; the lasting results come from removing the old caulk completely, drying the joint, and using the right sealant for a wet area.
When Bathtub Caulk Needs to Be Replaced
You do not need to recaulk just because the bead looks a little dull. But you should replace it when you see clear signs the seal has failed.
- Cracks, gaps, or peeling edges where water can get behind the caulk.
- Black or pink staining that keeps returning even after cleaning.
- Soft, gummy, or crumbling caulk that has lost its grip.
- Caulk pulling away from the tub, tile, fiberglass surround, or wall.
- A musty smell near the tub edge, especially after showers.
If you see widespread mold, water-damaged drywall, loose tile, or a spongy wall, pause the caulking job and investigate the moisture problem first. The EPA advises not to paint or caulk over moldy surfaces and to fix the moisture source before calling cleanup finished. ([epa.gov](https://www.epa.gov/mold/brief-guide-mold-moisture-and-your-home?utm_source=openai))
What Kind of Caulk to Use Around a Bathtub
For the joint where the tub meets tile or a shower surround, choose a 100% silicone kitchen and bath sealant or a high-quality bathroom sealant specifically labeled for tubs, showers, and wet areas. Silicone is flexible and waterproof, which matters because tubs move slightly when filled with water and weight.
Acrylic latex caulk is easier to tool and paint, but it is usually not the best choice for the inside edge of a tub or shower where it will get soaked often. Some hybrid or paintable silicone products can work well, but read the label carefully and follow that product’s cure time.
Many modern bathroom silicones are labeled “water-ready” in as little as 30 minutes, but that does not always mean fully cured. For example, GE’s Supreme Silicone Kitchen & Bath sealant lists 30 minutes before water exposure and a typical cure time of 24 hours in its technical information. ([gesealants.com](https://gesealants.com/products/supreme-silicone-kitchen-bath-sealant/?utm_source=openai)) When in doubt, give your new caulk a full day before showering.
Tools and Supplies
- Utility knife or caulk removal tool
- Plastic scraper or old gift card
- Needle-nose pliers
- Rubbing alcohol or mineral spirits, depending on your surface and sealant directions
- Non-scratch sponge or cloths
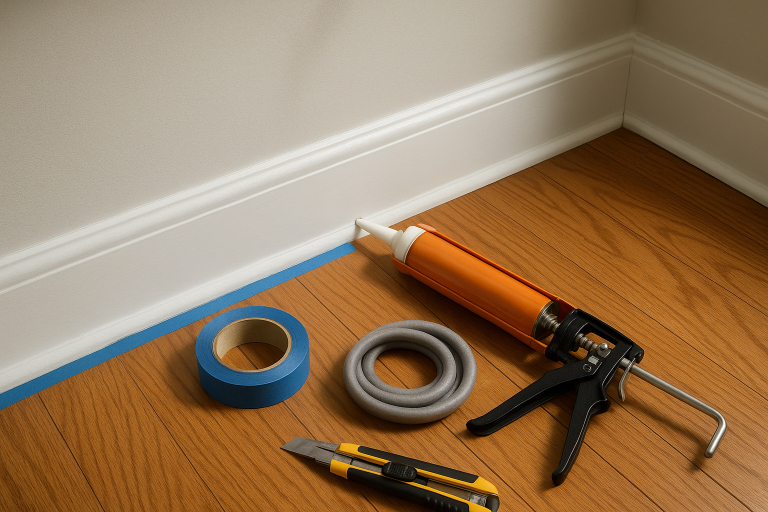
- Painter’s tape
- 100% silicone kitchen and bath sealant
- Caulk gun
- Disposable gloves
- Paper towels
- Small cup of water with a drop of dish soap, if recommended for tooling
- Fan or dehumidifier for drying the bathroom
Step 1: Remove Every Bit of Old Caulk
This is the step most people rush, and it is the reason new caulk often peels within weeks. New silicone does not bond reliably to old silicone, soap scum, mildew, or damp residue.
- Use a utility knife to score along the top and bottom edges of the old bead. Keep the blade shallow so you do not scratch the tub or cut into a surround.
- Pull up loose strips with your fingers or needle-nose pliers.
- Use a plastic scraper to lift stubborn bits without gouging the surface.
- Repeat until the joint is bare. If you can still feel a slick ridge, keep cleaning.
Be especially careful with fiberglass or acrylic tubs. Metal razor blades can scratch them quickly, so use a plastic blade or scraper whenever possible.
Step 2: Clean, Kill the Grime, and Dry the Joint
Once the old caulk is gone, scrub the area with a non-scratch sponge and bathroom cleaner to remove soap scum. Rinse and wipe dry. If there was mold staining, clean it thoroughly before sealing. The CDC also recommends fixing the water problem and cleaning mold before painting or caulking. ([cdc.gov](https://www.cdc.gov/mold-health/communication-resources/8-tips-to-clean-mold.html?utm_source=openai))
After cleaning, wipe the joint with rubbing alcohol to remove residue and speed drying, unless your tub manufacturer says not to use it. Let the area dry completely. If the joint is deep or the bathroom is humid, wait overnight and run the bath fan. Water-damaged areas should be dried within 24 to 48 hours to help prevent mold growth, according to EPA guidance. ([epa.gov](https://www.epa.gov/mold/how-do-i-get-rid-mold?utm_source=openai))
Step 3: Fill the Tub Before Caulking
This small trick helps the caulk survive normal tub movement. Fill the bathtub with water before you apply the new bead. The weight gently lowers the tub to its “in use” position, so the caulk is not immediately stretched the first time someone takes a bath.
You do not need to fill it to the brim. A normal bathing level is enough. Leave the water in the tub while the caulk skins over and cures according to the product label, then drain it after the waiting period.
Step 4: Tape for a Clean, Even Line
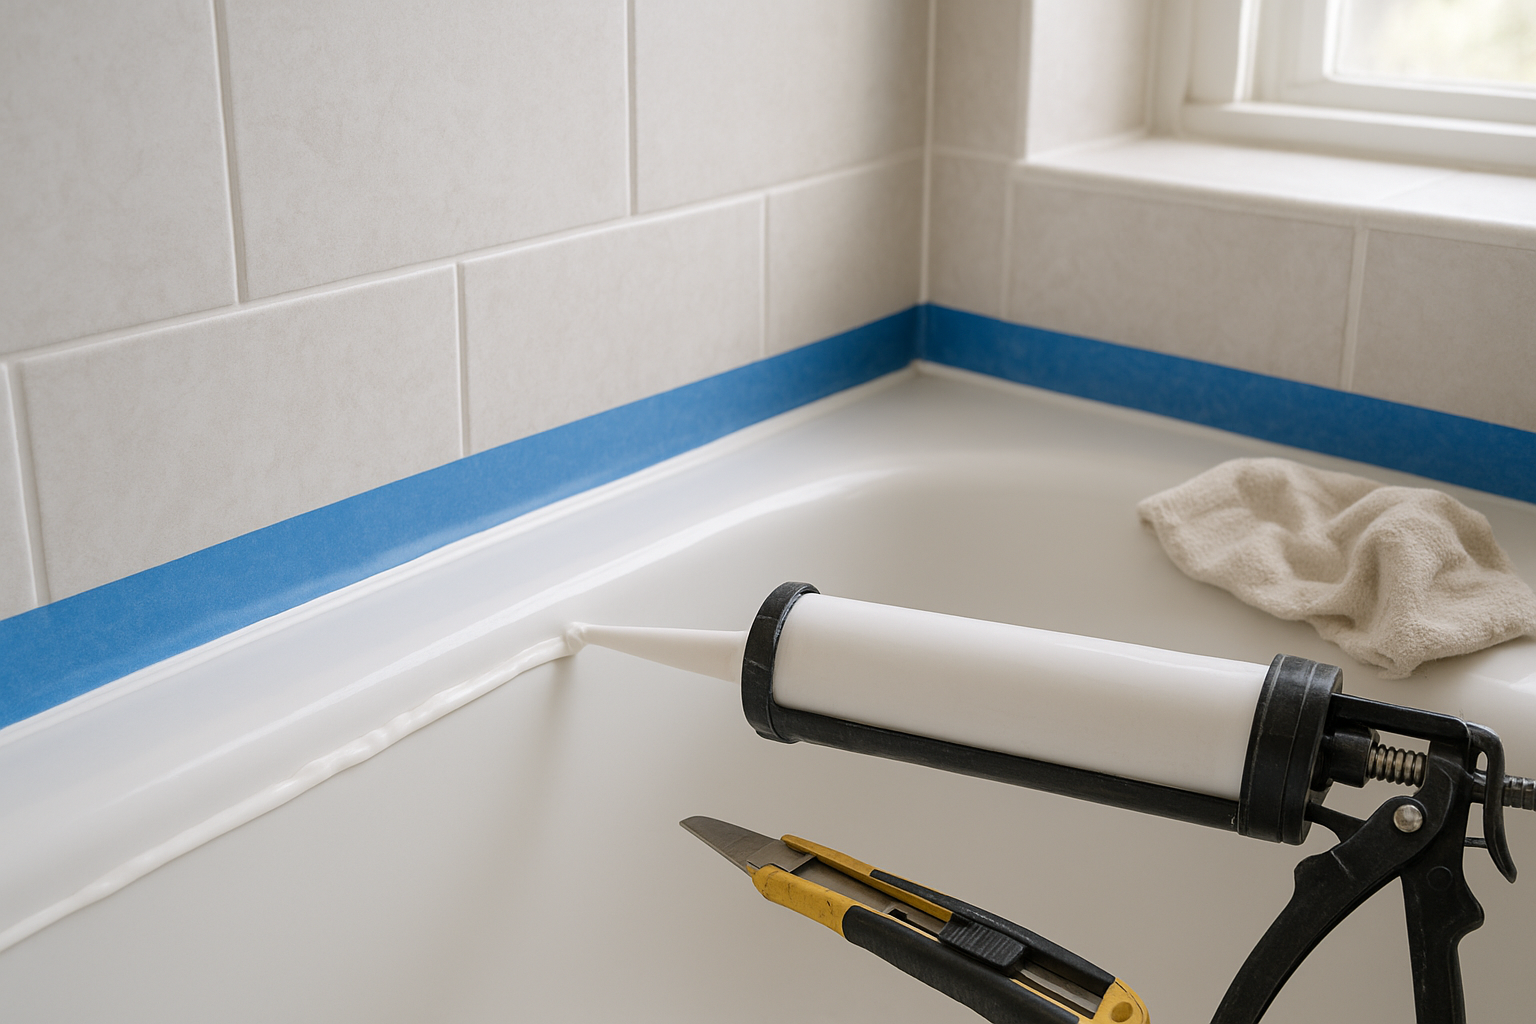
Painter’s tape is optional, but it is very helpful if you are not used to caulking. Apply one strip along the tub and one along the wall or tile, leaving a narrow gap where the new bead will go. A gap of about 1/8 to 3/16 inch is enough for most tub edges, but follow the width of the joint you are sealing.
Press the tape edges down firmly so caulk does not bleed underneath. Have paper towels ready before you open the tube; silicone gets messy fast.
Step 5: Apply a Steady Bead
Cut the caulk tube nozzle at a 45-degree angle. Start with a small opening; you can always cut it larger. Pierce the inner seal if your tube has one, load it into the caulk gun, and squeeze until caulk reaches the tip.
- Hold the gun at a steady angle.
- Start in a corner and pull the gun toward you, keeping even pressure on the trigger.
- Try to make one continuous bead along each side of the tub.
- Release the pressure tab on the caulk gun when you stop so extra caulk does not ooze out.
The goal is not a giant mound of caulk. You want enough sealant to bridge the joint and touch both surfaces, without leaving a bulky ridge that traps water.
Step 6: Tool the Caulk Smooth
Put on a disposable glove and lightly smooth the bead with a damp fingertip or a caulk finishing tool. Use one steady pass if you can. Too much fussing can make the bead lumpy.
If you used painter’s tape, pull it off while the caulk is still wet. Pull the tape up and away from the bead slowly. Then, if needed, make one very light final pass to settle the edges.
Step 7: Let It Cure Before Using the Tub
Follow the cure time on your exact tube. Some silicone sealants allow limited water exposure quickly, while others need 24 hours or longer. DAP’s Kwik Seal technical information, for example, notes longer drying and paint-ready times for certain formulas, which is why reading the label matters. ([dap.ca](https://www.dap.ca/media/10938/cda_dap-kwik-seal_kb-adhesive-caulk_clear_en.pdf?utm_source=openai))
For the safest result, keep the bathroom ventilated, avoid touching the bead, and do not shower until the sealant has cured as directed. Humidity, thick beads, and cool rooms can slow curing.
Common Bathtub Caulking Mistakes
- Caulking over old caulk: This creates a weak bond and usually peels.
- Sealing in moisture: A damp joint can lead to mold and adhesion failure.
- Using the wrong product: General-purpose painter’s caulk is not made for constant wet conditions.
- Making the bead too large: Oversized caulk lines collect grime and look sloppy.
- Using the shower too soon: Water can damage the bead before it has cured.
How to Keep New Caulk Looking Clean
After showers, run the bath fan or open a window to reduce humidity. EPA guidance notes that increasing ventilation and cleaning more frequently can help keep recurring bathroom mold to a minimum. ([epa.gov](https://www.epa.gov/mold/brief-guide-mold-moisture-and-your-home?utm_source=openai))
Wipe the tub edge dry when you think of it, especially in bathrooms used every day. Avoid harsh scrubbing pads on silicone, and clean with a mild bathroom cleaner before soap scum builds up. A well-prepped silicone bead can last for years, but only if moisture is controlled and the joint is kept reasonably clean.
The Bottom Line
Recaulking a bathtub is not hard, but it is picky work. Remove all the old caulk, clean the joint, let it dry completely, use a bathroom-rated silicone, and give it time to cure.
If you do those steps carefully, your new caulk line will look neater, seal better, and stand up to daily showers much longer than a rushed patch job.