How to Clean a Bathroom Exhaust Fan the Right Way
If your bathroom mirror stays foggy long after a shower, the exhaust fan may not be doing its job. Sometimes the problem is not the fan itself, but the layer of dust and lint packed onto the grille, fan blades, and housing.
Here is how to clean a bathroom exhaust fan safely, without making a dusty mess or damaging the motor. This is a simple home maintenance job most people can do in 20 to 40 minutes.
Why a Clean Bathroom Fan Matters
A bathroom exhaust fan is there to move humid air outdoors. The EPA recommends using a bathroom fan that vents outside, or opening a window when conditions allow, during and after showers to help remove moisture. The EPA also notes that moisture control is key because damp conditions can encourage mold, dust mites, and other indoor air problems. ([epa.gov](https://www.epa.gov/indoor-air-quality-iaq/biological-contaminants-and-indoor-air-quality?utm_source=openai))
When the fan is coated in dust, it can get louder, move less air, and take longer to clear steam. That means more moisture sitting on painted walls, ceilings, grout, trim, and cabinets. Cleaning will not fix a broken motor or a poorly routed duct, but it is the first thing to try before assuming the fan needs replacement.
How Often Should You Clean a Bathroom Exhaust Fan?
For most homes, clean the bathroom fan every 6 months. If the bathroom is used daily by several people, if you use a lot of powder or hair spray, or if the grille looks fuzzy with dust, clean it every 3 to 4 months.
You should also clean it if you notice any of these signs:
- The fan sounds louder or rattlier than usual.
- The mirror and walls stay wet for a long time after showers.
- Dust is hanging from the grille slots.
- The cover no longer sits flat against the ceiling.
- You smell mustiness even after cleaning the bathroom.
What You’ll Need
- Step stool or small ladder
- Safety glasses or glasses you do not mind dusting off
- Vacuum with brush attachment or crevice tool
- Microfiber cloths
- Small soft brush, old toothbrush, or paintbrush
- Warm water
- Mild dish soap
- Towel
- Flashlight
- Optional: compressed air, used carefully and sparingly
Do not spray cleaner directly into the fan housing. Moisture and electrical parts are a bad mix. If a cloth is damp, wring it very well before using it near the fan.
Step 1: Turn Off the Power
Turn the fan switch off first. For the safest cleaning, also turn off power to that bathroom circuit at the breaker, especially if you plan to reach inside the housing. Many fan manuals warn users to disconnect power before servicing the fan or motor. ([homedepot.com](https://www.homedepot.com/catalog/pdfImages/da/dad1a6a8-d05f-4d8a-be8e-4ceb9b2400eb.pdf?utm_source=openai))
If your fan is combined with a light, wait until the bulb and fixture are cool before touching anything. Set up your step stool on a dry, stable floor and keep one hand free when climbing.
Step 2: Remove the Fan Cover
Most bathroom fan covers are held in place by two spring clips. Gently pull the cover straight down about 1 to 2 inches. You should see wire springs on each side. Squeeze each spring inward and slip it out of the slot in the fan housing.
If the cover does not move easily, do not yank it. Look for a center nut, screw, or light lens that needs to come off first. Older fan covers can become brittle, so slow pressure is better than force.
Step 3: Wash and Dry the Cover
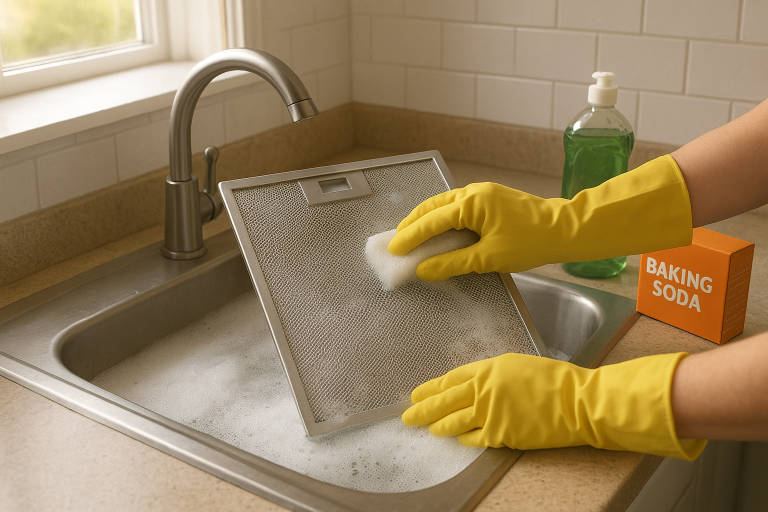
Fill a sink or basin with warm water and a few drops of dish soap. Swish the cover around, then scrub between the grille openings with a soft brush. Rinse well.
Dry the cover completely with a towel and let it air-dry while you clean the fan housing. Do not reinstall a wet cover over electrical parts.
Step 4: Vacuum the Fan Housing
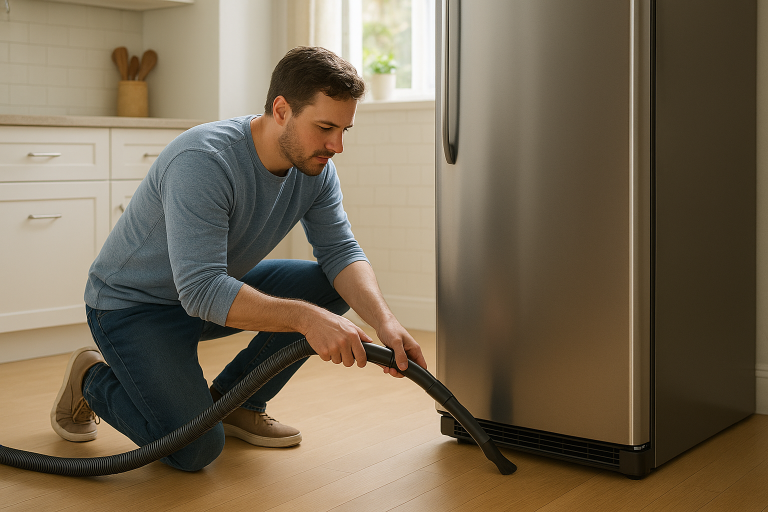
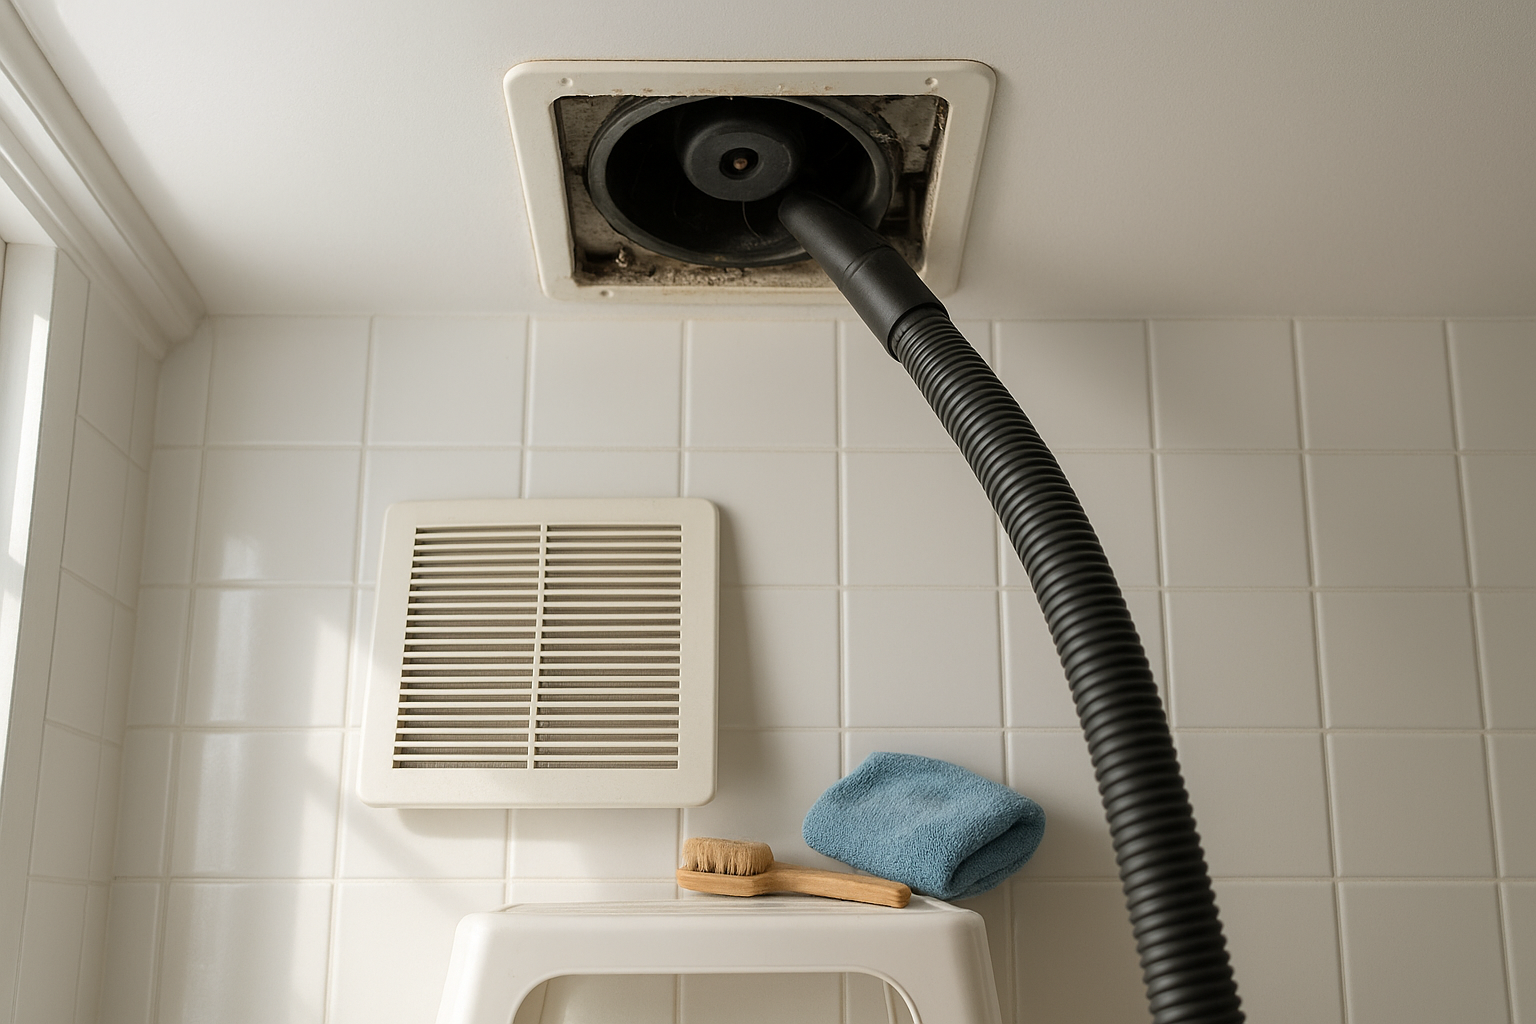
Use the vacuum brush attachment to remove loose dust from the inside of the fan housing, the fan blades, and the area around the motor. Work slowly so dust goes into the vacuum instead of falling onto the floor.
A crevice tool helps around the corners, but be gentle. Avoid bumping wires, bending the fan wheel, or pressing hard on the motor. If your fan has a plastic squirrel-cage wheel, rotate it lightly with your fingers only if the power is off.
Step 5: Wipe the Blades and Housing
Dampen a microfiber cloth with plain water or very mild soapy water, then wring it until it is barely damp. Wipe the inside surfaces you can reach easily. For tight spots, wrap the cloth around a toothbrush handle or use a dry paintbrush to loosen dust before vacuuming again.
Do not soak the motor. Do not use bleach, foaming bathroom cleaner, or aerosol sprays inside the fan. Those products can leave residue, damage finishes, or push moisture where it does not belong.
Step 6: Check the Damper and Duct Opening
With the cover off, look for the little flap or damper where the fan connects to the duct. It should move freely. If it is stuck with dust, gently vacuum around it and wipe the edge with a dry or barely damp cloth.
A stuck damper can reduce airflow or allow cold outdoor air to drift back into the bathroom. If you see heavy lint, pest debris, water stains, or disconnected ductwork, stop and consider calling a qualified handyman, roofer, or HVAC professional. Bathroom fans should vent outdoors, not into an attic or wall cavity, because trapped moisture can cause hidden damage. ([iaq.na.panasonic.com](https://iaq.na.panasonic.com/healthy-living/how-to-choose-the-best-bathroom-exhaust-fan-for-your-home?utm_source=openai))
Step 7: Reinstall the Cover
Once the cover is completely dry, squeeze the spring clips and insert them back into the slots. Push the cover up until it sits snugly against the ceiling.
Turn the breaker back on if you shut it off. Then run the fan and listen. A freshly cleaned fan often sounds smoother because the fan wheel is not fighting a blanket of dust.
Quick Airflow Test
Hold a single square of toilet paper near the fan grille while the fan is running. A working fan should pull the paper gently toward the grille and hold it there. This is not a precise airflow measurement, but it is a handy check after cleaning.
If the paper does not move, the fan may have a bad motor, blocked duct, stuck damper, or poor installation. If the fan hums but the blades do not spin, turn it off and have it repaired or replaced.
How Long Should the Bathroom Fan Run?
Run the fan during showers and leave it on afterward long enough to clear damp air. Several home ventilation guides and manufacturers commonly recommend about 20 minutes after a shower, and Lowe’s bathroom fan guidance gives the same 20-minute recommendation. ([lowes.com](https://www.lowes.com/n/buying-guide/bathroom-fan-buying-guide?utm_source=openai))
If people in your house forget, a timer switch can help. A humidity-sensing fan or switch can also be useful in busy bathrooms, though it still needs cleaning just like a standard fan.
When Cleaning Is Not Enough
Cleaning helps a dusty fan, but it will not solve every ventilation problem. Consider replacement or professional help if:
- The fan is very loud even after cleaning.
- It does not pull toilet paper toward the grille.
- The motor smells hot or shuts off randomly.
- Steam still drips down the walls after the fan runs for 20 to 30 minutes.
- You find the duct ends in the attic instead of outdoors.
- The fan is undersized for the bathroom.
ENERGY STAR lists performance criteria for certified ventilation fans, including airflow testing and efficiency standards. If you replace an old fan, choosing a properly sized ENERGY STAR model can mean quieter operation and better efficiency. ([energystar.gov](https://www.energystar.gov/products/ventilation_fans/key_product_criteria?utm_source=openai))
Small Habits That Help Between Cleanings
- Use the fan every shower. Turn it on before the room fills with steam.
- Leave the door slightly open afterward if privacy and household conditions allow, especially once the fan has had time to pull out the heaviest moisture.
- Squeegee shower walls or glass. Less standing water means less humidity for the fan to remove.
- Dust the grille monthly. A quick vacuum from the outside keeps buildup from getting thick.
- Keep the bathroom dry. The EPA recommends keeping indoor humidity under control and addressing moisture sources to reduce mold-friendly conditions. ([epa.gov](https://www.epa.gov/indoor-air-quality-iaq/biological-contaminants-and-indoor-air-quality?utm_source=openai))
The Bottom Line
Learning how to clean a bathroom exhaust fan is a small job with a real payoff. A clean fan can move air more freely, run less noisily, and help your bathroom dry out faster after showers.
Put it on your twice-a-year home maintenance list: spring and fall, or whenever you change smoke detector batteries. Your ceiling, paint, grout, and nose will all appreciate it.