How to Weatherstrip a Drafty Door Before Winter
A drafty exterior door can make a whole room feel chilly, even when the heat is running. The good news is that most door leaks can be improved in an afternoon with basic tools, a few dollars’ worth of weatherstripping, and a careful look at where the air is getting in.
This guide walks you through how to weatherstrip a drafty door so it closes snugly without sticking. You will learn what to buy, where each piece goes, and how to avoid the most common mistakes.
Why Door Weatherstripping Matters
Weatherstripping is meant for moving parts of the house, like doors and operable windows, while caulk is used for stationary gaps, such as cracks around trim or frames. That distinction matters: if you caulk a door shut or use the wrong product on a moving edge, the repair will fail quickly. The U.S. Department of Energy describes weatherstripping as the right material for sealing components that move, including doors. ([energy.gov](https://www.energy.gov/cmei/buildings/articles/energy-efficient-home-improvement-credit-insulation-and-air-sealing?utm_source=openai))
A leaky door can let in cold air, dust, insects, noise, and wind-driven rain. It can also make your heating and cooling system work harder. You do not need to make the door airtight like a submarine; you just want a continuous, flexible seal where the door meets the frame and threshold.
First, Find the Leaks
Before buying anything, inspect the door on a windy day or after dark with a helper and a flashlight.
- Look for daylight. Close the door and check the sides, top, and bottom. If you can see light, air can move through that gap.
- Feel for drafts. Slowly run your hand around the jamb, latch side, hinge side, and threshold.
- Check the paper test. Close the door on a sheet of paper. If the paper slides out with no resistance, that spot needs a better seal.
- Inspect the old weatherstripping. Look for crushed foam, torn rubber, missing sections, loose adhesive, or a sweep that no longer touches the threshold.
Do not skip the bottom of the door. The gap at the threshold is often the largest leak, and it usually needs a door sweep or door shoe rather than the same strip you use on the jamb.
Choose the Right Weatherstripping
The best product depends on your door, your budget, and how permanent you want the repair to be. Here are the most useful options for everyday homeowners.
Adhesive Foam Tape
Foam tape is inexpensive, easy to cut, and simple to apply. It works best for short-term fixes, interior doors to unheated spaces, or doors with fairly even gaps. Use closed-cell foam when possible because it resists moisture better than soft open-cell foam.
The downside is durability. Adhesive foam can compress, peel, or make a door hard to latch if you choose a strip that is too thick. It is handy, but it is not always the longest-lasting choice for a busy front door.
V-Strip or Tension Seal
V-strip, also called tension seal, is folded into a V shape that springs open to bridge small gaps. This Old House describes it as a durable plastic or metal strip that helps fill the space as the door closes. ([thisoldhouse.com](https://www.thisoldhouse.com/doors/the-essential-guide-to-weatherstripping?utm_source=openai))
V-strip is a good choice for slightly uneven gaps, especially on the latch side and top of a door. It is more forgiving than thick foam because it compresses as the door shuts.
Kerf-In Weatherstripping
Many modern exterior doors have a narrow groove, called a kerf, cut into the door frame. If your old seal pulls out of a slot instead of peeling off the surface, you probably have a kerf-style frame. Replacement kerf weatherstripping has a fin that presses into the groove and a soft bulb that seals against the closed door.
This is often the cleanest replacement if your door was built for it. Pull out the old piece, bring a sample to the hardware store, and match the shape and size as closely as possible.
Door Sweep
A door sweep attaches to the bottom of the door and seals against the threshold. Sweeps come with rubber, vinyl, silicone, or brush-style fins. Lowe’s recommends positioning a sweep so the bottom contacts the floor or threshold when the door is closed. ([lowes.com](https://www.lowes.com/n/how-to/weather-strip-your-doors/?utm_source=openai))
For exterior doors, a screw-on sweep is usually sturdier than a peel-and-stick sweep. If your threshold is uneven, a brush sweep can be more forgiving, while a rubber or silicone fin often blocks air and water better on a smooth threshold.
Tools and Supplies
- Replacement weatherstripping for the top and sides
- Door sweep or door shoe for the bottom
- Tape measure
- Utility knife or sharp scissors
- Hacksaw, if cutting a metal sweep
- Screwdriver or drill
- Pencil
- Putty knife or pliers for removing old strips
- Mild soap, water, and a rag
- Rubbing alcohol for final cleaning before adhesive strips
Step-by-Step: How to Weatherstrip a Drafty Door
1. Remove the Old Weatherstripping
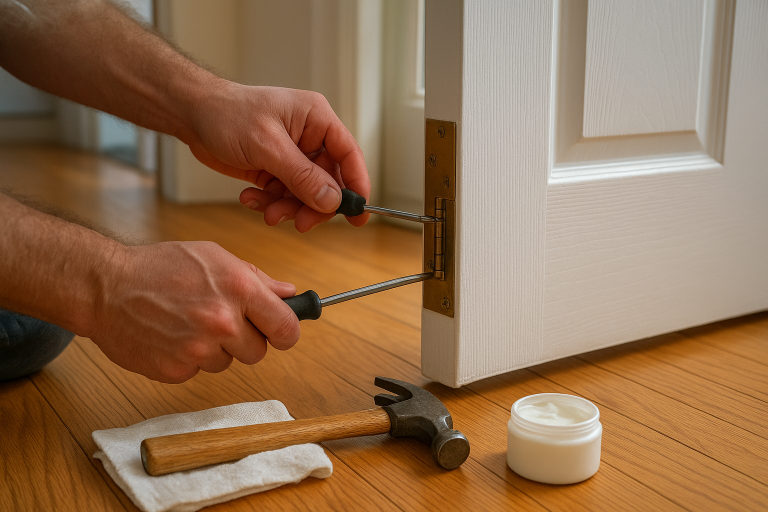
Open the door and pull off the old foam, rubber, or kerf seal. If it is stapled or nailed, use pliers or a small pry tool. If adhesive residue remains, scrape gently with a putty knife.
Work slowly around painted trim so you do not peel up large chips of paint. If paint is already flaking on an older home, follow lead-safe practices before scraping or sanding.
2. Clean and Dry the Surface
Weatherstripping sticks and seats better on a clean surface. Wash the jamb with mild soapy water, rinse with a damp rag, and let it dry completely. For adhesive foam or V-strip, wipe the area with rubbing alcohol after it dries so the adhesive can grip.
3. Measure the Door Jamb
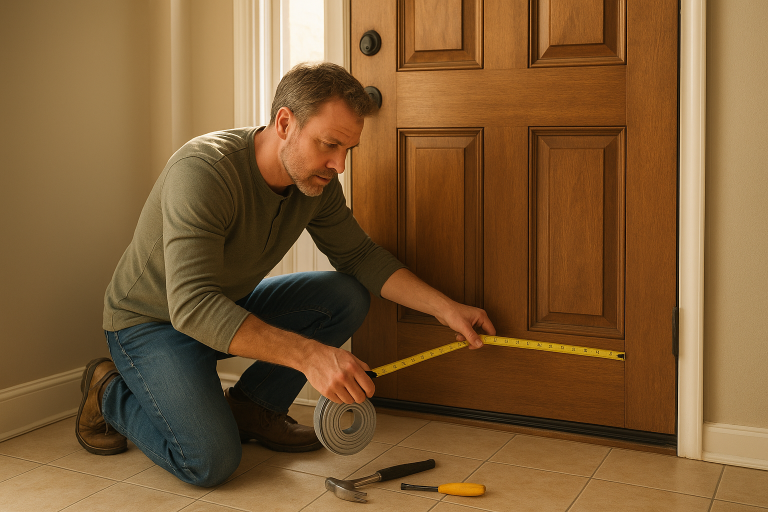
Measure the top of the door frame first, then each side. Cut each piece slightly long, then trim for a neat fit. A tiny gap at the corner can become a cold spot, so aim for clean, meeting corners rather than short pieces.
4. Install the Top Piece
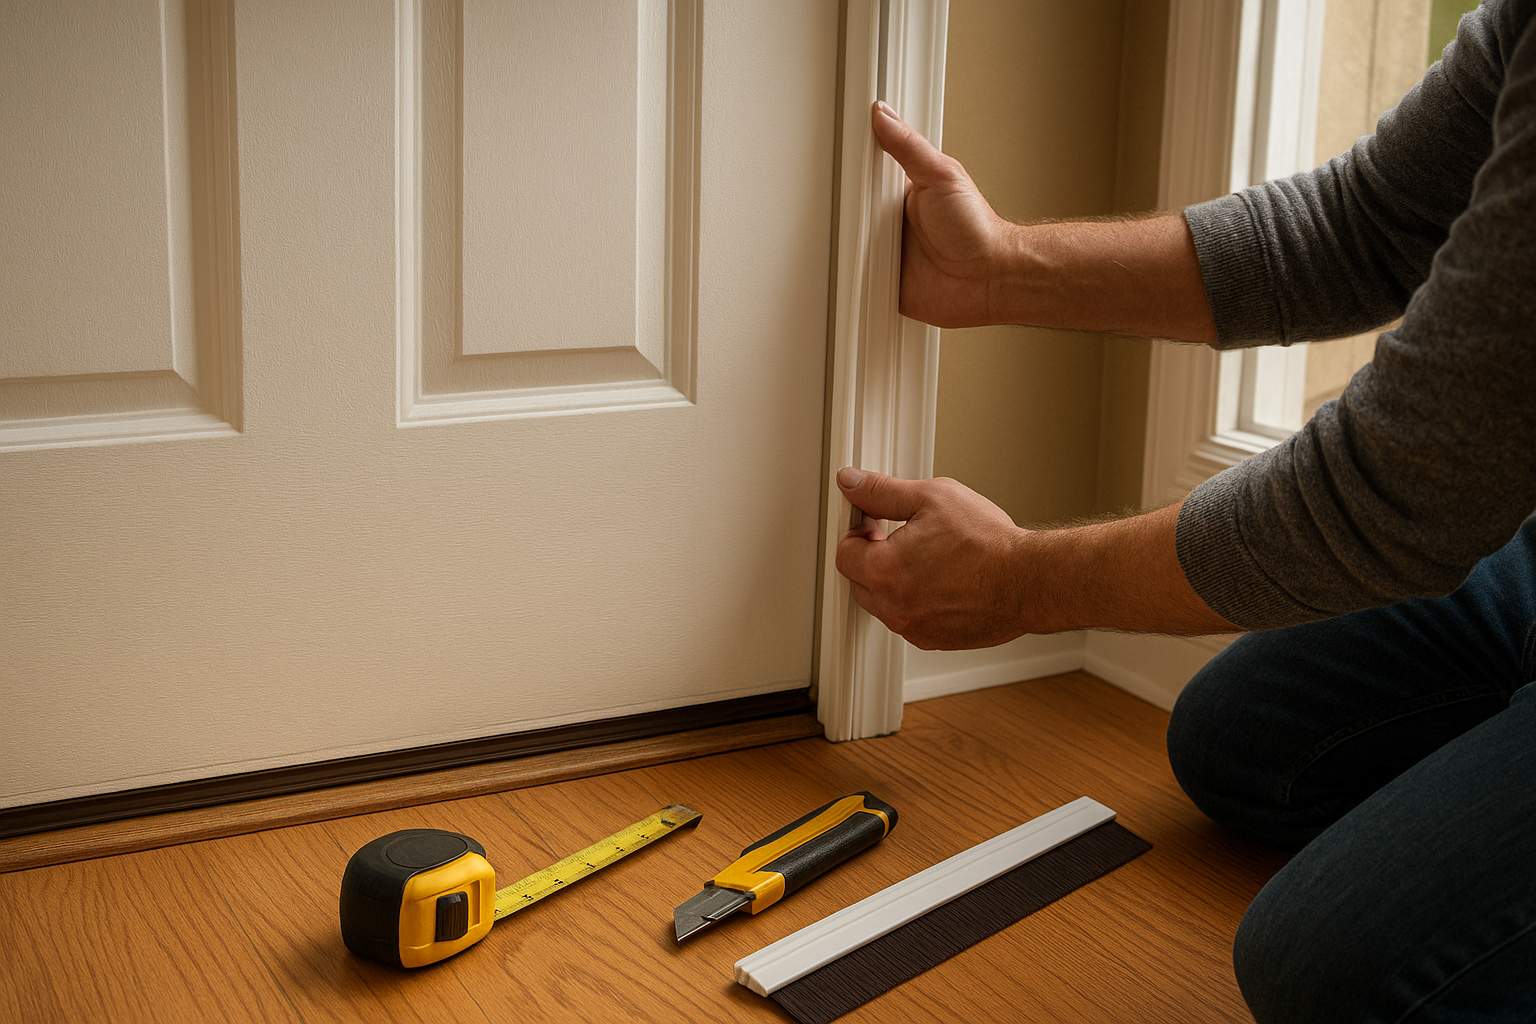
Start with the header, the horizontal piece across the top. For adhesive weatherstripping, peel back only a few inches of backing at a time and press firmly as you go. For kerf-style seals, press the fin into the groove with your fingers or a smooth putty knife. For screw-on metal or vinyl kits, hold the strip in place with the door closed, then fasten it according to the package directions.
5. Install the Side Pieces
Next, install the hinge side and latch side. The weatherstripping should touch the door when it is closed, but it should not be so thick that you have to slam the door. After each side is installed, close and latch the door to check the fit.
If the latch suddenly will not catch, the seal may be too thick near the strike plate. Try compressing it by closing the door for a few hours, or switch to a thinner strip in that section.
6. Replace or Add the Door Sweep
Close the door and measure its width. Cut the sweep to length, trimming the metal channel with a hacksaw if needed and the flexible fin with a utility knife or scissors.
Hold the sweep against the inside bottom face of an inswing exterior door. Adjust it until the fin just contacts the threshold across the full width. Mark the screw holes, drill small pilot holes if needed, and fasten the sweep. Open and close the door several times to make sure it does not drag too hard.
7. Fine-Tune the Threshold
Some exterior doors have an adjustable threshold with visible screws along the top. Turning these screws can raise or lower the threshold slightly to meet the sweep. Make small adjustments and test often. If you raise it too much, the door may bind or the sweep may wear out quickly.
Common Mistakes to Avoid
- Using weatherstripping that is too thick. Bigger is not always better. Too much compression can keep the door from latching.
- Leaving old adhesive behind. New strips fail faster when applied over dirt, dust, or old glue.
- Forgetting the door bottom. A perfect jamb seal will not help much if cold air is pouring under the door.
- Mixing caulk and moving parts. Use caulk around stationary trim gaps, not where the door needs to open and close.
- Ignoring a sagging door. If the door rubs, has a wide uneven gap, or will not latch, tighten hinge screws or adjust the door before weatherstripping.
When Weatherstripping Is Not Enough
If you still feel a draft after replacing the seals, the leak may be around the door frame rather than between the door and jamb. Gaps between the frame and rough opening can be air leakage points, and they may need caulk, backer rod, or low-expansion spray foam behind the trim. Building Science Education notes that gaps around exterior doors and windows can be significant air leakage areas. ([bsesc.energy.gov](https://bsesc.energy.gov/energy-basics/rough-opening-flashing-air-sealing?utm_source=openai))
You may also need a bigger repair if the threshold is rotten, the door is warped, the frame is badly out of square, or water is getting inside during rain. Weatherstripping can improve a sound door, but it cannot fix structural damage.
A Quick Final Check
When you are done, close and latch the door, then repeat the daylight and paper tests. The door should shut without slamming, the sweep should touch the threshold lightly, and the seal should feel continuous around the top and sides.
Once you have done one door, check the others: back doors, basement entries, attic access doors, and the door between the house and garage. A few small fixes can make the house feel noticeably more comfortable before cold weather settles in.