How to Recaulk a Bathtub for a Clean, Watertight Seal
Old, cracked bathtub caulk is more than an eyesore. Once the seal pulls away from the tub or tile, water can sneak behind it and lead to mildew, soft drywall, or hidden damage.
The good news: learning how to recaulk a bathtub is a very doable weekend DIY project. The key is not rushing the prep work. New caulk sticks best to a clean, dry, fully cleared joint—not to old silicone, soap film, or damp grout.
When Should You Recaulk a Bathtub?
Recaulk your tub when you see gaps, cracks, peeling edges, black staining that will not clean off, or caulk that feels gummy or loose. You should also recaulk if water beads behind the caulk line or if the bead has separated where the tub meets the wall.
Do not simply caulk over moldy or failing caulk. The U.S. EPA advises against painting or caulking over moldy surfaces and stresses that moisture problems should be fixed before cleanup is considered complete. In a bathroom, that means removing the bad caulk, drying the area, improving ventilation, and sealing the joint properly.
What Kind of Caulk Should You Use Around a Bathtub?
For the tub-to-tile or tub-to-surround joint, use a 100% silicone kitchen and bath sealant or a high-quality bathroom sealant labeled for tubs, showers, and wet areas. Silicone is flexible and water-resistant, which matters because tubs can shift slightly when filled with water and body weight.
Latex or acrylic “tub and tile” caulks are easier to clean up and may be paintable, but they generally are not as durable in constantly wet joints. Some acrylic bathroom caulks list long cure windows; for example, Loctite’s Polyseamseal Tub & Tile technical data lists a cure time that can range from 1 to 14 days depending on conditions. If the joint will see regular shower spray, silicone is usually the safer pick.
Always read the tube before you buy. Some silicone products are water-ready in as little as 30 minutes, while others need 24 hours or more before exposure to water. GE’s bathroom recaulk guidance, for example, notes that one of its Supreme Silicone Kitchen & Bath products is water-ready in 30 minutes but should be given 24 hours to cure completely.
Tools and Supplies
- Utility knife or caulk removal tool
- Plastic scraper or putty knife
- Needle-nose pliers, for pulling strips of old caulk
- Rubbing alcohol or a bathroom-safe cleaner for residue
- Clean rags or paper towels
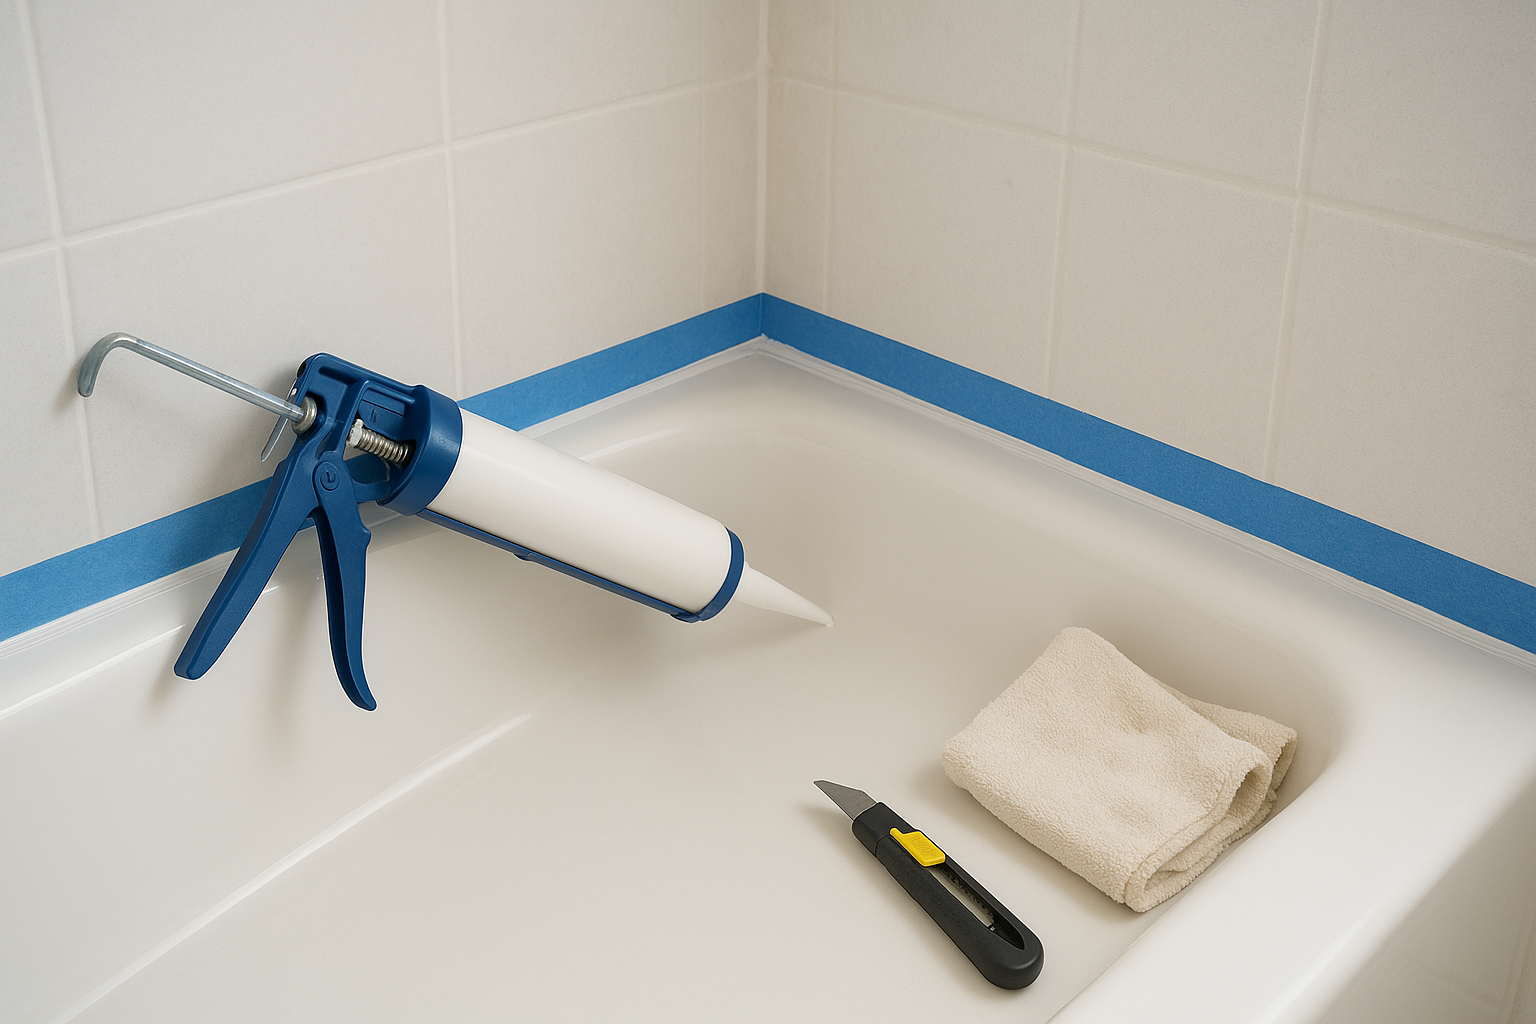
- Painter’s tape
- 100% silicone kitchen and bath sealant
- Caulk gun
- Disposable gloves
- Small cup of water or mineral spirits, depending on the sealant label
- Trash bag
Step 1: Remove Every Bit of Old Caulk
Start with a dry tub. Use a utility knife or caulk removal tool to cut along the top and bottom edges of the old bead. Keep the blade shallow so you do not scratch the tub, cut into a fiberglass surround, or damage grout.
Once the edges are sliced, pull the caulk out in strips with your fingers or needle-nose pliers. Use a plastic scraper to remove stubborn bits. This part is tedious, but it makes the difference between a repair that lasts and one that peels in a month.
If the old caulk is silicone, expect some residue. New silicone does not bond well to old silicone film, so keep scraping until the joint feels clean and smooth.
Step 2: Clean and Dry the Joint
After the old caulk is gone, clean the joint to remove soap scum, body oils, mildew residue, and dust. Rubbing alcohol works well on many ceramic tile and porcelain tub surfaces because it evaporates quickly, but check your tub manufacturer’s instructions if you have acrylic, fiberglass, natural stone, or a specialty finish.
Let the joint dry completely. If water has been getting behind the old caulk, wait longer than you think you need. A fan aimed into the bathroom can help. Caulking over trapped moisture is one reason mildew comes back quickly.
Step 3: Tape for a Straight Line
Painter’s tape is optional, but it helps beginners get a clean, even bead. Apply one strip on the tub and one strip on the wall, leaving the gap you want to fill exposed. For most bathtub joints, the finished bead should be wide enough to bridge the gap without being bulky.
Press the tape down firmly so caulk does not bleed underneath. Keep the lines smooth through the corners.
Step 4: Cut the Caulk Tube Tip Small
Cut the nozzle at a 45-degree angle. Start with a small opening—about the size of the joint or slightly smaller. You can always cut the tip larger, but you cannot make it smaller again.
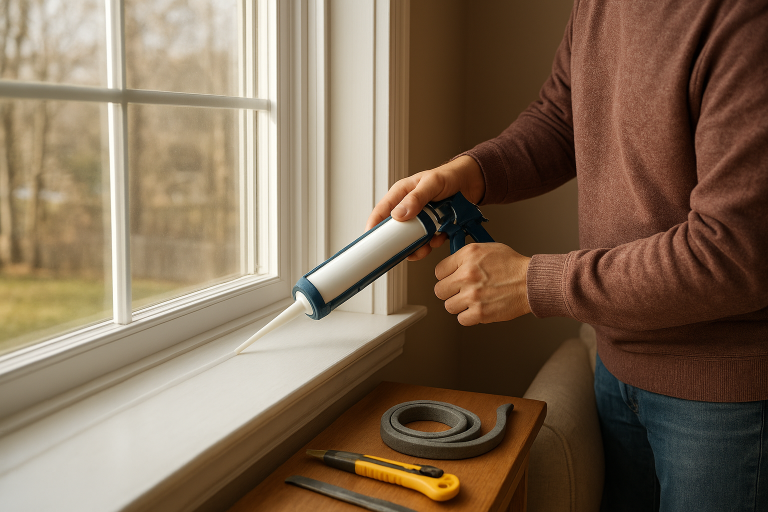
Puncture the inner seal if your tube has one, then load the caulk gun. Squeeze gently until caulk reaches the tip, then release the pressure before you move to the tub.
Step 5: Apply a Steady Bead
Hold the caulk gun at an angle and move steadily along the joint. Try to apply one continuous bead from one end to the other. It is usually easier to pull the gun toward you than to push it away.
Do not overload the joint. A huge bead may look protective, but it can smear, trap moisture, and cure unevenly. Your goal is a smooth seal that contacts both surfaces.
Step 6: Tool the Caulk Before It Skins Over
Most caulks have a short tooling window, so smooth the bead right away. With a gloved finger, caulk finishing tool, or dampened fingertip if the label allows, press lightly and glide along the bead. This pushes the sealant into the joint and shapes the surface.
Wipe excess caulk onto a rag as you go. Avoid going over the same section too many times, which can create ridges and thin spots.
Step 7: Pull the Tape While the Caulk Is Wet
Remove painter’s tape before the caulk cures. Pull it slowly back over itself at a low angle. If the tape leaves a raised edge, lightly smooth the bead one final time.
Release pressure on the caulk gun so it does not keep oozing, then cap the tube according to the label.
Step 8: Let It Cure Before Using the Tub
This is the hardest step in a busy household: keep the tub dry until the sealant is ready for water. Follow the cure and water-ready time printed on your exact tube. Some fast-cure bathroom silicones allow water exposure sooner, while many standard silicones need about 24 hours.
Temperature, humidity, bead size, and ventilation can all affect curing. If you are unsure, give it the full day. A little extra waiting is better than ruining a fresh bead with shower spray too soon.
Common Bathtub Caulking Mistakes
- Caulking over old caulk: New caulk needs a clean surface to bond well.
- Skipping the dry time: Damp joints can lead to poor adhesion and recurring mildew.
- Using the wrong product: Choose a sealant made for wet bathroom areas.
- Cutting the nozzle too large: A smaller bead is easier to control and smooth.
- Waiting too long to remove tape: Pull tape while the caulk is still wet for a crisp edge.
How to Help New Caulk Last Longer
Good caulk still needs a dry bathroom. Run the exhaust fan during showers and for a while afterward, or open a window if that is your only ventilation option. The EPA notes that increasing bathroom ventilation and cleaning more often can help keep recurring shower mold to a minimum.
Wipe down the tub ledge after showers, especially in corners where water sits. Avoid harsh scrubbing tools on the caulk line, and do not use the tub as a soaking station for wet bath mats or cleaning rags.
When to Call a Pro
Call a professional if the wall feels soft, tiles are loose, the tub moves noticeably, or you see signs of water damage below the bathroom. Caulk is a seal, not a structural repair. If the joint keeps opening after you recaulk it, there may be movement, rot, plumbing leakage, or an installation issue that needs more than a fresh bead.
For a normal cracked or mildewed caulk line, though, this is a satisfying DIY fix. Remove the old material carefully, clean and dry the joint, use the right bathroom sealant, and let it cure fully. Your tub will look cleaner—and more importantly, it will be better protected from everyday splashes.