How to Insulate a Garage Door for Winter
If your garage turns icy every winter, the big overhead door is one of the first places to look. Learning how to insulate a garage door can make the space more comfortable for hobbies, storage, laundry, or a workshop—especially when you also seal the obvious drafts around it.
This is a very doable weekend project, but it is not just a matter of sticking foam to the door. A garage door is a moving system with springs, tracks, rollers, and an opener, so the best results come from choosing light materials, sealing gaps first, and checking that the door still moves safely when you are done.
Before You Start: Should You Insulate the Garage Door?
Garage door insulation helps most when the garage is attached to the house, used as a workspace, or located under a bedroom. It can also reduce noise and slow down big temperature swings. But it will not magically turn an unheated, drafty garage into a warm room by itself.
Start by being honest about the garage. If the walls and ceiling are unfinished, the door is only one part of the problem. If cold air is pouring around the edges of the door, insulation panels alone will not fix the draft. Air sealing and weatherstripping usually give the quickest comfort improvement because they stop moving air.
Do not insulate a damaged or poorly operating door. If the door is crooked, the springs look stretched or broken, the opener strains, or the door slams shut, call a garage door technician first. Springs are under high tension and are not a safe DIY adjustment.
What Type of Garage Door Insulation Works Best?
Most homeowners use one of three options: rigid foam board, fiberglass garage door kits, or reflective radiant barrier kits. The right choice depends on your climate, budget, and door style.
Rigid foam board
Foam board is a popular choice because it is lightweight, easy to cut, and gives steady insulation value for the thickness. Look for panels that fit within the recessed sections of your garage door. Common types include expanded polystyrene, extruded polystyrene, and polyisocyanurate. Follow the product label for R-value, thickness, facing, and installation requirements.
Foam board is usually a good all-around pick for cold climates because it adds real resistance to heat flow without adding a lot of weight. Foil-faced boards can look tidy if installed carefully, but any exposed foam must be used according to local fire and building rules.
Fiberglass garage door kits
Fiberglass kits often come with pre-cut batts, facing, tape, and retaining clips. They can perform well when installed snugly, but fiberglass can be itchy to handle and should not be left torn, sagging, or exposed where it will be bumped constantly. Wear gloves, long sleeves, eye protection, and a dust mask when cutting or handling fiberglass.
Reflective kits
Reflective foil kits are lightweight and easy to install. They are most useful where radiant heat is a major issue, such as a garage door that bakes in strong sun. For winter comfort in a cold garage, reflective material by itself may not feel as effective as foam or fiberglass unless the kit includes an air space as directed by the manufacturer.
Tools and Materials
- Garage door insulation kit or rigid foam board
- Tape measure
- Straightedge or yardstick
- Utility knife with sharp blades
- Work gloves and eye protection
- Foil tape or manufacturer-recommended tape
- Retaining clips or compatible construction adhesive, if approved for your door and insulation
- New bottom seal, side seals, or top weatherstripping if needed
- Household cleaner and rags
Avoid heavy materials such as plywood, thick mineral board, or random leftover insulation that adds too much weight. Even a modest weight increase can affect how the springs balance the door.
Step 1: Seal Drafts Before Adding Insulation
Close the garage door on a bright day and look from the inside. If you see daylight at the bottom, sides, top, or between sections, outside air is getting in. Fixing those gaps should come before adding panels.
Check the bottom seal first. It is the rubber or vinyl strip along the bottom edge of the door, and it often becomes flattened, brittle, or chewed up over time. Many doors use a T-style or bulb-style insert that slides into a track, but styles vary. Take a small piece or a clear photo to the hardware store so you buy the right replacement.
Next, inspect the side and top weatherstripping, often called garage door stop molding. It should lightly contact the closed door without bending so hard that it interferes with movement. Replace cracked or shrunken trim, and fasten it so the flexible flap seals against the door face.
Finally, check the door between the house and attached garage. Weatherstrip that entry door and add a door sweep if you can feel cold air under it. For an attached garage, this door is also an important safety barrier, so it should close and latch properly.
Step 2: Measure Each Door Panel
Garage door panels are not always identical, so measure every section instead of assuming they match. Measure the width and height of each recessed panel where the insulation will sit. Subtract about 1/8 inch from each dimension so the pieces fit without bowing.
Number the panels with painter’s tape or a simple sketch. This saves frustration later, especially on double garage doors where small differences can add up.
Step 3: Cut the Insulation Cleanly
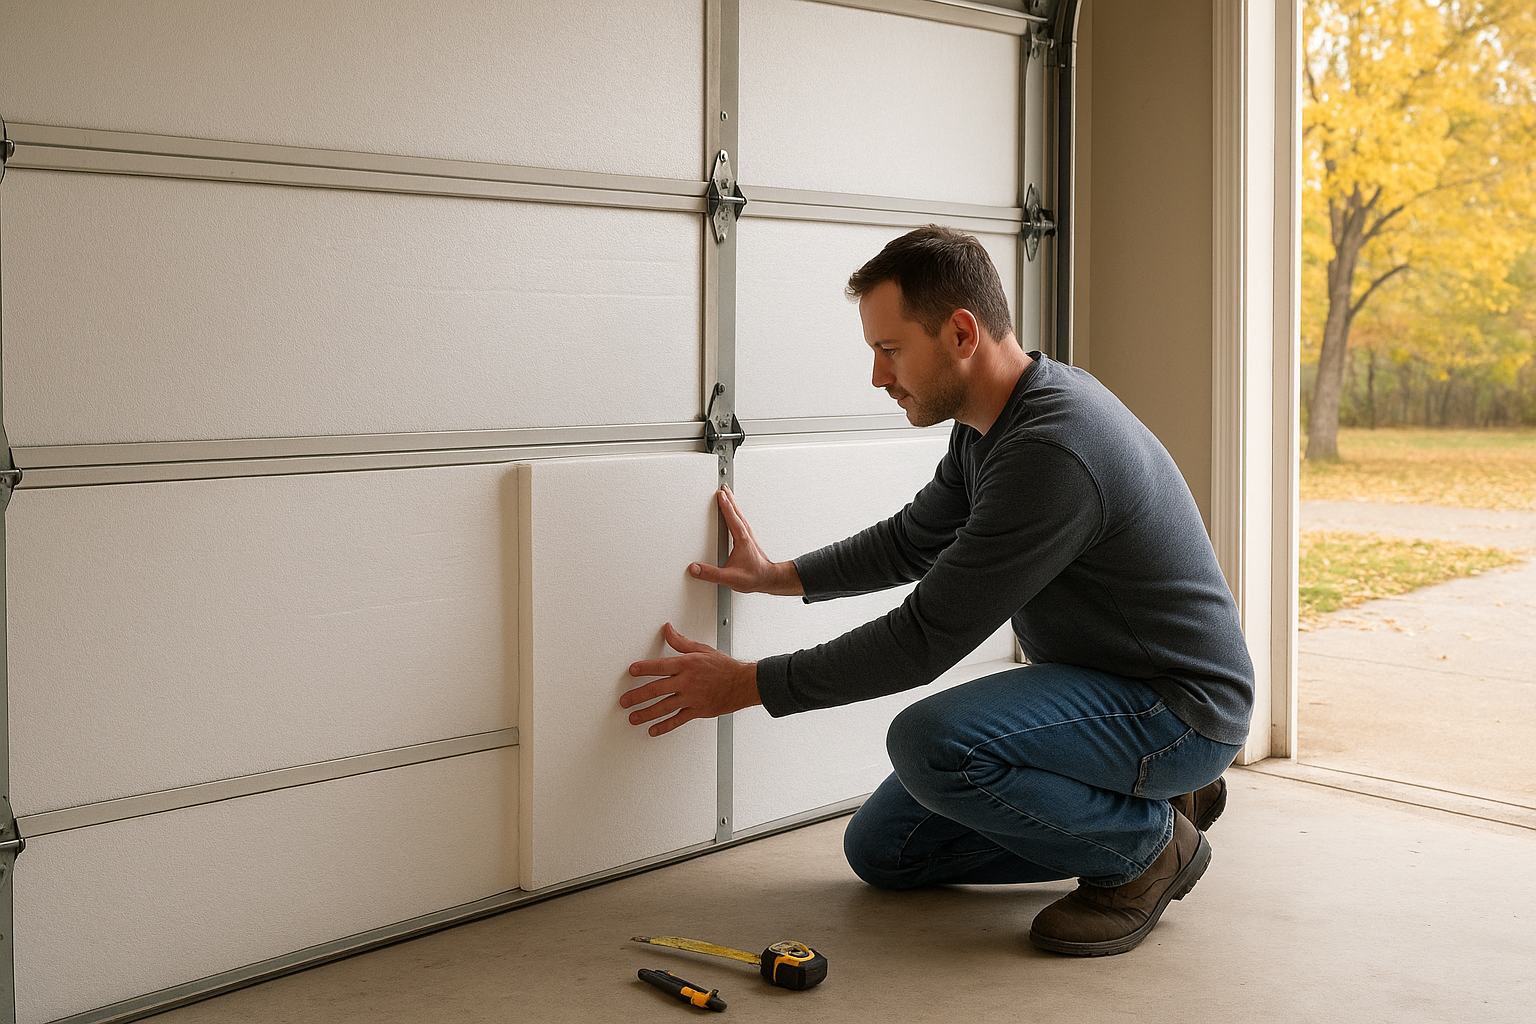
Lay the insulation on a scrap board or protected surface. Use a straightedge and a sharp utility knife to score foam board, then snap it gently and trim the edge. For fiberglass, follow the kit directions and cut with the facing supported so the material does not tear.
Dry-fit each piece before taping or clipping anything in place. The insulation should sit snugly but not force the metal panel to flex. If it bows outward, trim it smaller. A neat fit matters more than a tight, stressed fit.
Step 4: Fasten the Panels
Use the fasteners recommended by the insulation kit or door manufacturer. Many kits use adhesive-backed retaining clips: one side sticks to the clean door panel, the insulation goes over the clip base, and a cap holds the insulation in place. Press clips firmly onto a clean, dry surface so they bond well.
If you use foam board without a kit, friction may hold it in recessed panels, but tape or compatible adhesive can help. Use products rated for foam and metal. Some adhesives melt foam, and some tapes fail in cold garages, so read labels before applying.
Do not block hinges, rollers, tracks, handles, emergency release cords, or windows that need to remain visible. Keep insulation away from moving hardware. Open and close the door by hand slowly after each row to make sure nothing rubs.
Step 5: Check Door Balance and Opener Strain
After insulating, disconnect the automatic opener using the emergency release cord while the door is fully closed. Lift the door by hand to about waist height and let go carefully. A properly balanced door should stay in place or move only slightly. If it drops quickly or shoots upward, the spring balance may need professional adjustment.
Reconnect the opener only after the door moves smoothly by hand. Watch and listen during the first few opener cycles. If the motor sounds strained, the door reverses, or the panels scrape, stop and troubleshoot before regular use.
Common Mistakes to Avoid
- Skipping weatherstripping: Insulation slows heat transfer, but gaps let cold air blow right around it.
- Adding too much weight: Heavy materials can throw off the spring system and shorten opener life.
- Covering moving parts: Hinges, rollers, cables, and tracks must stay clear.
- Using the wrong adhesive: Some glues damage foam or fail on painted metal.
- Expecting a heated room: An insulated door helps, but an unheated garage will still follow outdoor temperatures over time.
Small Extras That Make a Big Difference
Once the door is insulated, spend another hour on the rest of the garage. Caulk small cracks around window trim, seal gaps where pipes or wires pass through walls, and add a sweep to the service door. If the garage ceiling sits below living space, check for missing insulation and air leaks at the rim joist or ceiling penetrations.
If you use the garage as a workshop, add an indoor/outdoor thermometer before and after the project. It gives you a realistic idea of the improvement and helps you spot remaining cold spots.
When to Replace Instead of Insulate
If your door is badly dented, rusted, warped, or already near the end of its life, a new insulated garage door may be a better long-term choice than a DIY kit. Replacement can also make sense if you have large gaps from a poor fit, damaged sections, or an opener that already struggles.
For a sound door, though, adding insulation and fresh seals is a practical weekend upgrade. Start with drafts, choose a light insulation material, keep the hardware clear, and check the balance when you are finished. The garage should feel less harsh in winter—and the rooms next to it may feel more comfortable too.