How to Clean Window Screens Without Damaging Them
Dirty window screens make clean windows look dusty, and they can hold onto pollen, cobwebs, grit, and mildew after a humid spell. The good news is that you do not need special equipment or harsh cleaners to get them looking better.
This guide walks you through how to clean window screens safely, whether you can remove them or need to wash them in place. The key is gentle pressure, mild soap, and letting the screens dry fully before closing everything back up.
What You’ll Need
- Vacuum with brush attachment or a soft handheld brush
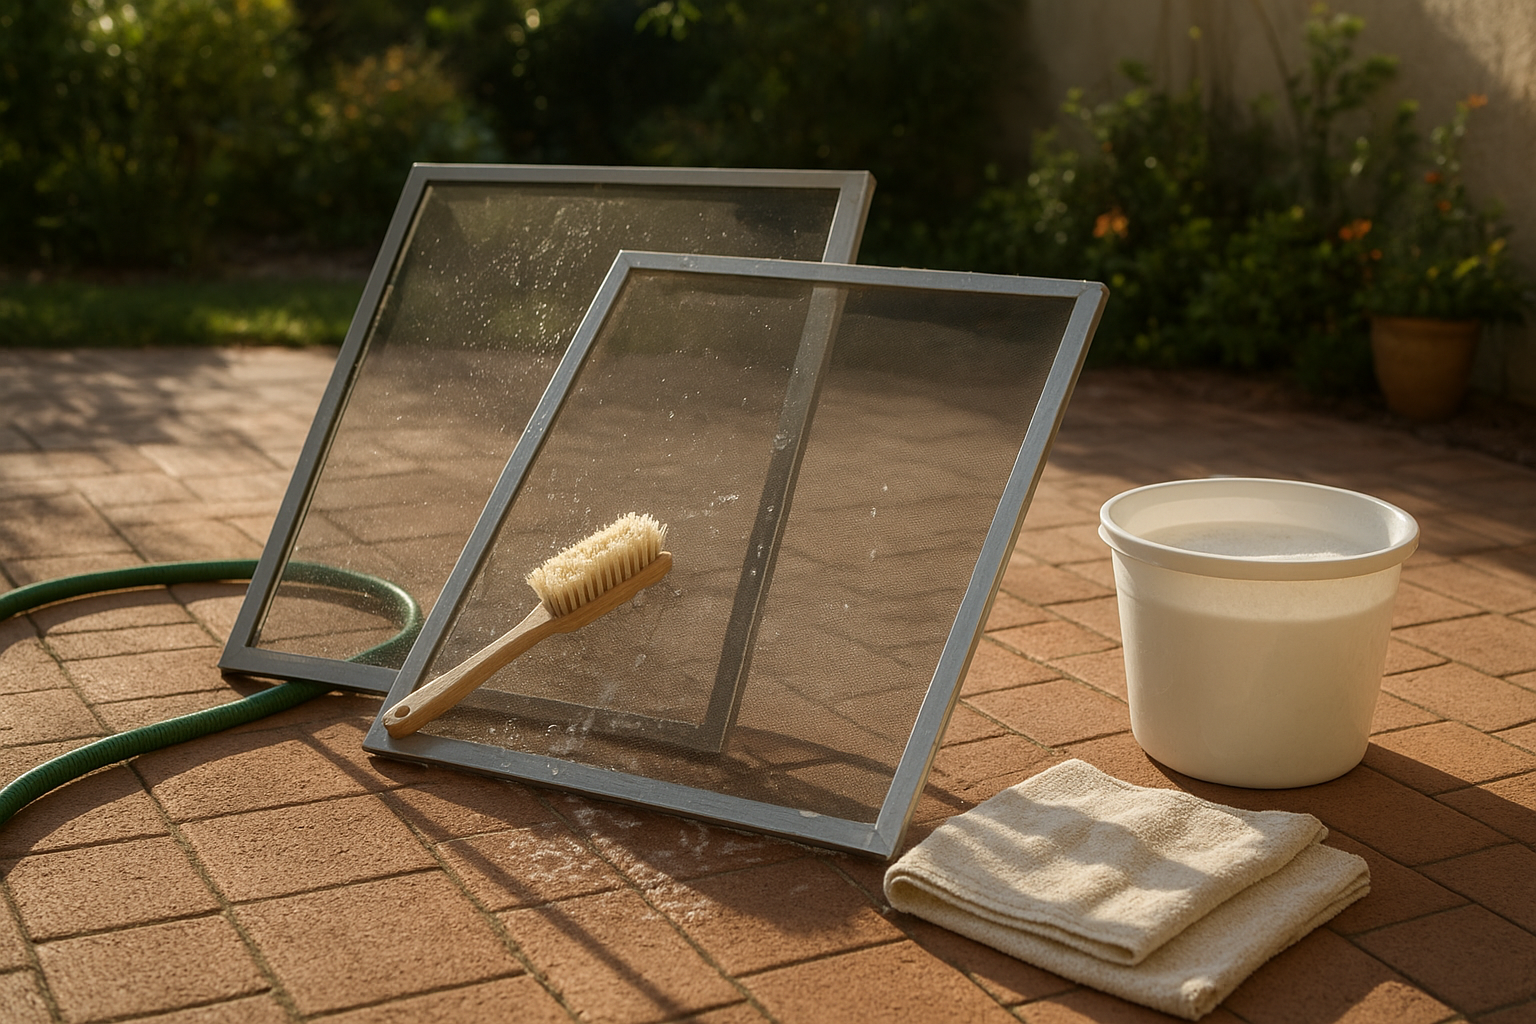
- Bucket of warm water
- A few drops of mild dish soap
- Soft-bristle brush, sponge, or microfiber cloth
- Garden hose with gentle spray setting, if cleaning outdoors
- Old towels
- Painter’s tape and marker, optional for labeling screens
- Rubber gloves, optional
Avoid pressure washers, stiff wire brushes, abrasive pads, and strong cleaners unless the screen manufacturer specifically says they are safe. Window screen mesh can stretch, tear, or pull loose from the frame if it is scrubbed too hard.
How Often Should You Clean Window Screens?
For most homes, cleaning window screens once or twice a year is enough. A good schedule is spring, before you start opening windows often, and late summer or early fall if pollen, dust, wildfire smoke, or yard debris has built up.
You may need to clean them more often if you live near a busy road, have pets pressing noses against lower screens, run sprinklers near windows, or have shaded windows that stay damp. Damp, dirty screens are more likely to develop mildew, so drying matters as much as washing. The EPA recommends drying wet materials promptly to help prevent mold growth, and its cleanup guidance for hard surfaces commonly starts with water and detergent followed by thorough drying. ([epa.gov](https://www.epa.gov/mold/how-do-i-get-rid-mold?utm_source=openai))
Best Method: Remove and Wash Screens Outside
If your screens come out easily, this is the most thorough way to clean them. Work on a mild day if possible, and choose a shady spot so the soap does not dry on the mesh before you rinse it.
- Label the screens first. If you are removing several screens, place a small piece of painter’s tape on each frame and write where it belongs, such as “kitchen left” or “bedroom front.” Screens can look interchangeable until it is time to put them back.
- Remove loose dirt. Lay the screen flat on an old towel or lean it carefully against a wall. Use a vacuum brush attachment or soft brush to remove dust, cobwebs, and pollen before adding water.
- Mix a gentle cleaning solution. Add a few drops of dish soap to a bucket of warm water. You want lightly sudsy water, not a bucket full of foam.
- Wash both sides gently. Dip a soft brush, sponge, or microfiber cloth into the soapy water. Wipe the frame and mesh using light pressure. Support the screen with your other hand if it feels flexible.
- Rinse with low pressure. Use a garden hose on a gentle shower setting. Rinse from top to bottom until the water runs clear and no soap remains. Cleaning experts commonly recommend low-pressure rinsing rather than blasting the mesh. ([hgtv.com](https://www.hgtv.com/lifestyle/clean-and-organize/how-to-clean-window-screens?utm_source=openai))
- Dry before reinstalling. Tap the frame lightly on a towel to shake out trapped water, then stand the screen in a sunny or breezy spot until fully dry.
How to Clean Window Screens Without Removing Them
Some screens are awkward, painted in place, or on upper windows you do not want to fuss with. You can still freshen them up from indoors, though it may not remove heavy grime as well as outdoor washing.
- Protect the sill and floor. Lay towels along the window sill and below the window to catch drips.
- Vacuum first. Use the brush attachment and work gently from top to bottom. Do not press the mesh outward.
- Wipe with barely damp microfiber. Dip a cloth in warm, lightly soapy water, wring it well, and wipe the screen in sections. Rinse the cloth often.
- Wipe again with clean water. Use a second cloth dampened with plain water to remove soap residue.
- Let air move through. Leave the window open if weather allows, or run a fan nearby until the screen and sill are dry.
For a quick maintenance clean, a lint roller can also pick up pet hair and loose fuzz from lower screens. It will not replace washing, but it helps between deeper cleanings.
How to Remove Mildew from Window Screens
If you see gray or black specks, especially on shaded porch or bathroom windows, start with the mild soap method above. Scrub gently and give the screen extra drying time in sun and fresh air.
For stubborn mildew on vinyl-coated or aluminum screens, you can try a stronger wash of warm water with a small amount of oxygen bleach, following the product label. Test a small corner first. Do not mix bleach with vinegar, ammonia, or other cleaners. If the screen is old, brittle, or already torn, replacement may be safer than aggressive scrubbing.
Also look for the moisture source. Overgrown shrubs, clogged gutters, leaky window trim, or sprinklers hitting the window can keep screens damp. Cleaning will only last if the area can dry between rains or waterings.
Common Mistakes to Avoid
- Using a pressure washer. It can stretch the mesh, bend the frame, or pop the spline loose.
- Scrubbing with a stiff brush. Use soft bristles and light pressure instead.
- Letting soap dry on the screen. Soap residue attracts more dirt and can leave cloudy marks.
- Reinstalling wet screens. Trapped moisture can encourage mildew on the screen, sill, or trim.
- Forgetting the frame and track. Dirt in the frame corners can transfer right back onto the clean mesh.
Don’t Forget the Window Tracks
While the screens are out, take a few minutes to clean the tracks. Vacuum loose dirt first, then wipe with warm soapy water and an old toothbrush or small detail brush. Dry the track with a towel before putting the screen back.
This is also a good time to inspect the screen frame. Look for bent corners, loose pull tabs, sagging mesh, or brittle spline. Small holes can be patched with a screen repair patch, but if the mesh is wavy, torn in several places, or pulling out of the frame, rescreening may be worth the effort.
Should You Remove Screens Seasonally?
In some homes, removing certain screens during the off-season can let in a little more daylight and reduce the amount of dirt that collects on them. In summer, however, screens are useful for ventilation and pest control. Window design and coverings also affect heat gain and comfort; the Department of Energy notes that windows play a role in managing unwanted summer solar heat gain. ([energy.gov](https://www.energy.gov/cmei/buildings/windows?utm_source=openai))
If you store screens, clean and dry them first. Stand them upright in a dry garage, basement, or storage room where they will not be bent. Slip an old sheet or towel between screens to prevent rubbing.
A Simple Maintenance Routine
Once your screens are clean, keep them that way with a quick monthly pass during open-window season. Vacuum visible dust, wipe fingerprints or pet marks from lower screens, and trim plants that brush against the mesh.
Clean window screens are one of those small home jobs that make a room feel fresher right away. Use mild soap, rinse gently, dry thoroughly, and your windows will look brighter without risking damage to the screens.