How to Clean a Dryer Vent So Clothes Dry Faster
If your towels need two cycles to dry or the laundry room feels hotter than it should, the dryer vent may be clogged with lint. Learning how to clean a dryer vent is a simple home maintenance job that can help clothes dry faster, reduce strain on the appliance, and lower a real fire risk.
This guide walks you through the job step by step, including what to clean every load, what to clean a few times a year, and when it is smarter to call a pro.
Why Cleaning a Dryer Vent Matters
A dryer works by moving warm, moist air out of the drum and through a vent to the outdoors. When lint builds up in the lint trap housing, flexible hose, wall duct, or exterior vent cover, airflow slows down. That means damp air stays trapped longer, so the dryer runs hotter and longer than it should.
The safety reason matters, too. The National Fire Protection Association recommends cleaning the lint filter before or after every load and cleaning lint out of the vent pipe if clothes take longer than normal to dry. ENERGY STAR also notes that cleaning the lint filter after every load improves air circulation and dryer efficiency. In plain terms: lint is not just messy. It blocks airflow, wastes energy, and can become dangerous around heat.
Signs Your Dryer Vent Needs Cleaning
You do not have to wait for a major clog. Clean the vent if you notice any of these warning signs:
- Clothes take longer than one normal cycle to dry, especially towels, jeans, or bedding.
- The dryer top or laundry room feels unusually hot while the machine is running.
- Clothes smell musty or overly hot when the cycle ends.
- Lint collects around the dryer, behind the machine, or outside the vent flap.
- The outside vent flap barely opens when the dryer is running.
- The dryer shuts off mid-cycle or displays an airflow warning.
Even if you clean the lint screen every time, lint still slips past it. A once-a-year deeper cleaning is a good routine for many homes. Clean more often if you do several loads a day, have pets, dry lots of fleece or towels, or have a long vent run.
What You’ll Need
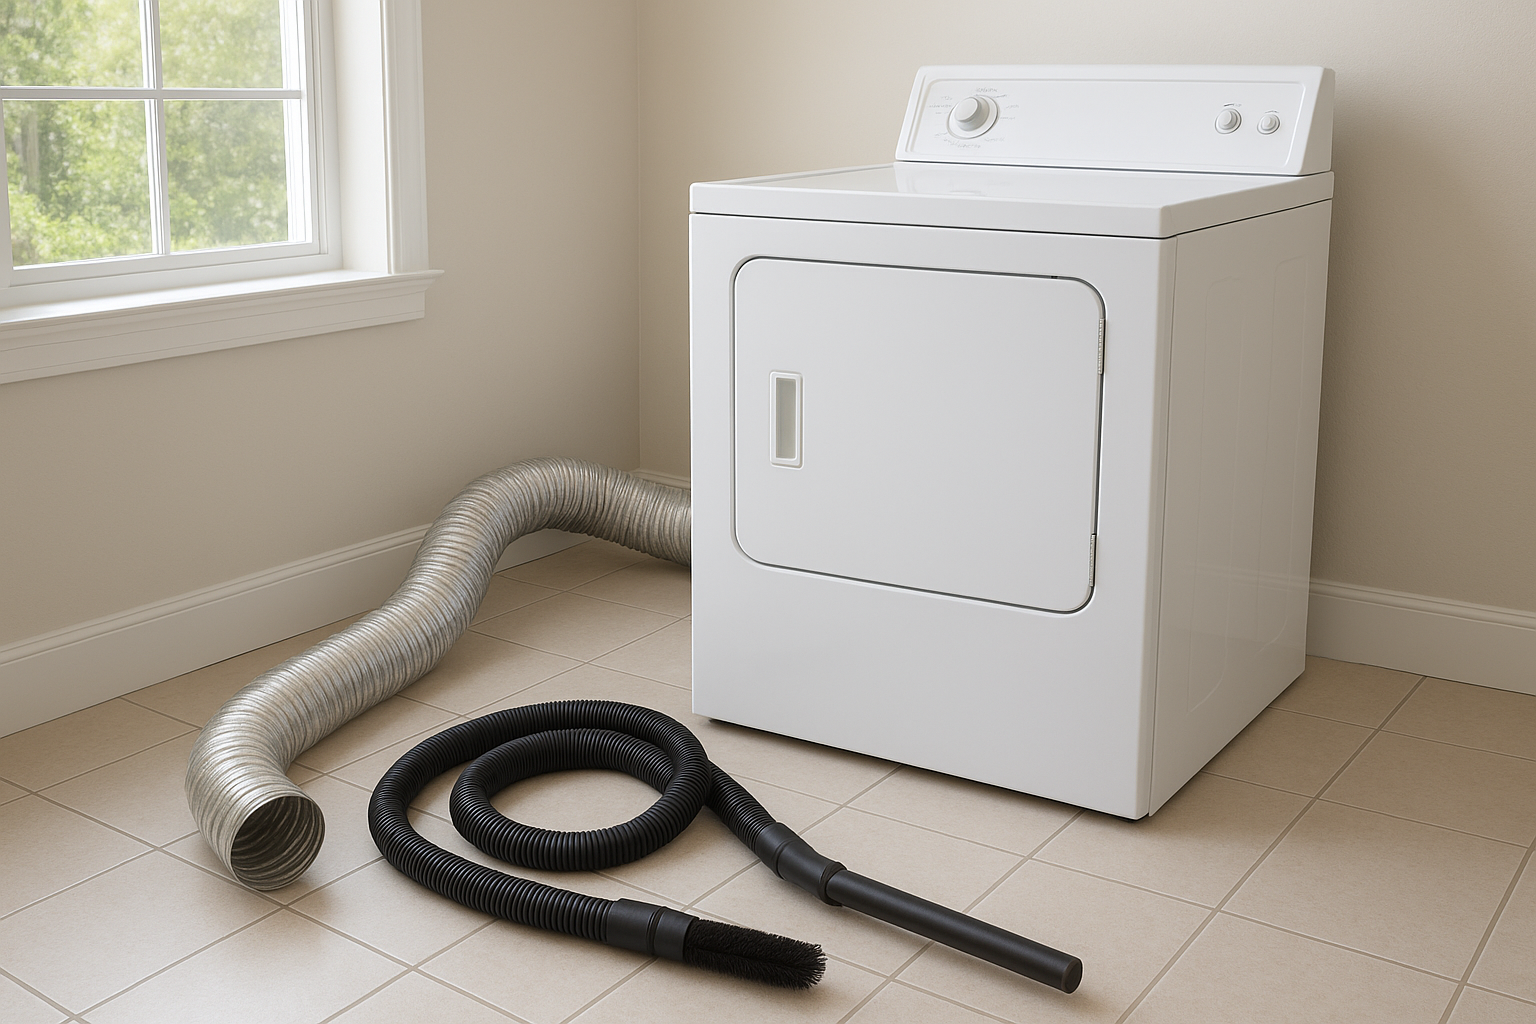
- Vacuum with hose and crevice attachment
- Dryer vent cleaning brush or flexible dryer duct brush
- Screwdriver or nut driver, if your hose clamp needs one
- Work gloves
- Flashlight
- Microfiber cloth
- Replacement metal foil tape or clamp, if needed
- Optional: drill-powered dryer vent brush kit for long ducts
Avoid using flimsy plastic ducting if you discover it behind your dryer. Rigid or semi-rigid metal ducting is a better choice for airflow and durability. If your vent hose is crushed, torn, kinked, or made of old plastic, replace it rather than trying to patch it.
Step 1: Unplug the Dryer and Move It Carefully
First, turn the dryer off and unplug it. If you have a gas dryer, do not disconnect the gas line unless you know exactly what you are doing. If moving the dryer would tug on the gas connection, stop and call a qualified technician.
Pull the dryer away from the wall just far enough to reach the vent hose. Move slowly so you do not crush the duct, scratch the floor, or loosen a gas connection. A flashlight helps you see what is happening behind the machine.
Step 2: Clean the Lint Screen and Lint Trap Housing
Remove the lint screen and peel off lint by hand. If the screen looks waxy or coated, wash it with warm water and a little dish soap, then let it dry fully before putting it back. Dryer sheets can sometimes leave residue that restricts airflow through the screen.
Next, use your vacuum crevice tool or a long lint brush to clean inside the lint trap housing. This narrow slot catches more lint than most people expect. Work gently so you do not damage the screen track or push clumps farther inside.
Step 3: Disconnect the Dryer Vent Hose
Loosen the clamp or remove the tape holding the vent hose to the back of the dryer. Slide the hose off the dryer outlet. Then remove the other end from the wall connection if you can reach it easily.
Inspect the hose. If it is packed with lint, kinked, sagging, punctured, or too long, that may be part of the problem. A dryer vent should be as short and straight as practical. Long, twisty, crushed runs slow the airflow and collect lint faster.
Step 4: Vacuum and Brush the Hose
Take the hose outside or keep a trash bag nearby because this part can be dusty. Use the vacuum hose to remove loose lint from both ends. Then run a dryer vent brush through the hose to loosen stuck lint. Vacuum again.
If the hose is flexible foil, be gentle. Do not crush it or poke holes in it with the brush. If it is damaged, replace it. A new short length of semi-rigid metal duct is often easier to keep clean than a long, floppy hose.
Step 5: Clean the Wall Duct
Insert the vent brush into the wall duct and work it forward carefully. Pull it back out often to remove lint instead of packing lint deeper into the duct. If you are using a drill-powered kit, run it slowly and follow the kit directions. Too much speed or force can disconnect hidden duct joints inside the wall.
Vacuum around the wall opening and as far into the duct as your hose can reach. If the duct run is very long, goes up through the roof, or has several bends, a homeowner brush may not reach everything. That is a good time to schedule a professional cleaning.
Step 6: Check the Exterior Vent
Go outside and find the dryer vent cover. Clear away lint, leaves, grass clippings, mulch, snow, or anything else blocking the opening. The flap or louvers should move freely when the dryer runs.
Do not add a fine mesh screen over the vent opening. It may seem like a good way to keep pests out, but it can trap lint quickly and create another clog. If animals are a concern, use a proper dryer vent cover designed for that purpose and check it often.
Step 7: Reconnect and Test the Dryer
Reconnect the vent hose to the dryer and wall. Tighten the clamp or use metal foil tape made for ducts. Do not use regular cloth duct tape; heat and moisture can make it fail.
Push the dryer back into place carefully, making sure the hose is not crushed or kinked. Plug the dryer back in. Run it on an air-only or low-heat cycle for a few minutes, then check the exterior vent. You should feel strong airflow and see the flap opening. If airflow is still weak, there may be a deeper clog, a crushed duct in the wall, or a problem with the dryer itself.
How Often to Clean a Dryer Vent
Use this simple schedule:
- Every load: Clean the lint screen.
- Monthly: Look behind the dryer and check the outside vent flap for lint buildup.
- Every 3 to 6 months: Vacuum inside the lint trap housing if you do a lot of laundry.
- At least yearly: Clean the vent hose, wall duct, and exterior vent.
Large households, pet owners, and anyone who dries heavy fabrics often may need to clean the vent two or three times a year.
When to Call a Professional
Call a dryer vent cleaning pro if the vent runs through the roof, the duct is longer than your brush kit, you smell burning, the dryer keeps overheating, or airflow stays weak after cleaning. Also call for help if you have a gas dryer and cannot safely move it without disturbing the gas line.
A clean dryer vent is one of those small maintenance jobs that pays you back right away. Your dryer can breathe better, your laundry may dry faster, and you will know you have removed a common source of lint buildup before it turns into a bigger problem.