How to Clean a Bathroom Exhaust Fan That’s Full of Dust
If your bathroom mirror stays foggy long after a shower, your exhaust fan may not be doing its job. Dust, lint, and hair collect on the grille and inside the fan housing, making the fan louder and less effective at pulling damp air out of the room.
The good news: cleaning a bathroom exhaust fan is usually a simple home maintenance job. You’ll need about 20 to 30 minutes, a vacuum, a soft brush, and a careful hand around the electrical parts.
Why a Clean Bathroom Fan Matters
A bathroom exhaust fan is there to move moisture and odors outdoors. The EPA notes that bathroom and kitchen fans that exhaust outside help remove moisture and pollutants, and that excess moisture can contribute to mold and mildew problems. ([epa.gov](https://www.epa.gov/indoor-air-quality-iaq/addressing-indoor-environmental-concerns-during-remodeling?utm_source=openai))
When the fan grille is packed with lint, less air can move through it. The motor may sound strained, the bathroom may stay humid longer, and dust can blow back into the room. A quick cleaning once or twice a year can help the fan run more quietly and do a better job after showers.
Before You Start: Safety First
Turn off power to the fan before cleaning it. Use the wall switch first, then shut off the bathroom fan circuit at the breaker if you’ll be reaching inside the housing. Many fan care guides recommend disconnecting power before cleaning or servicing the unit. ([hvi.org](https://www.hvi.org/resources/publications/exhaust-fan/?utm_source=openai))
If your fan is connected to a light, confirm both are off. If you are not sure which breaker controls the fan, stop and ask someone experienced or call an electrician. Do not spray liquid cleaner into the ceiling fan housing, and do not use harsh solvents inside the unit. The Home Ventilating Institute specifically cautions against solvents or harsh chemicals when cleaning exhaust fans. ([hvi.org](https://www.hvi.org/resources/publications/exhaust-fan/?utm_source=openai))
What You’ll Need
- Step stool or sturdy ladder
- Vacuum with brush attachment or crevice tool
- Microfiber cloth
- Soft paintbrush or old toothbrush
- Warm water
- Mild dish soap
- Screwdriver, if your fan cover uses screws
- Towel for drying the cover
- Flashlight
Step 1: Remove the Fan Cover
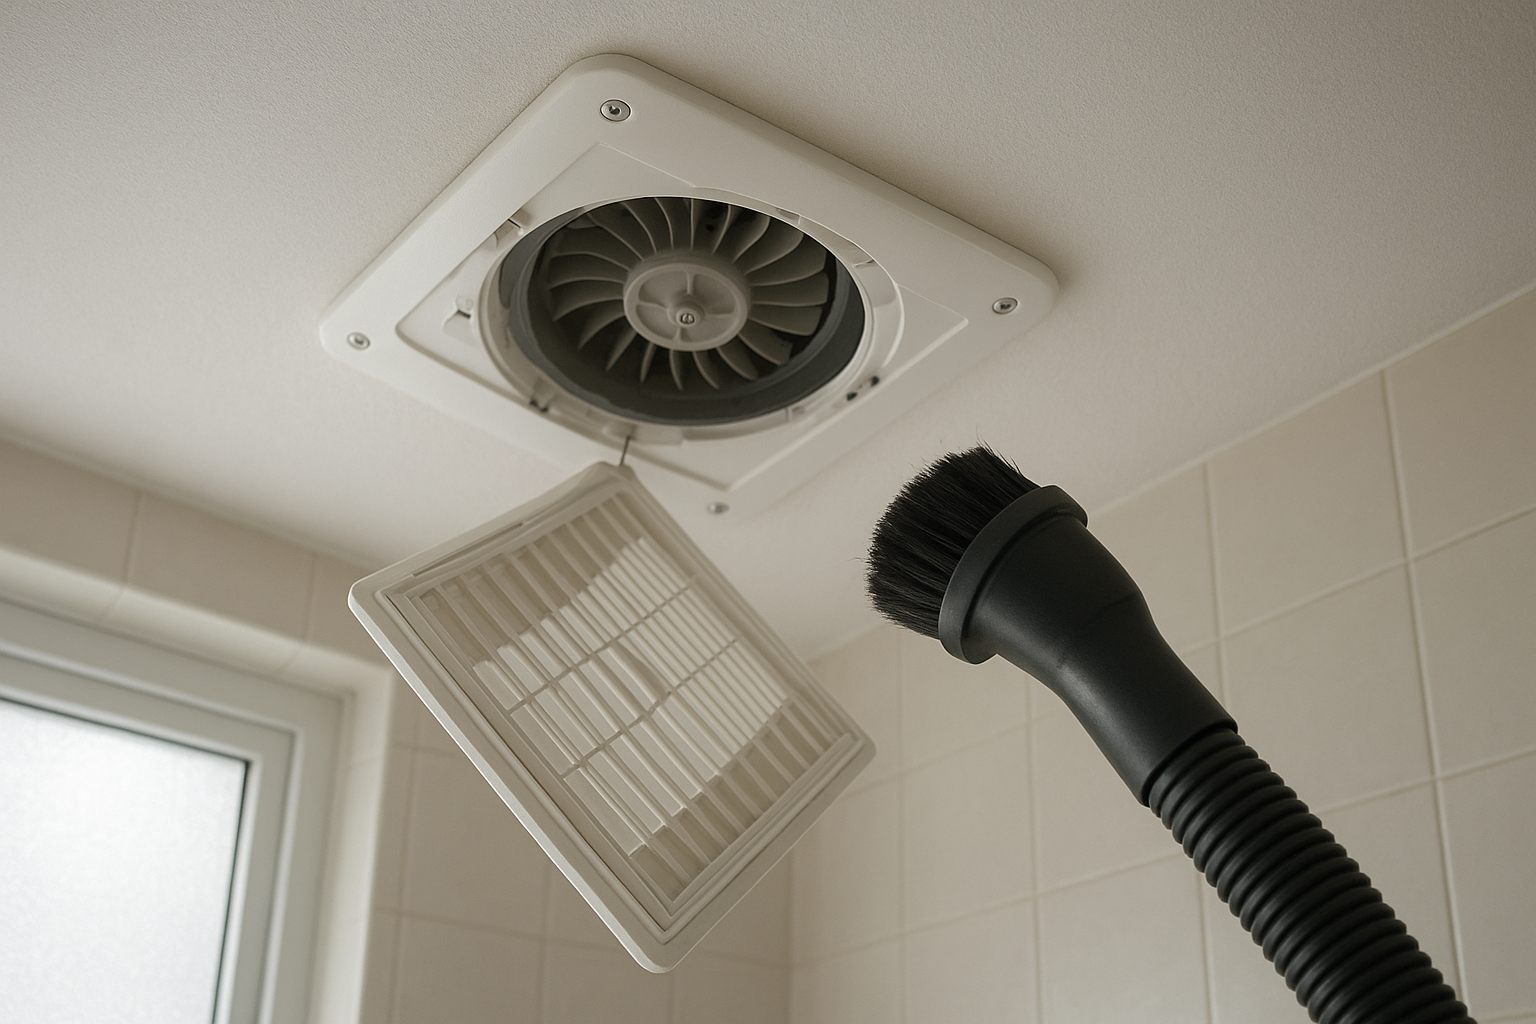
Most bathroom fan covers are held in place by two spring clips. Gently pull the grille straight down an inch or two. You should see thin metal wires on both sides. Squeeze the wires together to release them from the slots, then lower the cover completely.
If your cover is screwed in place, remove the screws and keep them in a small cup so they don’t roll away. If the cover does not move easily, don’t yank it. Paint buildup around the edges can glue it to the ceiling. Score the edge lightly with a utility knife if needed, being careful not to damage the drywall.
Step 2: Wash the Grille
The fan cover usually holds the most visible dust. Fill the sink with warm water and a few drops of mild dish soap. Let the grille soak for 5 to 10 minutes, then wipe it with a cloth or soft brush.
Rinse well and set it on a towel to dry completely. Do not reinstall a wet cover, especially if it has a built-in light or humidity sensor.
Step 3: Vacuum Loose Dust Inside the Housing
With the power off, use a vacuum brush attachment to remove dust from the fan housing, motor area, and corners of the box. Several maintenance guides recommend using a vacuum and brush attachment for the fan body and vents. ([lowes.com](https://www.lowes.com/n/how-to/how-to-clean-bathroom-exhaust-fan?utm_source=openai))
Work slowly. Bathroom fan housings can have small wires, brackets, and plastic parts. The goal is to lift away lint and dust, not shove the hose deep into the mechanism.
Step 4: Brush the Fan Blades or Wheel
Many bathroom fans have a small squirrel-cage blower wheel rather than flat blades. Dust cakes along the ridges and throws the fan off balance, which can make it rattle.
Use a soft paintbrush or old toothbrush to loosen buildup. Hold the vacuum nearby as you brush so the dust gets pulled away instead of falling into your face. If the blower wheel is very greasy or packed solid, check the manufacturer’s manual before trying to remove it. Some fan assemblies are easy to unplug and drop down; others are not meant for casual disassembly.
Step 5: Wipe the Fan Housing
Use a barely damp microfiber cloth to wipe the inside edges of the fan housing and the area around the ceiling opening. Keep moisture away from the motor and wiring. If you need more cleaning power, put a drop of dish soap on the cloth, wipe the surface, then follow with a clean damp cloth.
Avoid soaking anything. This is a ceiling-mounted electrical appliance, not a shower wall.
Step 6: Check the Duct Flap If You Can See It
Some fans have a small damper flap where the fan connects to the duct. If you can see it without taking the fan apart, make sure it is not stuck open or clogged with lint. A stuck flap can let cold air, outdoor smells, or attic air drift back into the bathroom.
You do not need to force your hand into the duct. If you suspect the duct is blocked, disconnected, or venting into the attic instead of outdoors, that is a bigger fix. Bath fans should exhaust to the exterior, not dump moisture into an attic or wall cavity. ([homedepot.com](https://www.homedepot.com/c/ab/hampton-bay-customer-service/9ba683603be9fa5395fab9013e2f681f?utm_source=openai))
Step 7: Reinstall the Cover and Test the Fan
Once the grille is fully dry, squeeze the spring clips and slide them back into their slots. Push the cover gently until it sits flat against the ceiling.
Turn the breaker and wall switch back on. Listen for the fan. It should sound smoother and may move more air than before. You can do a simple tissue test by holding one square of toilet paper near the grille while the fan is running. If the fan is pulling air, the paper should cling lightly to the cover.
How Often Should You Clean a Bathroom Exhaust Fan?
For most homes, clean the fan every 6 to 12 months. Clean it more often if:
- The bathroom is used for daily showers
- You use lots of hair spray or powder products
- The fan sounds louder than it used to
- The grille looks gray or fuzzy
- The room stays steamy after showers
If you are already cleaning ceiling fans, smoke alarms, or air returns, add the bathroom fan to the same seasonal checklist.
When Cleaning Isn’t Enough
A clean fan should pull air steadily and reduce steam. If the bathroom still feels damp, the fan may be undersized, worn out, or poorly ducted. ENERGY STAR guidance commonly points to fan airflow ratings, measured in cubic feet per minute, and many standard bathrooms need at least 50 CFM of exhaust airflow. ([basc.pnnl.gov](https://basc.pnnl.gov/resource-guides/bathroom-exhaust-fans?utm_source=openai))
You may need a replacement fan if the motor hums but barely spins, the unit rattles after cleaning, or it is old and weak. You should also investigate if the duct run is crushed, clogged, or venting into the attic. Moist bathroom air belongs outside.
A Simple Habit That Helps Prevent Mildew
Cleaning the fan helps, but using it correctly matters too. Run the fan while showering and leave it on afterward long enough to clear the humid air. Building America guidance notes that running a bathroom fan after a shower can help with humidity control, and the EPA recommends using bathroom fans or windows during showering to reduce moisture. ([basc.pnnl.gov](https://basc.pnnl.gov/resource-guides/bathroom-exhaust-fans?utm_source=openai))
If people in your house forget, consider installing a timer switch or humidity-sensing fan control. It is a small upgrade that can make the bathroom easier to maintain, especially in colder months when windows stay closed.
Bottom Line
Learning how to clean a bathroom exhaust fan is one of those small home jobs that pays off quickly. Remove the cover, wash the grille, vacuum the housing, brush away dust from the fan wheel, and keep liquids away from the motor. Do it a couple of times a year, and your bathroom fan will have a much better chance of keeping steam, odors, and mildew-prone moisture under control.