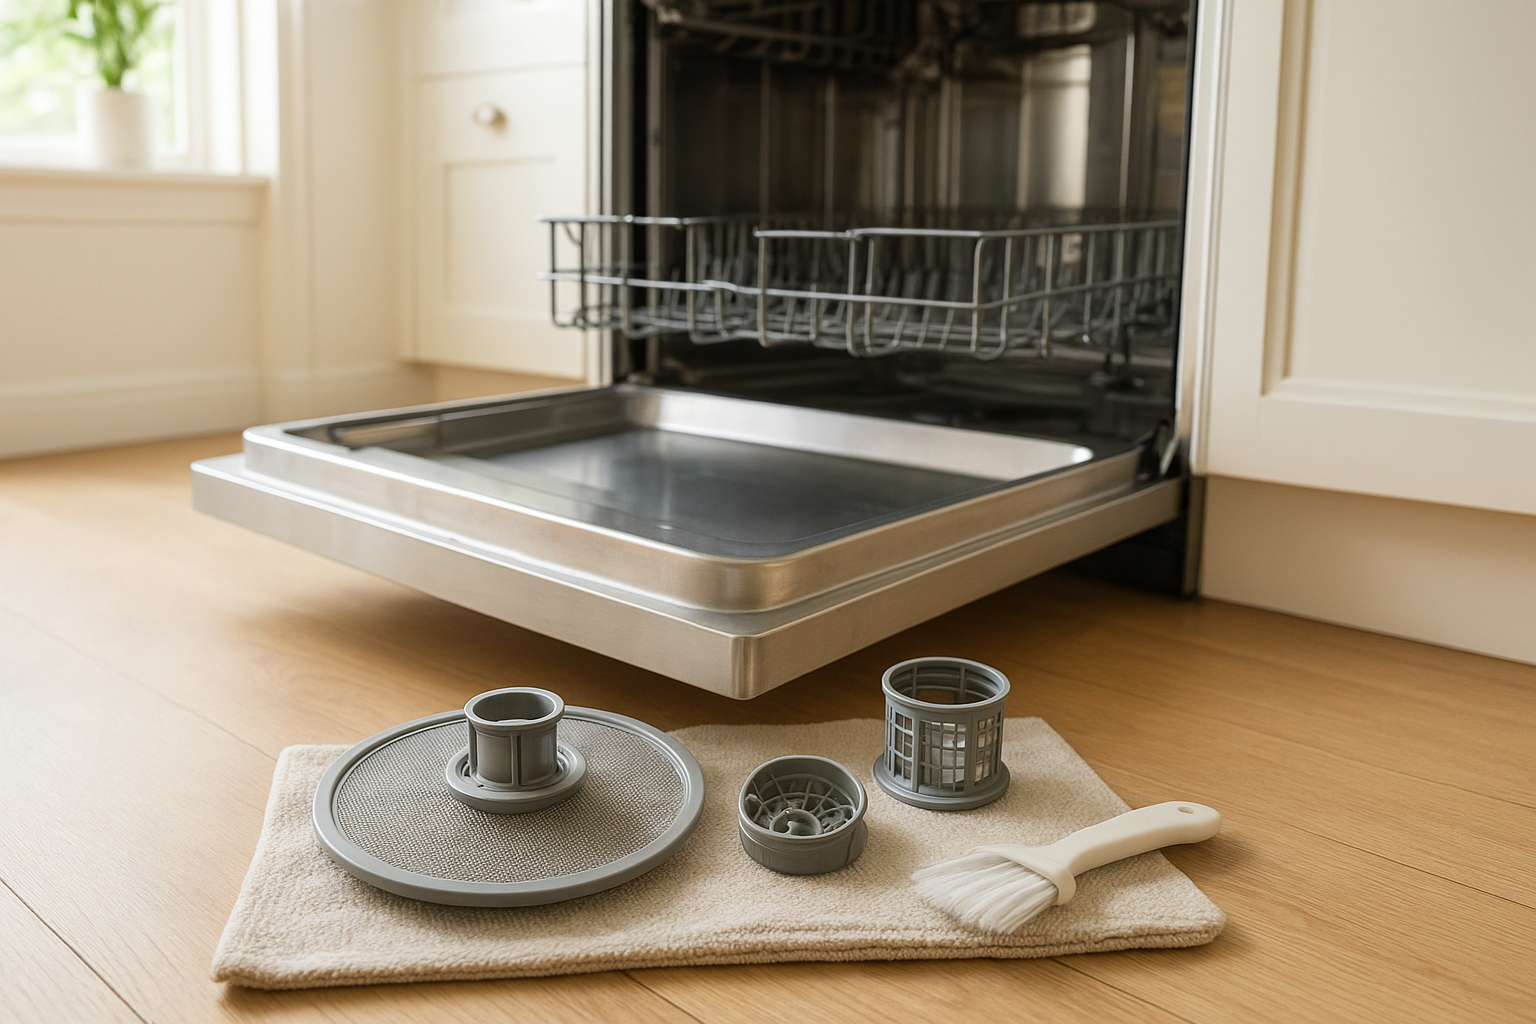
How to Clean a Dishwasher Filter and Spray Arms
If your dishwasher smells musty, leaves grit on glasses, or suddenly does a poor job on the top rack, the machine may not be broken. It may simply need a filter and spray-arm cleaning.
This is one of the most useful dishwasher maintenance jobs you can do at home, and it usually takes less than 30 minutes. The exact parts vary by model, so keep your owner’s manual nearby, but the basic process is similar for many modern dishwashers.
Why the Filter and Spray Arms Matter
Most newer dishwashers have a removable filter assembly near the bottom of the tub. Its job is to catch food bits, labels, seeds, glass chips, and other debris before they recirculate onto your dishes or clog the drain area. GE Appliances notes that a clean filter is important for efficient dishwasher performance, and Whirlpool’s current quick-start guidance also reminds users to check that spray arms can spin freely before running a load. ([geappliances.com](https://www.geappliances.com/ge/lifestyles/how-to-deep-clean-your-dishwasher.htm?utm_source=openai))
The spray arms are the spinning plastic arms with small holes that shoot water around the tub. If those holes get blocked by mineral scale, rice, paper labels, or bits of food, water cannot reach the dishes evenly. That is why one shelf may look clean while another comes out cloudy or gritty.
Signs Your Dishwasher Needs This Cleaning
- Dishes feel gritty after a full wash cycle.
- Glasses come out cloudy even with rinse aid.
- The dishwasher has a sour, stale, or swampy smell.
- Food particles collect on bowls or mugs.
- The detergent pod does not fully dissolve.
- The top rack or bottom rack is suddenly not getting clean.
- You hear the spray arm hitting a dish or not spinning freely.
If you have hard water, use the dishwasher heavily, or often wash jars with labels, you may need to clean these parts more often.
What You’ll Need
- Dish soap
- Warm water
- Soft brush or old toothbrush
- Microfiber cloth or sponge
- Toothpick, wooden skewer, or dental brush
- White vinegar, optional for mineral buildup
- Towel for setting parts on the counter
- Your dishwasher manual, if available
Avoid wire brushes, knives, harsh scouring pads, and bleach-based cleaners unless your manual specifically says they are safe. Dishwasher parts are often plastic, and aggressive tools can damage seals, screens, and spray holes.
Step 1: Empty the Dishwasher and Remove the Bottom Rack
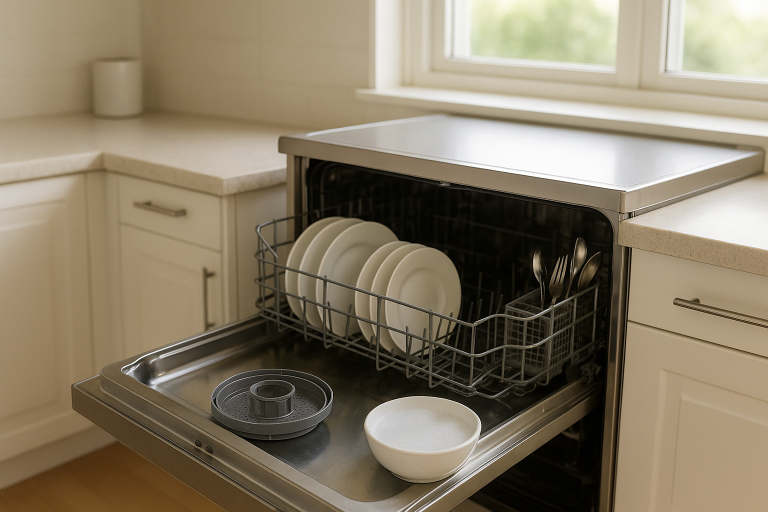
Start with a cool, empty dishwasher. Pull out the bottom rack and set it aside. Look at the floor of the dishwasher tub, especially around the center and back. In many models, the filter assembly sits below or near the lower spray arm.
If there is standing water, broken glass, or a strong burning smell, stop and check your manual or call for service. A little water in the sump area can be normal, but sharp debris and electrical smells are not worth guessing about.
Step 2: Remove the Dishwasher Filter
Most removable filters twist and lift out. You may see a round upper filter, a flat screen, a cup-style filter, or a two-piece assembly. GE support materials commonly describe fine and ultra-fine filters, while Whirlpool diagrams show a filter cup and filter plate on some models. The important point is to remove only the parts your manual identifies as removable. ([products.geappliances.com](https://products.geappliances.com/appliance/gea-specs/GDF640HSMSS/support?utm_source=openai))
- Turn the cylindrical filter counterclockwise if it has a twist-lock design.
- Lift the filter straight up and out.
- Remove any flat screen or lower filter plate if your model allows it.
- Set parts on a towel in the order you removed them.
Tip: Take a quick phone photo before removing the filter. It makes reassembly much easier, especially if there are multiple pieces.
Step 3: Rinse and Scrub the Filter
Rinse the filter under warm running water. Use a soft brush and a drop of dish soap to loosen greasy film, food residue, and coffee-ground-like grit. Brush both sides of the mesh or screen, but do not force bristles through delicate material.
If the filter smells bad, let it soak for 10 to 15 minutes in warm, soapy water. For chalky mineral buildup, soak the plastic parts in a bowl of equal parts white vinegar and warm water, then brush gently and rinse well.
Do not put the dishwasher filter in the dishwasher to clean it. That sounds convenient, but the filter needs to be out of the machine so trapped debris can be washed away instead of recirculated.
Step 4: Clean the Filter Well and Drain Area
Before reinstalling the filter, look into the opening where it sits. Remove any visible seeds, bits of glass, twist ties, plastic film, bones, or labels. GE’s clog guidance specifically points to food particles and debris building up in appliance areas over time, including the drain area. ([repair.geappliances.com](https://repair.geappliances.com/resources/faq/article/why-is-my-dishwasher-clogged?utm_source=openai))
Wipe the surrounding tub with a damp cloth. Be careful if you suspect broken glass. Wear gloves and dab with a folded paper towel instead of dragging your fingers through the sump.
Step 5: Check the Spray Arms
Spin the lower spray arm by hand. It should rotate freely without hitting the rack, a tall utensil, or the tub wall. Whirlpool’s quick-start materials remind users to make sure spray arms are not blocked by items in the racks, which is a simple check that prevents a lot of poor wash results. ([whirlpool.com](https://www.whirlpool.com/content/dam/global/documents/202406/quick-start-guide-w11680103-revB.pdf?utm_source=openai))
Look closely at the small holes along the spray arm. If you see white crust, pepper-like specks, paper, or food lodged in the holes, they need cleaning. Some spray arms lift off, twist off, or are held by a retaining nut. Others should stay in place. Follow your manual so you do not crack the mounting point.
Step 6: Unclog the Spray-Arm Holes
If the spray arm is removable, take it to the sink and rinse it with warm water. Hold it under the faucet and tilt it so water runs through the holes. Use a toothpick, wooden skewer, or small dental brush to gently loosen debris. Push lightly; do not enlarge the holes.
If mineral buildup is the problem, soak the spray arm in white vinegar for 15 to 30 minutes, then rinse thoroughly. Hard-water minerals can clog spray arm jets over time, and GE care materials note that spray arms may need regular cleaning when jets and bearings are affected by buildup. ([geappliances.ca](https://geappliances.ca/medias/?context=bWFzdGVyfGltYWdlc3w4ODAxMTAyfGFwcGxpY2F0aW9uL3BkZnxhRFJrTDJoaU5TOHhNREEzTURFeU1UWTNOamd6TUF8MTZlNThmMjJhMzdjMmI2NjM4ODUzZmJiMjExOGFhMjc1NGY3OGM0MzZmN2U1OGEwZjcyODRhMDkxOTA3NzgwMQ&utm_source=openai))
If the spray arm is not removable, clean the holes in place with a toothpick or small brush, then wipe the arm with a damp cloth. After cleaning, spin it again to confirm it moves freely.
Step 7: Reinstall Everything Correctly
Put the filter parts back exactly as they came out. A loose or crooked filter can let food debris pass through, which may make cleaning worse instead of better. Twist-lock filters should feel secure, not wobbly.
Reinstall the bottom rack and check spray-arm clearance one more time. Tall plates, cutting boards, pot handles, and utensils can block the arm even when the parts are clean.
Step 8: Run a Hot Cleaning Cycle
Once the filter and spray arms are back in place, run the dishwasher empty on a hot cycle. You can use a dishwasher cleaner made for your machine or place a cup of white vinegar upright on the top rack, unless your manual advises against vinegar. Use detergent as directed if your cleaner requires it.
This final cycle helps flush loosened residue and freshen the tub. If your dishwasher has a sanitize or high-temperature option, use it only if the manufacturer says it is appropriate for your model and load.
How Often Should You Clean a Dishwasher Filter?
A good household rule is to check the filter once a month and clean it whenever you see buildup. You may need to clean it more often if you run the dishwasher daily, cook with lots of grains or sauces, have hard water, or do not scrape plates well before loading.
You do not need to prewash every dish until it looks clean. In fact, many detergents work best when there is some soil to act on. But scrape large food pieces, remove jar labels, and keep bones, toothpicks, twist ties, and fruit pits out of the dishwasher.
When Cleaning Does Not Fix the Problem
If dishes are still dirty after cleaning the filter and spray arms, check these common issues next:
- Water temperature: The water entering the dishwasher may be too cool. Run the kitchen tap hot before starting a cycle.
- Loading: Bowls nested together or pans blocking the spray path can prevent water from reaching dishes.
- Detergent: Old, clumped, or bargain detergent may not dissolve well.
- Rinse aid: Low rinse aid can leave spots and film, especially with hard water.
- Drain trouble: Standing water, gurgling, or frequent clogs may point to a drain hose, air gap, or garbage disposal connection issue.
- Mechanical failure: A weak pump, broken spray arm, bad valve, or failing heater may need professional repair.
A Simple Maintenance Habit That Pays Off
Cleaning a dishwasher filter is not glamorous, but it is one of those small home chores that quickly proves its worth. Clean water can circulate better, spray arms can do their job, and your dishes are less likely to come out with grit, film, or food flecks.
Add a monthly filter check to your kitchen routine, along with wiping the door gasket and checking that the spray arms spin freely. It only takes a few minutes, and it can help your dishwasher clean better without extra detergent, rewashing, or frustration.