How to Test Smoke and CO Alarms Before Heating Season
Before the furnace, fireplace, or space heater starts working overtime, take 20 minutes to test smoke and CO alarms throughout your home. It is one of those small fall chores that can make a real difference, especially as windows close and fuel-burning appliances run more often.
This guide walks you through what to check, where alarms should be placed, when to replace batteries, and how to handle the mystery chirp that always seems to start at bedtime.
Why this job belongs on your fall checklist
Smoke alarms and carbon monoxide alarms do different jobs, and most homes need both. Smoke alarms warn you about fire. Carbon monoxide alarms warn you about CO, an odorless gas that can come from fuel-burning equipment such as furnaces, boilers, fireplaces, water heaters, generators, and gas ranges when something is not working or venting properly.
The U.S. Fire Administration recommends testing smoke alarms every month and replacing the entire smoke alarm every 10 years. It also recommends replacing 9-volt smoke alarm batteries at least once a year. ([usfa.fema.gov](https://www.usfa.fema.gov/prevention/home-fires/prepare-for-fire/smoke-alarms/?utm_source=openai)) The Consumer Product Safety Commission also advises having heating systems professionally inspected and serviced annually to help prevent carbon monoxide problems. ([cpsc.gov](https://www.cpsc.gov/safety-education/safety-guides/carbon-monoxide/carbon-monoxide-fact-sheet?utm_source=openai))
What you need
- Fresh batteries in the correct size for your alarms
- A sturdy step stool or ladder
- A vacuum with a brush attachment or a clean microfiber cloth
- A permanent marker or label maker
- Your phone or a notepad for recording dates and problem alarms
- Replacement alarms for any units that are expired, damaged, or fail testing
Safety note: If climbing is unsafe for you, ask another adult to help. Do not stand on chairs, countertops, or wobbly stools to reach ceiling alarms.
Step 1: Find every alarm in the house
Start with a slow walk-through. Look for smoke alarms inside bedrooms, outside sleeping areas, in hallways, on each level, and in the basement. The EPA notes that smoke alarms should be installed inside each bedroom, outside each sleeping area, and on every level of the home, including the basement. ([epa.gov](https://www.epa.gov/emergencies-iaq/winter-weather-and-indoor-air-quality?utm_source=openai))
Next, find your carbon monoxide alarms. Many homes have plug-in CO alarms in hallways, combination smoke/CO alarms on ceilings, or hardwired units with battery backup. If your home has an attached garage, fireplace, gas furnace, oil furnace, gas water heater, gas stove, or other fuel-burning appliance, CO alarms are especially important.
Write down each alarm location as you go. A simple list like “upstairs hall smoke/CO,” “primary bedroom smoke,” and “basement CO near stairs” makes future checks faster.
Step 2: Check the manufacture date
Take each alarm down or open the cover according to the manufacturer’s directions and look for the manufacture date on the back or inside the unit. If a smoke alarm is 10 years old, replace the entire unit, even if it still chirps, lights up, or passes a quick button test. The sensors age over time, and the 10-year replacement rule applies to hardwired alarms and 10-year sealed-battery models too. ([usfa.fema.gov](https://www.usfa.fema.gov/prevention/home-fires/prepare-for-fire/smoke-alarms/?utm_source=openai))
For CO alarms, follow the replacement date printed on the device or in the manual. Many newer models have an end-of-life signal that tells you when the alarm itself needs to be replaced, not just the battery. ([cpsc.gov](https://www.cpsc.gov/safety-education/safety-guides/carbon-monoxide/carbon-monoxide-fact-sheet?utm_source=openai))
Use a marker to write the install month and year on the side or back of each new alarm before you put it up. That tiny habit saves guesswork later.
Step 3: Test each alarm the right way
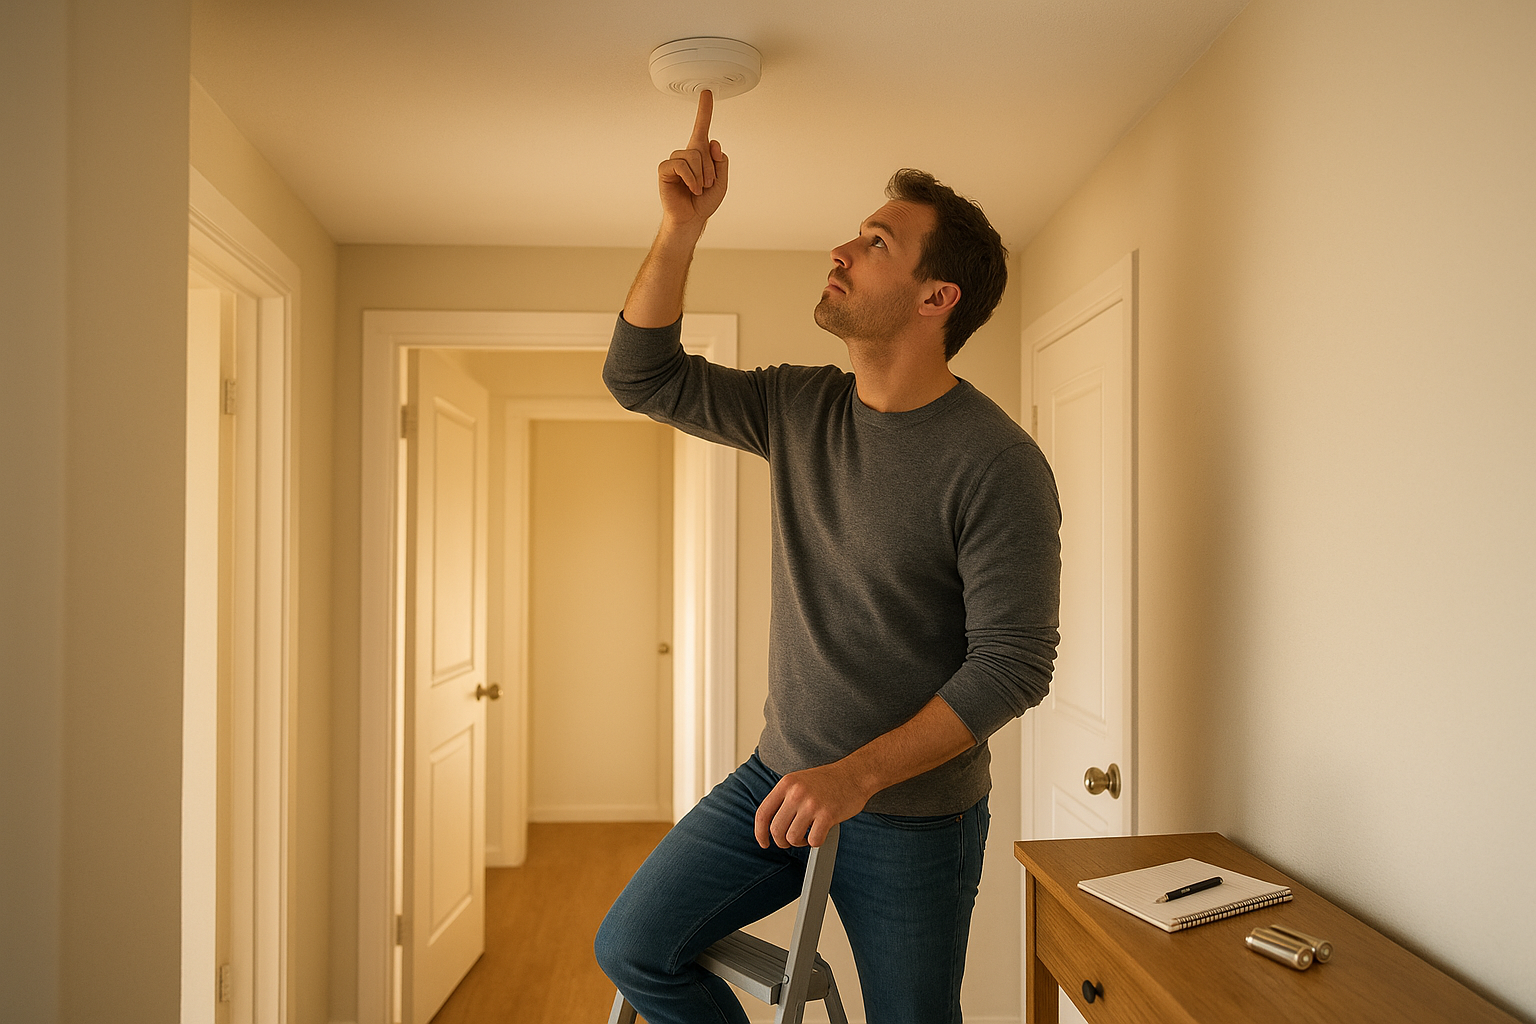
Press and hold the test button until the alarm sounds. Warn everyone in the house first, especially children, older adults, and pets. The sound should be loud and clear. If you have interconnected alarms, testing one should make the others sound too.
Do not use real smoke, a candle, or vehicle exhaust to test alarms. The test button is the safe household test recommended by fire safety agencies, and monthly testing is the habit to build. ([usfa.fema.gov](https://www.usfa.fema.gov/gallery/pictographs/pictograph04.html?utm_source=openai))
If an alarm does not sound, try these fixes:
- Make sure the battery is installed correctly.
- Replace the battery with a fresh one if the alarm uses replaceable batteries.
- Check that a hardwired alarm is fully seated on its mounting plate.
- Reset the alarm according to the manufacturer’s directions.
- Replace the alarm if it still does not work.
Step 4: Replace batteries if needed
If your smoke alarm uses replaceable batteries, install fresh batteries at least once a year or sooner if the alarm starts chirping. The U.S. Fire Administration specifically recommends replacing 9-volt smoke alarm batteries at least once every year. ([usfa.fema.gov](https://www.usfa.fema.gov/prevention/home-fires/prepare-for-fire/smoke-alarms/?utm_source=openai)) Some alarms use AA or other battery types, so check the label before buying replacements.
If you have sealed 10-year alarms, do not try to open the unit or replace the sealed battery. If a sealed-battery alarm chirps because of a low battery, replace the whole alarm right away. NFPA guidance says smoke alarms with nonreplaceable long-life batteries are designed to remain effective for up to 10 years, but if they chirp with a low-battery warning, the entire alarm should be replaced. ([nfpa.org](https://www.nfpa.org/-/media/project/storefront/catalog/files/home-fire-safety/smoke-alarms/smoke-alarm-installation-guide-print.pdf?rev=6057f0eb59ed46c7b2fcb8fe45e8fc1a&utm_source=openai))
Step 5: Clean dust from the alarm
Dust and insects can interfere with an alarm or cause nuisance chirps. After testing, gently vacuum around the alarm vents with a brush attachment or wipe the outside with a dry microfiber cloth. Do not spray cleaners, water, or compressed air into the alarm unless the manufacturer specifically says to do so.
While you are there, check for paint, tape, stickers, or cobwebs blocking the openings. If an alarm was painted over during a renovation, replace it.
Step 6: Check placement problems
A working alarm in the wrong place can be frustrating or less effective. Smoke alarms near cooking appliances may trigger frequent nuisance alarms, which tempts people to disable them. If your kitchen alarm goes off every time you toast bread, check the manufacturer’s placement guidance before moving it.
As a general household rule, avoid placing alarms right next to windows, exterior doors, ceiling fans, bathrooms with heavy steam, or HVAC vents. Airflow and moisture can affect performance. For CO alarms, keep them where you can hear them from sleeping areas, and follow the directions for height and distance from fuel-burning appliances.
What different chirps usually mean
Every model is a little different, so the manual is the final answer. Still, these are common causes:
- One chirp every 30 to 60 seconds: Often a low battery or end-of-life warning.
- Chirping after a new battery: The battery may be loose, installed backward, or the alarm may need to be reset.
- Random chirping at night: Cooler nighttime temperatures can expose a weak battery.
- Full alarm pattern: Treat it as an emergency. Get everyone out and call for help from outside.
Never remove the battery and leave the alarm disabled. If a nuisance alarm keeps happening, replace or relocate the unit according to the instructions instead of living without protection.
Make a simple alarm record
Once everything is tested, write down three things for each alarm: location, manufacture date, and test date. Put the list in your home maintenance binder, tape it inside a utility closet door, or keep it as a note on your phone.
Here is an easy format:
- Upstairs hall smoke/CO: Installed October 2026, tested September 2026
- Basement smoke: Manufactured March 2017, replace by March 2027
- Bedroom smoke: Battery replaced September 2026
Set a monthly phone reminder called “test smoke and CO alarms.” It takes less than five minutes once the first full check is done.
When to replace instead of repair
Replace an alarm right away if it is expired, fails a test after a fresh battery, has been painted over, is cracked or yellowed from age, was exposed to water, or keeps chirping after proper troubleshooting. Also replace alarms after a significant fire or smoke event if the manufacturer recommends it.
If you are buying new alarms, consider interconnected models where practical. When one sounds, they all sound, which can be especially helpful in larger homes or when bedroom doors are closed.
The 20-minute fall alarm checklist
- Walk through the house and locate every smoke and CO alarm.
- Check the manufacture or replacement date on each unit.
- Press the test button and confirm the alarm sounds.
- Replace batteries in models that use replaceable batteries.
- Vacuum or wipe dust from the outside vents.
- Replace expired or failed alarms immediately.
- Record the test date and set a monthly reminder.
That is the whole job. Do it before heating season starts, then keep up with quick monthly tests. Your future self will be glad the alarms are clean, powered, in date, and ready before the first truly cold night.