How to Clean a Bathroom Exhaust Fan in 30 Minutes
If your bathroom mirror stays foggy long after a shower, or the fan cover has a gray fuzz around the edges, it is probably time to clean the exhaust fan. Dust buildup can make the fan noisier, weaken airflow, and leave more moisture sitting on walls, trim, and grout.
The good news: most bathroom fans can be cleaned in about 30 minutes with a vacuum, a microfiber cloth, and a little patience. This is a simple home maintenance job, but because you are working around an electrical fixture, the first step matters.
Why Cleaning the Bathroom Fan Matters
A bathroom exhaust fan pulls humid air out of the room and sends it outdoors. That ventilation helps reduce condensation after showers and baths. The EPA recommends keeping indoor humidity low, generally in the 30% to 60% range, and using bathroom exhaust fans or outdoor-vented ventilation to help control moisture and mold risk. ([epa.gov](https://www.epa.gov/mold/what-are-ten-things-i-need-know-about-mold?utm_source=openai))
When the grille, fan blades, and housing are packed with lint and dust, the fan has to work harder. You may notice weak suction, a rattling sound, a dusty smell when the fan starts, or mildew that keeps returning near the ceiling. Cleaning will not fix a broken fan or a duct that vents into the attic, but it is the easiest first step before calling a pro.
How Often Should You Clean a Bathroom Exhaust Fan?
For most homes, clean the fan every 6 months. If the bathroom is used daily by several people, if you take long hot showers, or if the fan cover gets visibly dusty sooner, clean it every 3 to 4 months. A powder room fan that rarely runs may only need an annual cleaning.
A quick monthly vacuum of the outside cover can stretch the time between deep cleanings. Just use the brush attachment while the fan is off.
What You’ll Need
- Sturdy step ladder
- Vacuum with brush attachment and crevice tool
- Microfiber cloths
- Small bowl or sink of warm water
- Mild dish soap
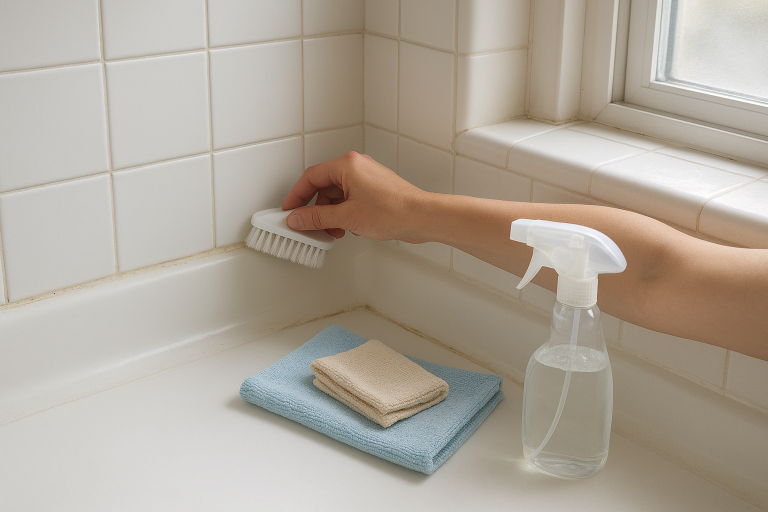
- Old toothbrush or soft detail brush
- Screwdriver, if your cover has screws
- Flashlight
- Dust mask and safety glasses, optional but helpful
Skip soaking the motor or spraying cleaner into the fan. The cover can usually be washed, but the electrical parts should be cleaned dry or with a barely damp cloth.
Step 1: Turn Off the Power
Turn the fan switch off first. For the safest cleaning, also turn off power to the bathroom fan at the breaker. This is especially important if you plan to remove the motor plate or reach inside the housing.
If the bathroom has poor light once the breaker is off, use a battery lantern or flashlight. Do not rely on a wet bathroom floor and a wobbly ladder; dry the floor before you start.
Step 2: Remove the Fan Cover
Most modern bathroom fan covers are held in place by spring clips. Gently pull the cover straight down a few inches. You should see two wire springs, one on each side. Squeeze the springs together and slide them out of their slots. If your cover has screws, remove them and set them in a small dish so they do not disappear.
Take a quick look before removing anything else. If you see damaged wiring, scorch marks, a burning smell, or heavy moisture inside the housing, stop and call an electrician or qualified repair person.
Step 3: Wash the Cover
Fill the sink with warm water and a few drops of dish soap. Let the plastic cover soak for 5 to 10 minutes, then scrub between the slats with an old toothbrush or soft brush. Rinse well and set it on a towel to dry completely.
If the cover has a built-in light, heater control, or electronic sensor, check the manufacturer’s directions before washing. Some covers should only be wiped clean.
Step 4: Vacuum Dust from the Housing
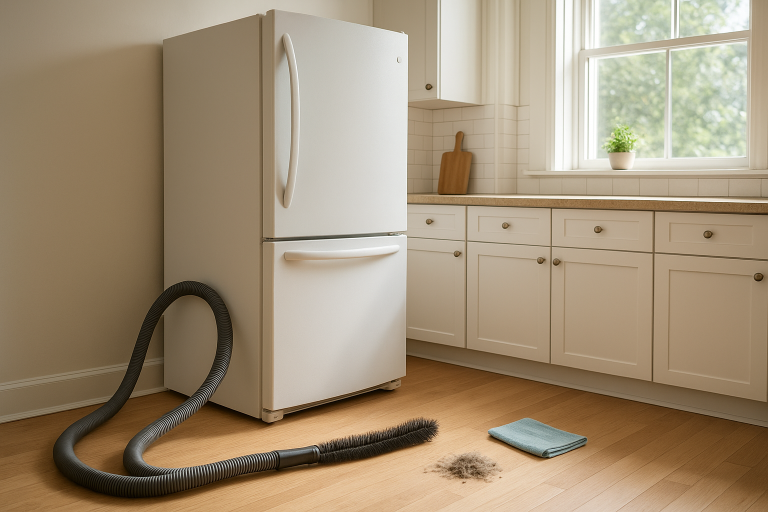
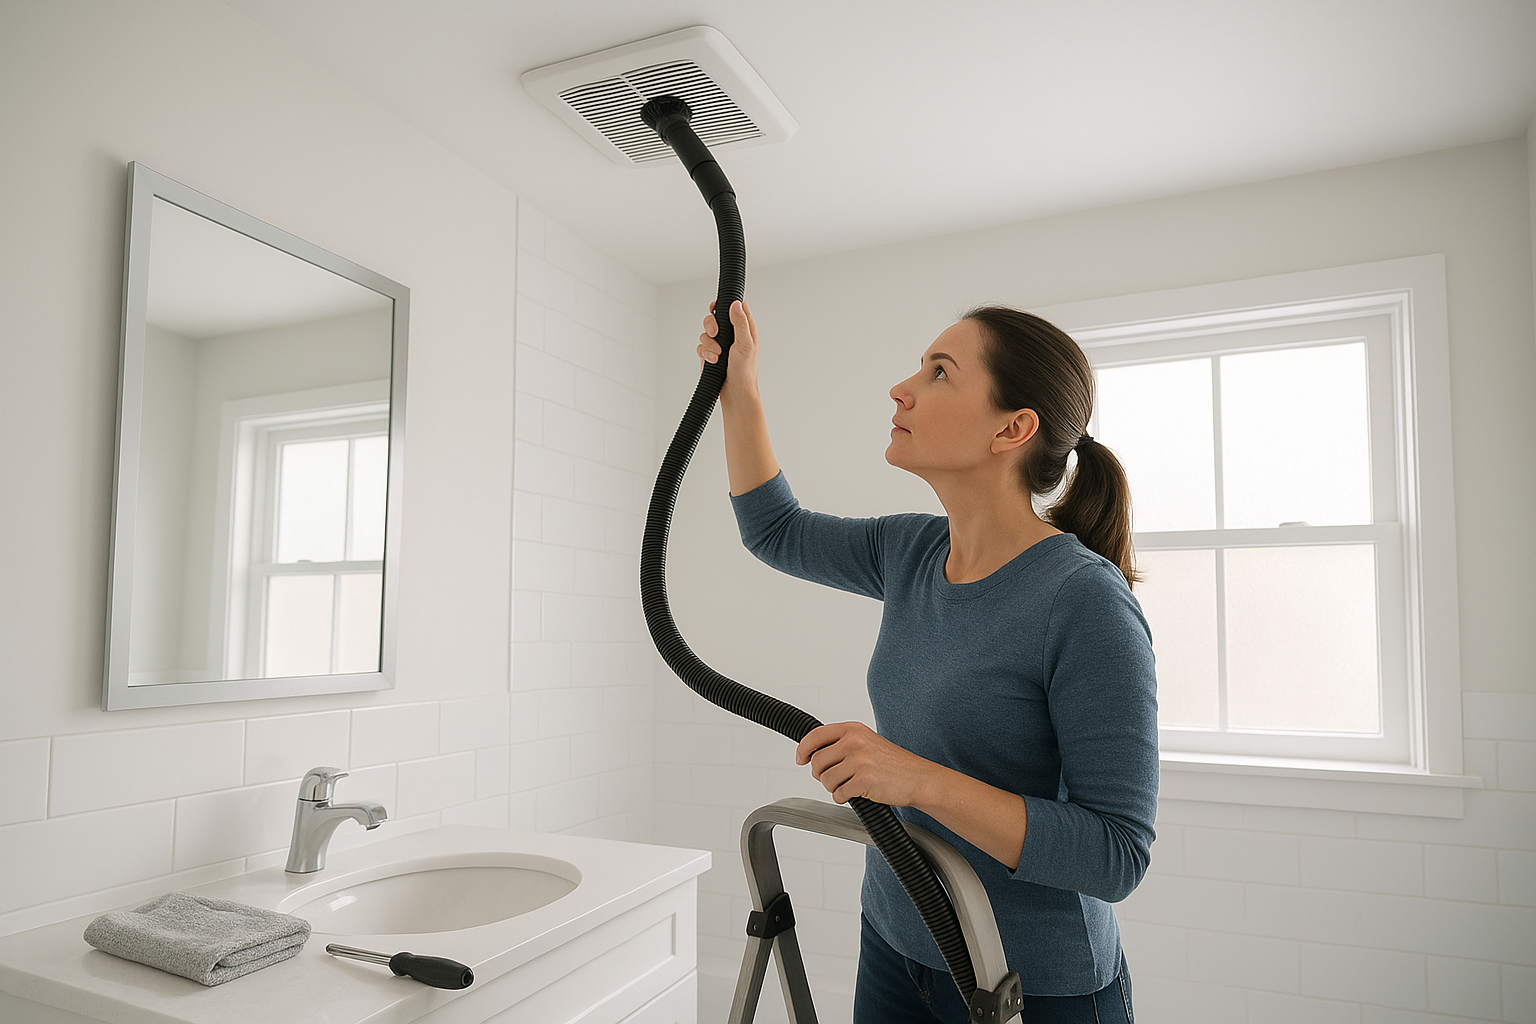
Use the vacuum brush attachment to remove loose dust from the fan box, corners, and the area around the motor. A crevice tool helps reach the narrow gap near the duct opening. Work slowly so you collect the dust instead of pushing it deeper into the fan.
Many cleaning guides recommend vacuuming the inside of the housing and vent opening because this is where dust collects and blocks airflow. ([lowes.com](https://www.lowes.com/n/how-to/how-to-clean-bathroom-exhaust-fan?utm_source=openai))
Step 5: Clean the Fan Blades and Motor Area
If you can easily reach the fan blades, wipe them with a dry microfiber cloth. For stuck-on grime, use a cloth that is barely damp, not dripping. Rotate the fan wheel gently with your fingers as you clean each section.
Some bathroom fans have a plug-in motor assembly that can be removed after unplugging it from the receptacle inside the housing and loosening a screw or tab. If yours is designed this way and you feel comfortable, remove it and clean it on a towel. If it does not come out easily, leave it in place. Forcing the assembly can crack old plastic or damage wiring.
Step 6: Check the Flapper and Duct Opening
With the cover off, shine a flashlight toward the duct opening. Many fans have a small damper flap that opens when the fan runs and closes when it is off. Dust, paint, or debris can keep it from moving freely.
Gently remove loose dust around the flap with the vacuum. Do not shove tools deep into the duct. If the duct looks disconnected, crushed, full of debris, or venting into the attic instead of outdoors, that is a bigger ventilation issue worth fixing.
Step 7: Reinstall the Cover and Test the Fan
Once the cover is completely dry, squeeze the spring clips and slide them back into their slots, then push the cover flush against the ceiling. Turn the breaker back on and run the fan.
Try the tissue test: hold a single square of toilet paper or tissue near the cover while the fan is running. A working fan should pull the tissue toward the grille. This is not a precise airflow test, but it is a handy way to spot a fan that is barely moving air.
When Cleaning Is Not Enough
Cleaning helps a dusty fan, but it will not solve every problem. Consider repair or replacement if the fan still sounds loud, does not pull tissue toward the grille, shuts off by itself, smells hot, or leaves heavy condensation after normal use.
Also check how you use the fan. Run it during showers and for a while afterward to clear humid air. ENERGY STAR ventilation guidance emphasizes tested airflow for fan performance, and the EPA notes that bathrooms should be vented outdoors to manage moisture. ([energystar.gov](https://www.energystar.gov/products/ventilation_fans/key_product_criteria?utm_source=openai))
Simple Ways to Keep the Fan Cleaner Longer
- Dust the cover monthly. A quick pass with the vacuum brush prevents thick buildup.
- Run the fan every shower. Moisture control works best when the fan is actually used.
- Leave the bathroom door cracked after showering. This helps replacement air enter so the fan can exhaust humid air more effectively.
- Clean nearby surfaces. Hair spray, powder, and lint can all collect on the fan cover.
- Watch for recurring mildew. If mold keeps returning, the issue may be weak ventilation, high humidity, or a hidden moisture problem.
The Bottom Line
Cleaning a bathroom exhaust fan is one of those small jobs that makes the whole room feel fresher. Turn off the power, wash the cover, vacuum the housing, wipe the blades carefully, and make sure the fan is pulling air before you call it done.
If you add this task to your spring and fall home maintenance list, your fan will move air more efficiently, collect less dust, and do a better job helping your bathroom dry out after showers.