How to Get Your Fireplace Ready for the First Fire
The first fireplace night of the season should feel cozy, not smoky, dusty, or worrisome. Before you strike a match, take a little time to clean the hearth, check the moving parts, and make sure your chimney is ready to do its job.
This guide focuses on simple homeowner checks you can do in an afternoon, plus the clear signs that it is time to call a certified chimney professional.
Start With the Most Important Safety Check
If your fireplace has not been inspected within the last year, schedule a chimney inspection before using it. The Chimney Safety Institute of America says it follows NFPA guidance that chimneys, fireplaces, and vents should be inspected at least once a year for soundness, deposits, and proper clearances, with cleaning and repairs done as needed. ([csia.org](https://www.csia.org/homeowner-resources?utm_source=openai))
This matters even if you barely used the fireplace last winter. Birds, squirrels, leaves, masonry damage, moisture, and old creosote can all create problems while the fireplace sits unused.
Call a pro before lighting a fire if you notice:
- A strong smoky, tar-like, or campfire odor coming from the fireplace
- Black, shiny, flaky, or crusty buildup inside the firebox or flue area
- Loose bricks, cracked mortar, or pieces of tile in the firebox
- White staining on exterior brick, which can point to moisture issues
- A damper that will not open fully
- Animal nesting material, feathers, droppings, or buzzing insects
- Smoke entering the room during past fires
As a general benchmark, CSIA recommends sweeping masonry fireplaces when there is about 1/8 inch of sooty buildup, and sooner if glazed creosote is present. ([csia.org](https://www.csia.org/homeowner-resources?utm_source=openai))
Gather Your Fireplace Cleaning Supplies
You do not need fancy tools to do a basic seasonal cleanup. Gather everything before you start so you are not tracking ash through the house.
- Old clothes, work gloves, and a dust mask
- Drop cloth, old sheet, or newspaper
- Small shovel or fireplace ash scoop
- Metal bucket with a lid
- Stiff hand broom and dustpan
- Nylon scrub brush
- Vacuum with a HEPA filter or a dedicated ash vacuum
- Flashlight
- Trash bag
- Mild dish soap and warm water
Do not use a regular household vacuum for large amounts of ash unless the fireplace is completely cold and your vacuum is designed to handle fine dust. Ash is extremely fine and can damage some vacuums or blow back into the room.
Let Old Ash Cool Completely
If you had a recent fire, wait until the ashes are completely cold. Embers can stay hot longer than they look, especially when buried under gray ash.
Scoop ashes into a metal bucket, not a plastic trash can, paper bag, or cardboard box. Keep the bucket outside on a noncombustible surface, away from the house, deck, garage, dry leaves, and firewood stacks. Once you are certain everything is cold, dispose of it according to your local rules.
It is fine to leave a very thin layer of ash on the firebox floor during burning season, but for the first check of fall, remove most of it so you can see the condition of the firebrick and floor.
Clean the Firebox
Lay a drop cloth in front of the hearth. Remove the grate and set it on newspaper or outside if it is especially dirty.
- Scoop out loose ash. Work slowly to avoid stirring up dust.
- Brush the walls and floor. Use a stiff hand broom or nylon brush to loosen soot and debris.
- Vacuum fine dust. Use an ash vacuum or a suitable vacuum with a good filter.
- Scrub the grate. Brush off flaky buildup. If needed, wash with warm, soapy water and dry it completely to prevent rust.
- Wipe fireplace tools. Tongs, pokers, and shovels collect soot too.
Avoid harsh chemical cleaners inside the firebox unless your fireplace manufacturer recommends them. Residue can smell unpleasant when heated, and some products are not meant for high-heat areas.
Check the Damper Before You Need It
The damper controls airflow through the chimney. If it is closed when you light a fire, smoke will come into the room fast.
With a flashlight, look up into the fireplace and move the damper handle. It should open and close smoothly. If it is stuck, heavily rusted, or does not seem to open all the way, do not force it aggressively. That is a job for a chimney professional.
Once it opens, look for daylight if your setup allows it. You are not doing a full chimney inspection here, but you may spot obvious blockages, leaves, nesting material, or heavy buildup.
Look Over the Firebrick and Hearth
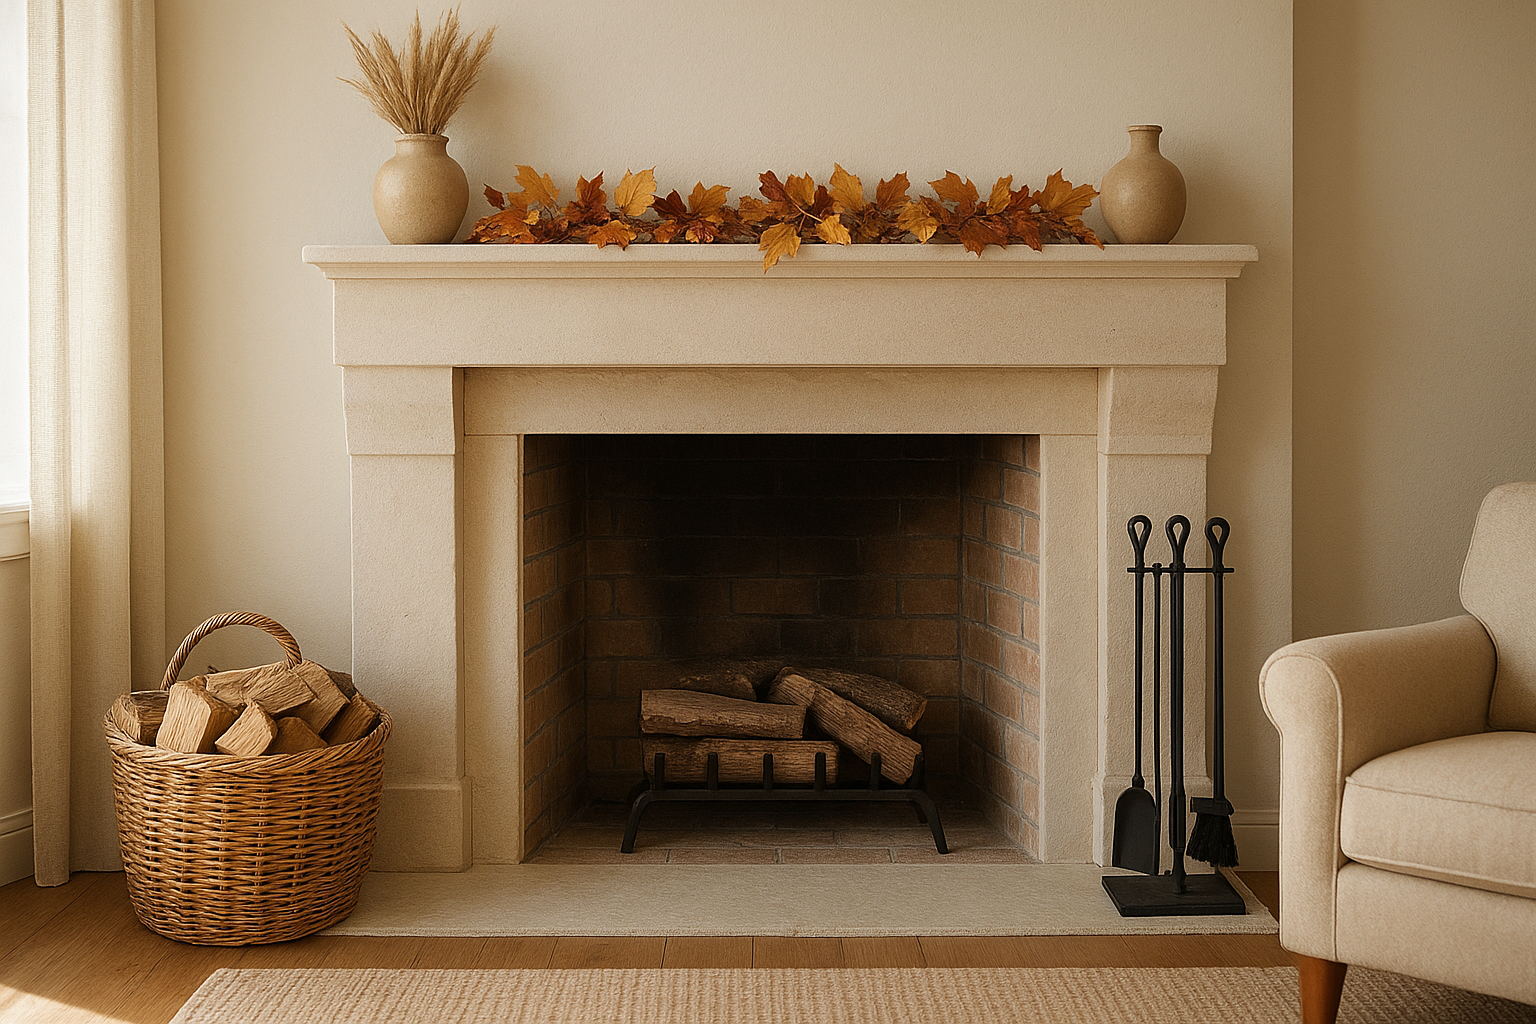
The firebox takes a lot of heat. Small hairline cracks can happen over time, but missing mortar, loose bricks, crumbling firebrick, or gaps are not something to ignore.
Check these areas carefully:
- The back wall of the firebox
- The side walls near the grate
- The floor where logs sit
- The front hearth extension
- The area around glass doors, if you have them
If the fireplace has glass doors, clean both sides with a cleaner made for fireplace glass or a manufacturer-approved method. Do not use abrasive pads that can scratch the glass.
Choose the Right Firewood
Good firewood makes a big difference. The EPA recommends burning dry, seasoned wood and notes that wood burns best at a moisture content below 20 percent. ([epa.gov](https://www.epa.gov/burnwise/best-wood-burning-practices?utm_source=openai)) Wet or green wood creates more smoke, burns cooler, and can contribute to faster creosote buildup.
If you use your fireplace often, a simple moisture meter is a useful tool. EPA guidance notes that properly dried firewood is generally around 20 percent moisture or less, and another EPA resource describes efficient firewood moisture as roughly 15 to 20 percent. ([nepis.epa.gov](https://nepis.epa.gov/Exe/ZyPURL.cgi?Dockey=P100BC5L.TXT&utm_source=openai))
Better firewood habits:
- Burn only dry, seasoned firewood.
- Store wood off the ground with airflow around the stack.
- Keep the top covered but leave the sides open for ventilation.
- Bring in only what you need for a day or two to avoid pests indoors.
- Use small dry kindling to start the fire instead of glossy paper or trash.
Never burn painted wood, treated lumber, plywood, household trash, plastic, cardboard packaging with coatings, or gift wrap. These can create irritating smoke, release unwanted chemicals, or send sparks up the flue.
Test Smoke and Draft the Smart Way
Before building a full fire, make sure the damper is fully open. If your fireplace tends to smoke when cold, warm the flue first. Roll a piece of newspaper tightly, light it, and hold it near the open damper with fireplace tongs for a short time. The goal is to encourage warm air to rise up the chimney.
You can also crack a nearby window slightly for the first few minutes. Modern tight homes sometimes need a little makeup air to help the chimney draft properly.
If smoke still spills into the room after the flue is warm and the damper is open, stop. Possible causes include a blocked flue, negative air pressure, a cold or oversized chimney, creosote buildup, or other design and maintenance issues. Have it checked before trying again.
Check Your Fireplace Safety Setup
A ready fireplace is not just a clean fireplace. It also needs a safer zone around it.
- Move rugs, baskets, blankets, and furniture away from the hearth.
- Use a fireplace screen to help contain sparks.
- Keep children and pets supervised around the hearth.
- Make sure smoke alarms and carbon monoxide alarms are working.
- Keep a fire extinguisher accessible and know how to use it.
- Never leave a fire unattended.
If you have not replaced alarm batteries recently, do it before fireplace season begins. A cozy fire is much easier to enjoy when the basic safety pieces are already handled.
A Simple First-Fire Checklist
Use this quick list before the first fire of fall:
- Annual chimney inspection scheduled or completed
- Old ash removed and stored safely
- Firebox brushed and vacuumed
- Damper opens fully
- No obvious nests, debris, or heavy buildup visible
- Firebrick and mortar checked for damage
- Dry, seasoned firewood ready
- Smoke and carbon monoxide alarms tested
- Furniture and soft goods moved away from the hearth
- Fireplace screen in place
Once everything checks out, keep the first fire modest. Start with dry kindling and a couple of smaller logs rather than building a roaring blaze right away. Watch how the fireplace drafts, how the smoke moves, and whether any unusual odors appear.
A little preparation now can prevent a smoky living room later. Clean what you can, know when to call a professional, and your first fire of the season will be much more relaxing.