How to Clean a Dryer Vent Without a Pro
If your towels take two cycles to dry or the laundry room feels hotter than usual, your dryer vent may be packed with lint. Learning how to clean a dryer vent is one of those simple home maintenance jobs that can save time, help your dryer run better, and reduce a real fire risk.
The National Fire Protection Association has reported that U.S. fire departments responded to an average of 13,820 home fires involving clothes dryers per year from 2014 to 2018, and failure to clean was the leading factor. Lint, dust, and fiber were the first items ignited in 27% of dryer fires, so this is more than a tidiness chore. ([content.nfpa.org](https://content.nfpa.org/-/media/Project/Storefront/Catalog/Files/Research/NFPA-Research/US-Fire-Problem/osdryer.pdf?hash=639DD7887A6C083F71E4FD34726B1197&rev=6e5e44af45a54ee38ab86a33bef98e86&utm_source=openai))
How Often Should You Clean a Dryer Vent?
For most households, clean the full dryer vent system about once a year. If you do laundry daily, have a long vent run, dry pet bedding often, or notice slower drying, check it more often.
You should also clean the lint screen after every load. The Consumer Product Safety Commission recommends cleaning the dryer vent and exhaust duct periodically, and the NFPA advises cleaning lint from the vent pipe yearly or hiring a professional to do it. ([cpsc.gov](https://www.cpsc.gov/s3fs-public/5022.pdf?utm_source=openai))
Signs Your Dryer Vent Needs Cleaning
A clogged dryer vent does not always announce itself dramatically. Watch for these common warning signs:
- Clothes take longer than usual to dry. This is often the first clue that airflow is restricted.
- Clothes or towels feel very hot at the end of a cycle. Trapped heat can build when lint blocks the vent path.
- The top or side of the dryer feels unusually hot.
- The laundry room feels humid or warm. Moist air may not be escaping properly.
- The outside vent flap barely opens while the dryer runs. The NFPA recommends checking that the outdoor vent flap opens when the dryer is running. ([youtube.com](https://www.youtube.com/watch?v=k_r3g5IBtrE&utm_source=openai))
- You notice a burning smell. Stop using the dryer until you investigate.
Tools and Supplies
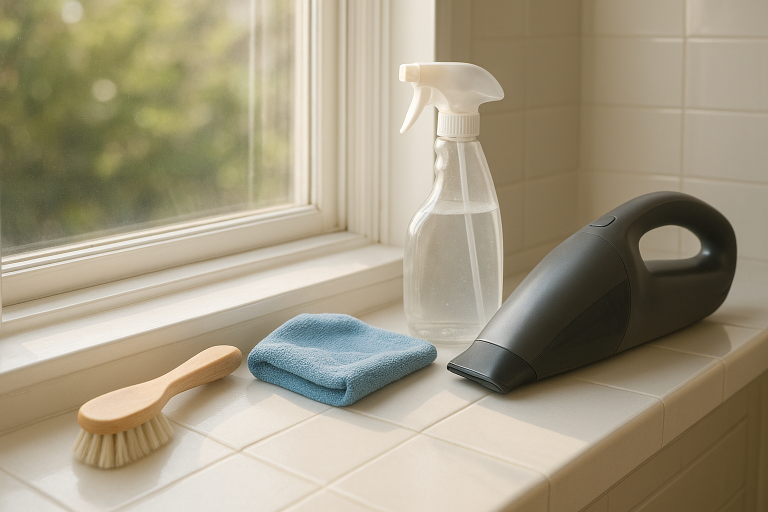
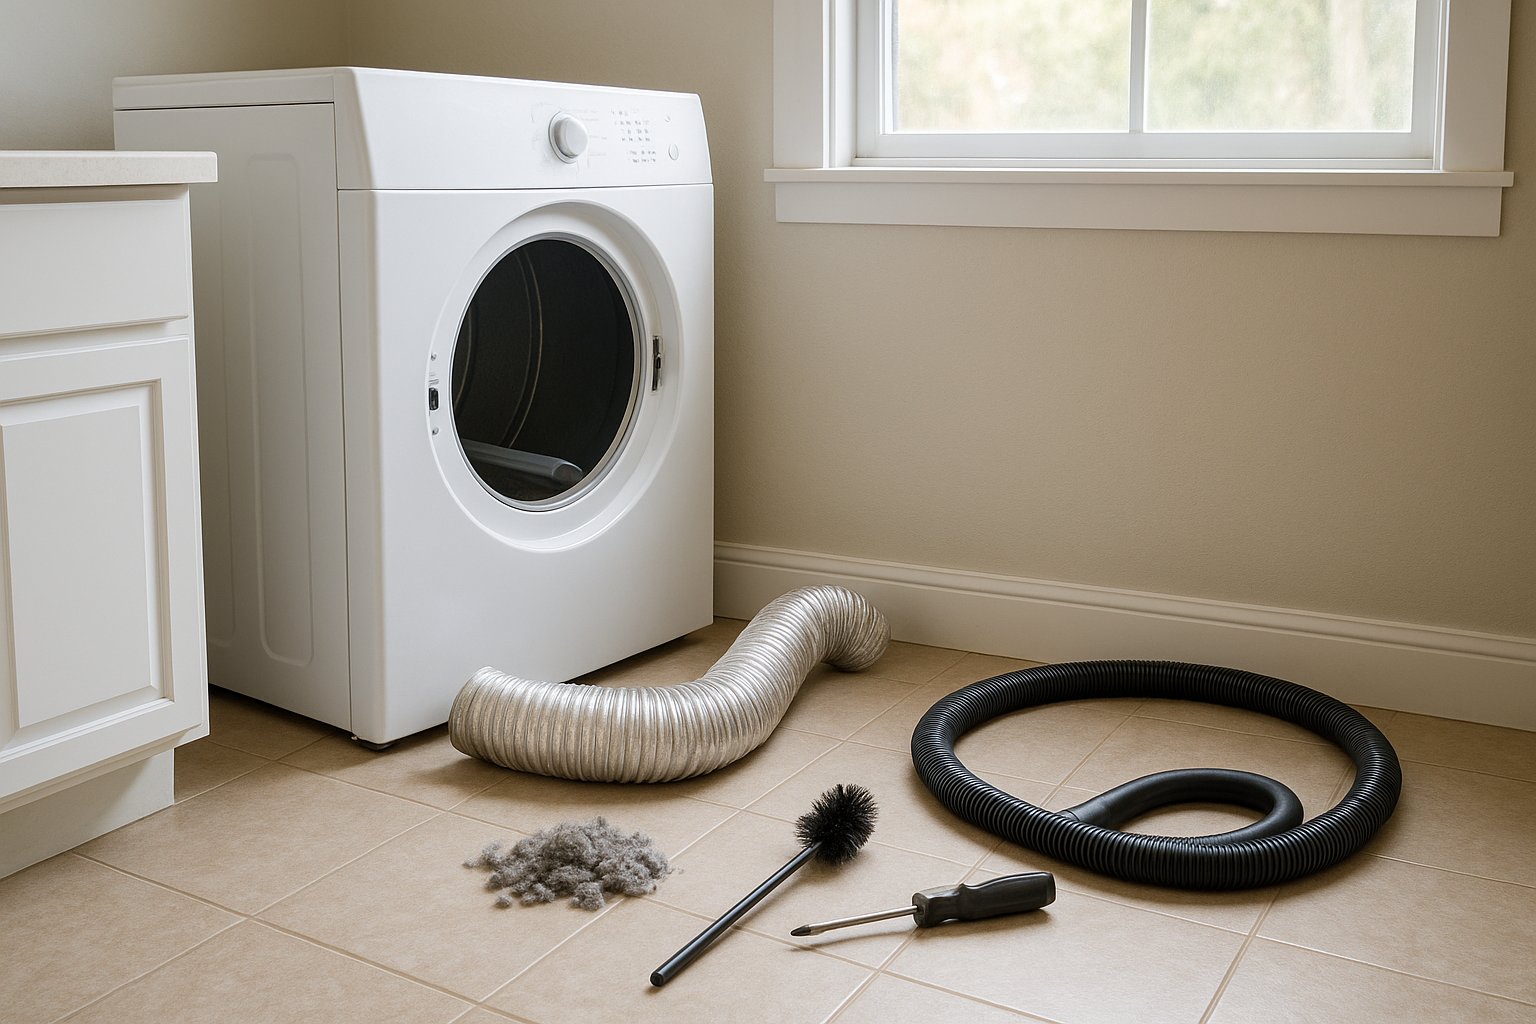
You do not need fancy equipment for a basic cleaning, though a dryer vent brush kit makes the job much easier.
- Vacuum with hose attachment
- Dryer vent brush kit or long flexible lint brush
- Screwdriver or nut driver
- Work gloves
- Flashlight
- Microfiber cloth
- Foil HVAC tape, if a duct joint needs resealing
Avoid using plastic or vinyl venting behind the dryer. The Association of Home Appliance Manufacturers recommends rigid or semi-rigid sheet metal venting material, not plastic, to maintain airflow and reduce safety hazards. ([aham.org](https://www.aham.org/Consumer/Safety/Clothes_Dryer_Care/AHAMConsumers/Safety/Clothes_Dryer_Safety.aspx?hkey=b7330378-9d79-457f-bc54-0fbc9a950a67&utm_source=openai))
Step-by-Step: How to Clean a Dryer Vent
1. Unplug the dryer
Start with safety. Unplug an electric dryer before moving it. If you have a gas dryer, turn off the gas supply valve if you need to move the dryer far enough that the gas line may be strained. If you are unsure how to do that safely, stop and call a qualified technician.
2. Pull the dryer away from the wall
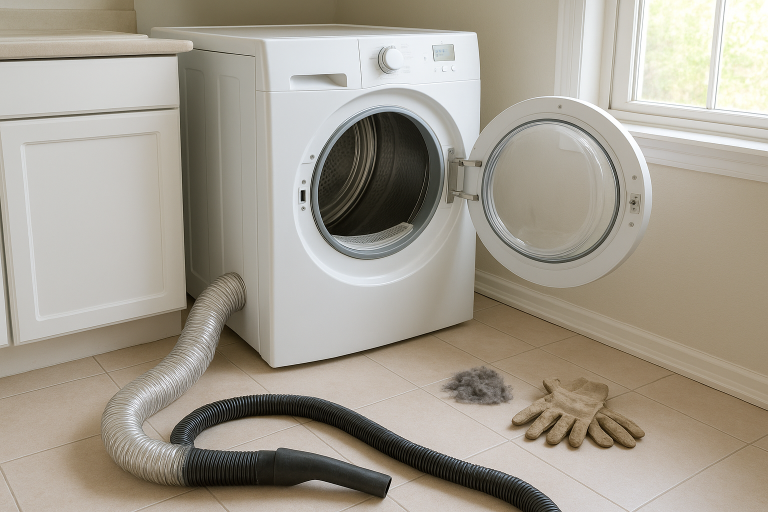
Ease the dryer forward slowly. Do not yank it. You only need enough room to reach the vent hose and work comfortably. Use a flashlight to inspect the area behind the dryer, which often collects loose lint, dust, socks, and small laundry items.
3. Disconnect the vent hose
Loosen the clamp or fastener that holds the vent hose to the dryer. Some use a screwdriver; others use a simple tension clamp. Slide the hose off the dryer outlet. If the hose is crushed, torn, or made from flimsy plastic, plan to replace it with rigid or semi-rigid metal ducting.
4. Vacuum the dryer outlet
Use your vacuum hose to remove lint from the round outlet on the back of the dryer. Do not shove the vacuum attachment too aggressively inside the machine. The goal is to remove loose lint you can reach, not disassemble the dryer.
5. Clean the vent hose or duct
Run a dryer vent brush through the hose or duct to loosen lint stuck to the sides. Work slowly so you do not puncture flexible metal ducting. Vacuum out loosened lint as you go. If the hose is short, you may be able to clean the whole piece from end to end.
6. Clean from the outside vent
Go outside and find the dryer vent hood. Remove lint from the cover and make sure the flap can move freely. Feed the brush inward from the outside opening, then pull it back out and vacuum the lint. Repeat until the brush comes out mostly clean.
If your vent exits through the roof, is very high off the ground, or has a long hidden run through walls or ceilings, this is often a better job for a professional. Safe access matters as much as clean ductwork.
7. Reconnect the duct
Reattach the vent hose to the dryer outlet and tighten the clamp. Keep the hose as short and straight as possible. Kinks, loops, and crushed sections all reduce airflow, which can increase drying time and heat buildup.
If you need to seal a metal duct joint, use foil HVAC tape rather than regular cloth duct tape, which can dry out and fail near heat.
8. Test the dryer
Plug the dryer back in and run it on an air-only or low-heat setting for a few minutes. Go outside and check the vent flap. It should open with a steady push of air. If airflow still seems weak after cleaning, there may be a deeper blockage, a damaged duct, or a dryer performance issue.
When to Call a Professional
A handy homeowner can clean many short, simple dryer vents. Still, call a pro if:
- The vent runs a long distance through the house.
- The vent exits on the roof or high above ground.
- You cannot get strong airflow after cleaning.
- You smell burning or the dryer overheats.
- The duct is damaged, disconnected inside a wall, or full of wet lint.
- You have a gas dryer and are uncomfortable moving it.
Also call for service if the dryer still takes too long after the vent is clearly clean. A clogged vent is common, but it is not the only reason a dryer performs poorly.
Simple Habits That Keep the Vent Cleaner
- Clean the lint screen after every load. This is the easiest and most important habit.
- Do not overload the dryer. Packed loads dry slowly and shed more lint into the system.
- Check pockets before washing. Tissues, receipts, and paper scraps create extra debris.
- Wash lint-heavy items separately. Towels, blankets, fleece, and pet bedding can shed heavily.
- Look at the outdoor vent monthly. Remove leaves, lint clumps, snow, and nesting material.
- Never run the dryer without a lint filter. The NFPA specifically warns against using a dryer without one. ([youtube.com](https://www.youtube.com/watch?v=k_r3g5IBtrE&utm_source=openai))
A Quick Note on Chemical-Stained Laundry
If clothing or towels have gasoline, cooking oil, paint thinner, or other flammable residue on them, take extra care. Consumer Reports notes that the CPSC recommends washing stained items more than once to minimize volatile chemicals, then hanging them to dry. ([consumerreports.org](https://www.consumerreports.org/appliances/clothes-dryers/how-to-prevent-dryer-fires-a6837216286/?utm_source=openai))
The Bottom Line
Cleaning a dryer vent is a practical once-a-year chore that pays off quickly. Your dryer can work faster, your laundry room may feel less hot and humid, and you reduce the chance of lint-related trouble.
If your setup is short and easy to reach, a vacuum and dryer vent brush are usually enough. If the duct is long, hidden, damaged, or hard to access safely, hire a professional and put a reminder on your calendar for next year.