How to Clean Refrigerator Coils in 20 Minutes
If your refrigerator seems to run constantly, feels warm around the sides, or struggles to keep food cold, the problem may be hiding underneath or behind it. Learning how to clean refrigerator coils is one of the simplest appliance maintenance jobs you can do, and it usually takes about 20 minutes.
Clean coils help the refrigerator release heat instead of trapping it in a blanket of dust. ENERGY STAR recommends keeping condenser coils clean, especially on older models, and notes that coil-cleaning brushes are widely available at hardware stores. ([energystar.gov](https://www.energystar.gov/products/refrigerators?utm_source=openai))
What Refrigerator Coils Do
Refrigerator condenser coils are part of the cooling system. As your fridge removes heat from the inside compartment, those coils help release that heat into the room. When they are coated with dust, pet hair, crumbs, or kitchen grease, the fridge has to work harder to do the same job.
You do not need to understand the whole refrigeration system to clean the coils. The main goal is simple: remove loose dust and lint without bending, puncturing, soaking, or forcing anything.
How Often Should You Clean Refrigerator Coils?
For most homes, cleaning refrigerator coils twice a year is a good routine. ENERGY STAR includes cleaning refrigerator coils twice yearly on its energy-saving checklist for existing refrigerators. ([energystar.gov](https://www.energystar.gov/buildings/save-energy-commercial-buildings/ways-save/checklists?utm_source=openai))
You may want to do it every three to four months if you have shedding pets, a dusty kitchen, a refrigerator in a garage, or a model with coils located close to the floor. If your fridge is built in, very new, or has covered coils, check your owner’s manual first so you do not remove panels that are not meant to be removed.
Supplies You’ll Need
- Vacuum with hose and crevice attachment
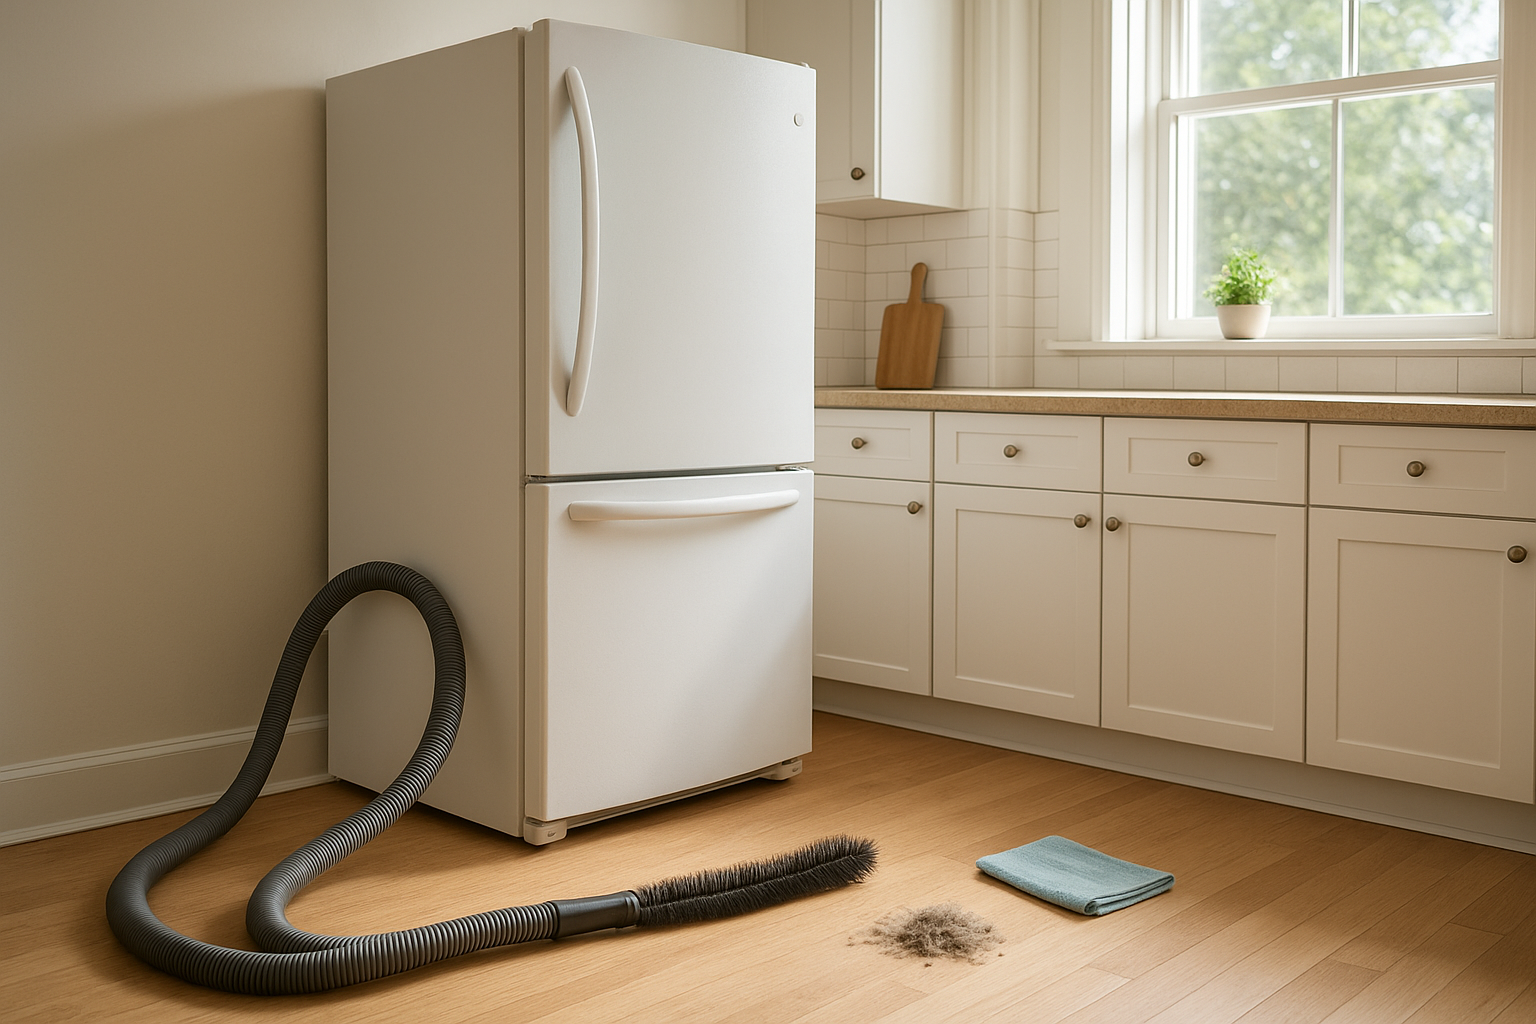
- Refrigerator coil brush or long flexible appliance brush
- Microfiber cloth
- Flashlight
- Screwdriver or nut driver, if your lower grille is screwed in place
- Work gloves, optional but helpful
A dedicated coil brush is worth having because it reaches farther than a vacuum attachment alone. Choose a flexible brush with soft bristles rather than anything stiff, sharp, or metal-tipped.
Before You Start: Keep Food Safe
This job is quick, but you should still be mindful of refrigerator temperature. The USDA says refrigerators should be kept at 40°F or below for food safety, and the FDA gives the same guidance, with freezers at 0°F. ([fsis.usda.gov](https://www.fsis.usda.gov/food-safety/safe-food-handling-and-preparation/food-safety-basics/refrigeration?utm_source=openai))
If you will only unplug the fridge for 15 to 20 minutes, keep the doors closed while you work. If your refrigerator already has temperature problems, put highly perishable foods in a cooler with ice packs before you begin.
Step 1: Find the Coils
Refrigerator coils are usually in one of three places:
- Behind the lower front grille: Common on many modern refrigerators. You will see a toe-kick grille below the doors.
- On the back of the refrigerator: Common on older models. The coils may look like a black metal grid.
- Underneath the refrigerator: Often accessed from the front, sometimes with help from a long brush.
If you are not sure, look up your model number or check the manual. The model sticker is often inside the fridge wall, near the fresh-food compartment, or along the door frame.
Step 2: Unplug the Refrigerator
For safety, unplug the refrigerator before you clean near coils, fan openings, or lower access areas. If the plug is hard to reach, pull the fridge out carefully only as far as needed. Do not yank it by the doors or handles.
If the refrigerator has a water line for an ice maker or dispenser, move slowly. Leave enough slack so the line is not stretched, kinked, or pulled loose.
Step 3: Remove the Grille or Pull the Fridge Out
For front-access coils, pop off the lower grille if it is designed to snap out. Some grilles have small screws. Set screws in a bowl so they do not roll under the appliance.
For rear coils, slide the refrigerator straight out from the wall. Put cardboard or a thin hardboard panel under the front wheels if you are worried about scratching wood or vinyl flooring. Vacuum the floor and wall while you are back there; dust in that area will be pulled right back toward the coils.
Step 4: Vacuum Loose Dust First
Use the crevice tool to vacuum the front, back, or underside access area. Start with loose dust, pet hair, and crumbs you can reach easily. Work gently and avoid pressing hard against tubing, wires, or fins.
If the vacuum hose has strong suction, keep it moving rather than letting it grab and pull at lightweight parts. A flashlight helps you see what is dust and what is actually part of the refrigerator.
Step 5: Brush Between the Coils
Next, slide the coil brush into the coil area and pull dust toward you. Use short, gentle strokes. The brush will usually bring out gray lint that the vacuum could not reach.
Vacuum again as dust falls. Repeat the brush-and-vacuum cycle until the brush comes out mostly clean. You do not need to make the coils look brand-new; you are removing the insulating layer of debris that keeps heat from escaping.
Step 6: Clean the Grille and Floor
Wipe the grille with a damp microfiber cloth and dry it before reinstalling. If the grille has greasy kitchen dust, wash it in warm soapy water, rinse, and let it dry fully.
Vacuum the floor underneath the front edge and behind the refrigerator. Dust bunnies around the appliance can be pulled into the coil area again, so this little extra step helps the cleaning last longer.
Step 7: Plug It Back In and Check the Temperature
Reinstall the grille, slide the refrigerator back into place, and plug it in. Leave a little breathing room behind the appliance if your kitchen layout allows it. ENERGY STAR advises leaving a few inches between the wall and the refrigerator or cooler. ([energystar.gov](https://www.energystar.gov/products/refrigerators?utm_source=openai))
Give the refrigerator time to settle back to its normal temperature, especially if it was unplugged or moved for more than a few minutes. A simple appliance thermometer is the easiest way to confirm that the fresh-food compartment is at 40°F or below.
Mistakes to Avoid
- Do not use water on the coils. A lightly damp cloth is fine for the removable grille, but avoid spraying liquid into the mechanical area.
- Do not use a stiff wire brush. It can bend delicate parts or damage protective coatings.
- Do not force a panel open. If a cover does not remove easily, check the manual.
- Do not ignore strange noises afterward. If a fan starts rattling, unplug the fridge and make sure the grille, brush, or debris is not touching moving parts.
- Do not pack food against interior vents. Good airflow inside the fridge also helps it cool evenly.
Signs Your Coils Need Cleaning Again
Add this chore to your spring and fall home maintenance list, but watch for clues between cleanings. The fridge may need attention sooner if it runs almost nonstop, the kitchen side of the appliance feels hotter than usual, dust is visible on the front grille, or pet hair gathers under the doors.
Cleaning refrigerator coils will not fix every cooling problem. If the refrigerator still cannot hold 40°F or below after cleaning, the door gasket, thermostat, fan, compressor, or refrigerant system may need professional attention. But because coil cleaning is simple, inexpensive, and safe when done carefully, it is a smart first step before calling for service.
The Bottom Line
Cleaning refrigerator coils is not glamorous, but it is one of those small home jobs that pays you back. With a vacuum, a coil brush, and a few careful minutes, you can help your refrigerator release heat properly, keep food colder, and avoid making the motor work harder than it has to.