How to Clean a Dryer Vent from Inside and Outside
If your towels need two cycles to dry or the laundry room feels hotter than usual, the problem may not be your dryer—it may be the vent. Learning how to clean a dryer vent is one of those small home jobs that can save time, energy, and worry.
A clogged vent makes the dryer work harder and can create a fire hazard. The U.S. Fire Administration says failure to clean was the leading factor contributing to home clothes dryer fires from 2018 to 2020, and ENERGY STAR recommends cleaning the lint filter after every load to improve airflow and efficiency. ([usfa.fema.gov](https://www.usfa.fema.gov/prevention/home-fires/prevent-fires/appliance-and-electrical/index.html?utm_source=openai))
How Often Should You Clean a Dryer Vent?
For most households, plan to clean the full dryer vent about once a year. Clean it more often if you do lots of laundry, have pets, dry bulky towels or bedding often, or your dryer vent run is long with several bends.
You should also clean the lint screen after every load. That little habit matters. ENERGY STAR notes that a clean lint filter improves air circulation and dryer efficiency, while the Department of Energy also recommends periodically vacuuming lint from the lint screen slot and checking that the vent is not blocked. ([energystar.gov](https://www.energystar.gov/products/clothes_dryers?utm_source=openai))
Signs Your Dryer Vent Is Clogged
You do not need to wait for a yearly reminder if the dryer is already giving you clues. Check the vent soon if you notice:
- Clothes take longer than one normal cycle to dry.
- The dryer feels unusually hot on the outside.
- The laundry room feels warm, humid, or linty while the dryer runs.
- There is a burning, musty, or dusty smell during drying.
- The outside vent flap barely opens when the dryer is running.
- Lint collects behind the dryer or around the outdoor vent cover.
If you ever smell burning, stop the dryer, unplug it if it is safe to do so, and do not run it again until you find the cause.
What You’ll Need
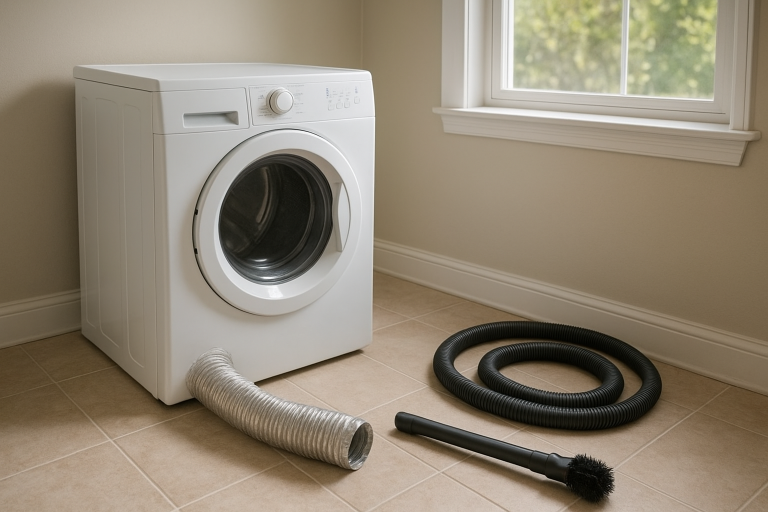
- Vacuum with hose attachment
- Dryer vent cleaning brush kit with flexible rods
- Screwdriver or nut driver
- Work gloves
- Flashlight
- Dust mask, optional but helpful
- Foil HVAC tape, if you need to reseal a metal joint
Skip leaf blowers, sharp tools, and anything that could puncture the duct. If your vent goes up through the roof, is very long, or has multiple hidden turns, a professional cleaning is often the safer choice.
Step 1: Unplug the Dryer and Pull It Out Carefully
Turn the dryer off and unplug it. If you have a gas dryer, be extra careful not to strain the gas line. If you are not comfortable moving a gas dryer, stop here and call a qualified appliance technician or dryer vent pro.
Pull the dryer straight out just far enough to reach the vent connection. Avoid crushing the duct behind the dryer. A crushed or kinked duct restricts airflow and can undo all your cleaning work.
Step 2: Disconnect the Vent Hose
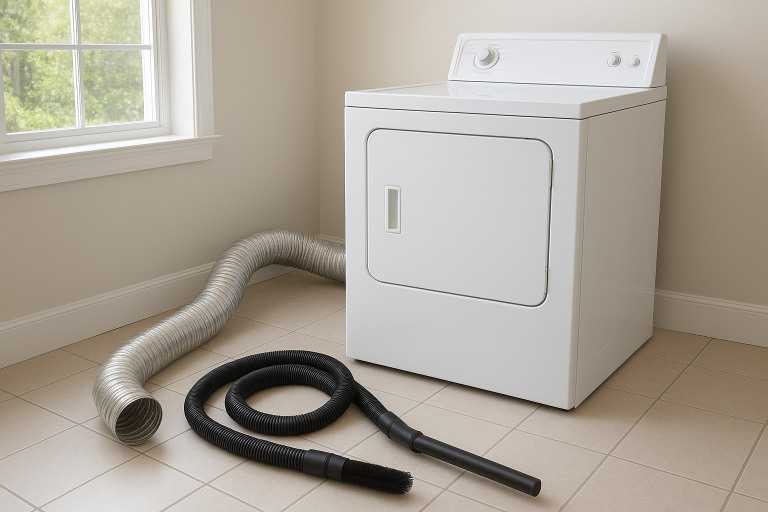
Loosen the clamp where the transition duct connects to the back of the dryer. Slide the duct off gently and look inside with a flashlight. You may find a ring of packed lint right at the dryer outlet.
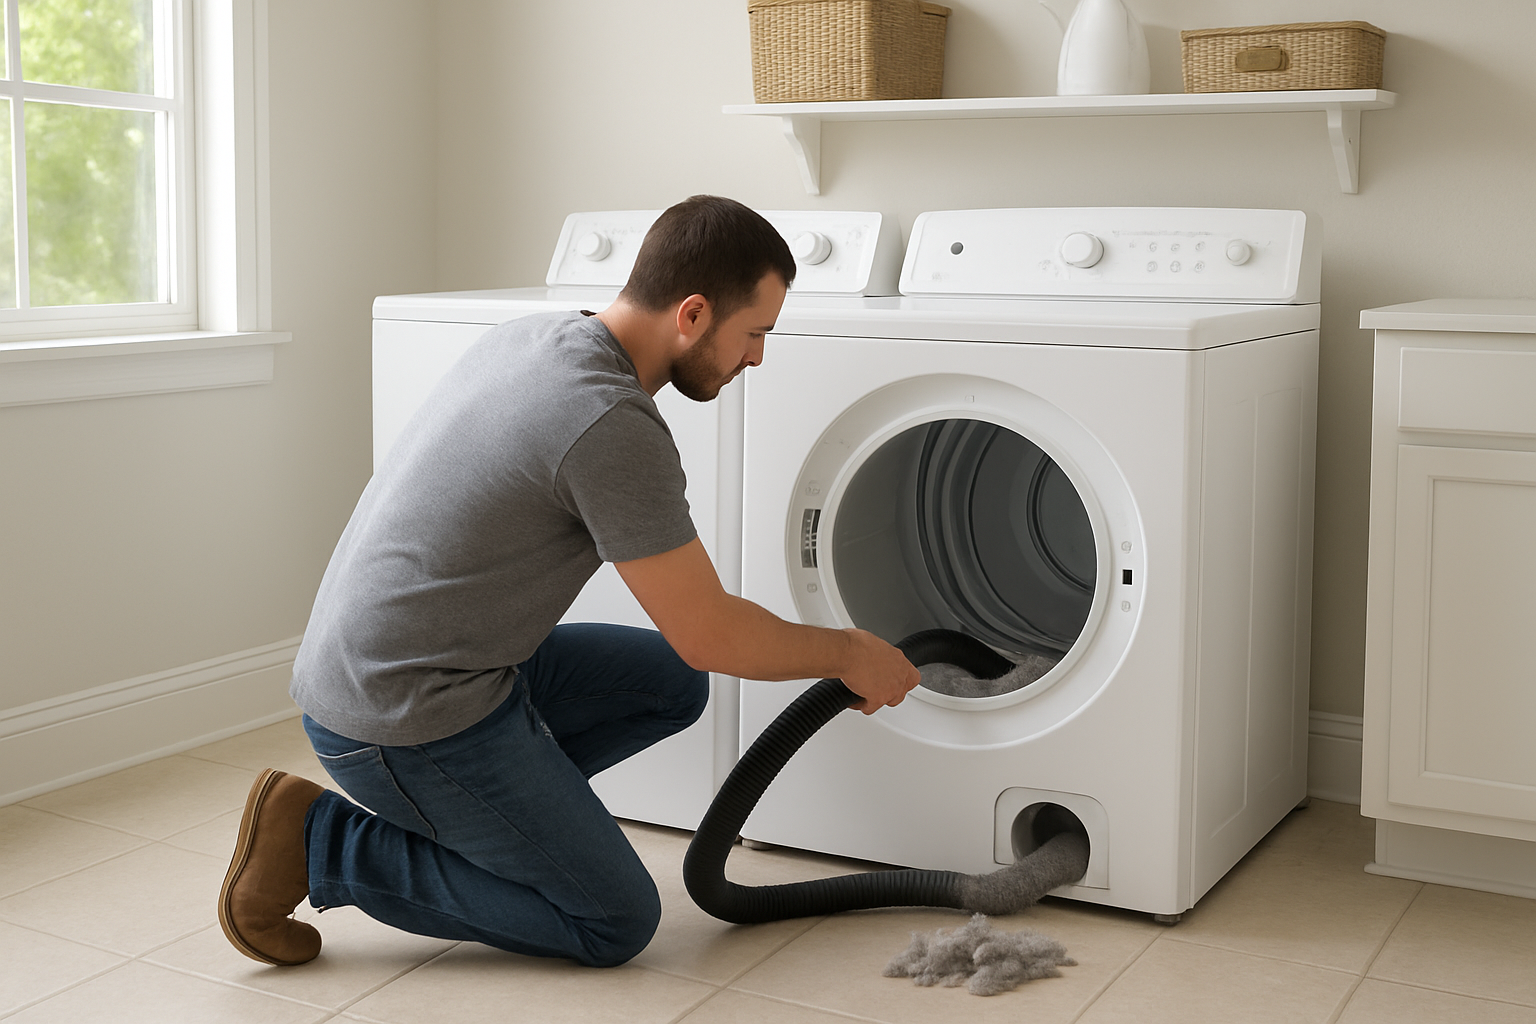
Vacuum the dryer outlet, the inside of the loose duct, and the floor behind the dryer. If your dryer has a removable lint screen, pull it out and vacuum the slot too. A long crevice tool works well for this.
Step 3: Brush the Duct from the Inside
Feed the dryer vent brush into the duct opening in the wall. Add flexible rods as needed, following the brush kit directions. Work slowly and keep the brush moving in the recommended direction so the rods do not unscrew inside the vent.
Pull the brush back out and vacuum the loosened lint. Repeat until the brush comes out with very little lint attached. Do not force the brush through a hard obstruction. If it hits something solid, the vent may be crushed, blocked by a bird nest, or poorly routed.
Step 4: Clean the Outdoor Vent Cover
Go outside and find the dryer exhaust vent. Remove lint from the cover, flap, or louvers by hand or with a vacuum. The U.S. Fire Administration recommends making sure the outdoor vent covering opens when the dryer is operating. ([usfa.fema.gov](https://www.usfa.fema.gov/downloads/pdf/publications/clothes_dryer_fire_safety_flyer.pdf?utm_source=openai))
If the cover is caked with lint, brush from the outside opening as well. Keep an eye out for damaged flaps, stuck louvers, insect nests, or a screen that traps lint. Many dryer vents should not have a fine mesh screen over the outlet because it can clog quickly.
Step 5: Reconnect the Dryer the Right Way
Reconnect the duct to the dryer and tighten the clamp. Use foil HVAC tape on rigid metal joints if needed, but do not use regular cloth duct tape; it can dry out and fail from heat.
Push the dryer back slowly. Leave enough room so the duct is not smashed flat. A short, smooth, semi-rigid or rigid metal connection usually allows better airflow than a long, sagging flexible hose.
Step 6: Test the Airflow
Plug the dryer back in and run it on an air-only or low-heat setting for a few minutes. Go outside and check the vent. The flap should open and you should feel a steady stream of air.
If airflow is still weak after cleaning both ends, there may be a blockage deep in the run. That is especially common with roof vents, second-floor laundry rooms, and vents that travel a long distance through walls or ceilings.
When to Call a Professional
A basic straight vent is often manageable for a careful homeowner. Call a pro if:
- The dryer vents through the roof.
- The vent run is long, hidden, or hard to access.
- You cannot get strong airflow after cleaning.
- The duct is crushed, disconnected, or made from unsafe plastic or thin foil material.
- You have a gas dryer and are not comfortable moving it.
- You smell burning or the dryer shuts off from overheating.
A professional can clean the full length of the vent, check airflow, and spot installation problems that are easy to miss.
How to Keep the Vent Cleaner Longer
- Clean the lint screen after every load. This is the easiest and most important habit.
- Do not overload the dryer. Heavy loads shed more lint and take longer to dry.
- Wash lint-heavy items separately. Towels, fleece blankets, pet bedding, and flannel can fill the screen fast.
- Check pockets before washing. Tissues and paper create extra debris.
- Look at the outside vent monthly. Make sure the flap moves freely and lint is not building up.
- Keep the area behind the dryer clean. Dust and lint around the appliance can get pulled into airflow paths.
A Simple Dryer Vent Cleaning Schedule
Here is an easy routine to remember:
- Every load: Clean the lint screen.
- Every month: Check the outdoor vent while the dryer runs.
- Every few months: Vacuum the lint screen slot and behind the dryer.
- Once a year: Clean the full vent from inside and outside, or hire it out.
Dryer vent cleaning is not glamorous, but it is one of the most useful maintenance jobs in the house. If your dryer runs faster, the laundry room stays cooler, and the outside flap opens freely, you have done more than clean lint—you have helped the whole appliance work the way it should.