How to Weatherstrip a Drafty Door Before Cold Weather
A drafty exterior door can make a room feel cold even when the heat is running. The good news is that learning how to weatherstrip a drafty door is a beginner-friendly project that usually takes less than an afternoon and requires only a few inexpensive supplies.
ENERGY STAR notes that sealing air leaks around the home can improve comfort and may save up to 10% on annual energy bills, and windows and doors are common places to start. Weatherstripping is one of the simplest fixes because it seals the moving edges of a door without replacing the door itself. ([energystar.gov](https://www.energystar.gov/saveathome/seal_insulate?utm_source=openai))
How to Tell If Your Door Needs Weatherstripping
Before buying anything, check where the air is sneaking in. Close the door fully and inspect the top, sides, and bottom from inside the house.
- Look for daylight. If you can see light around the door edge, outside air can likely get through too.
- Feel for drafts. On a windy day, slowly move your hand around the door frame. A cold or warm stream of air points to a gap.
- Check the paper test. Close the door on a dollar bill or sheet of paper. If it slides out easily without resistance, that spot needs a tighter seal.
- Inspect old weatherstripping. Brittle foam, flattened rubber, loose metal strips, or adhesive that has let go are all signs it is time to replace it.
ENERGY STAR also suggests smoke or a similar visual test to locate moving air, but use common sense and avoid open flames near curtains, paper, pets, or children. ([energystar.gov](https://www.energystar.gov/saveathome/seal_insulate/sealing-window-door?utm_source=openai))
Choose the Right Weatherstripping
The best weatherstripping depends on the door, the size of the gap, and how much wear the area gets. For most homes, you will use one product around the top and sides of the door and a different product at the bottom.
For the top and sides
- Foam tape: The easiest option for beginners. It sticks to the door stop or jamb and works well for small, even gaps. It is affordable, but may compress or peel sooner than sturdier types.
- Vinyl or rubber V-strip: A good choice for narrow gaps where the door needs a flexible seal. It lasts longer than basic foam and is often used along the latch side or hinge side.
- Tubular rubber or silicone gasket: More durable and better for doors that get a lot of use. It can seal uneven gaps, but it needs careful placement so the door still closes smoothly.
For the bottom of the door
- Door sweep: A strip with rubber, vinyl, or bristles that screws to the inside face of the door and brushes against the threshold.
- U-shaped door bottom: Slides onto the bottom edge of the door and seals both sides. This may require removing the door from the hinges, depending on the style.
- Adjustable threshold: Useful if the existing threshold is too low or uneven, but this is a slightly more involved repair.
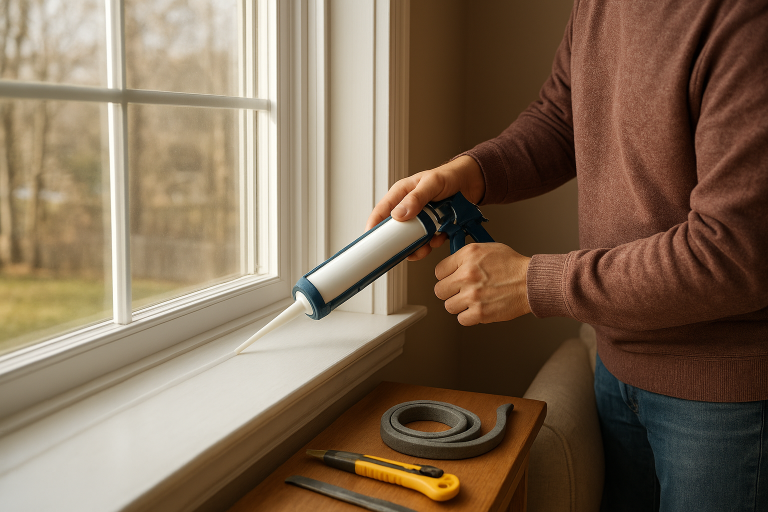
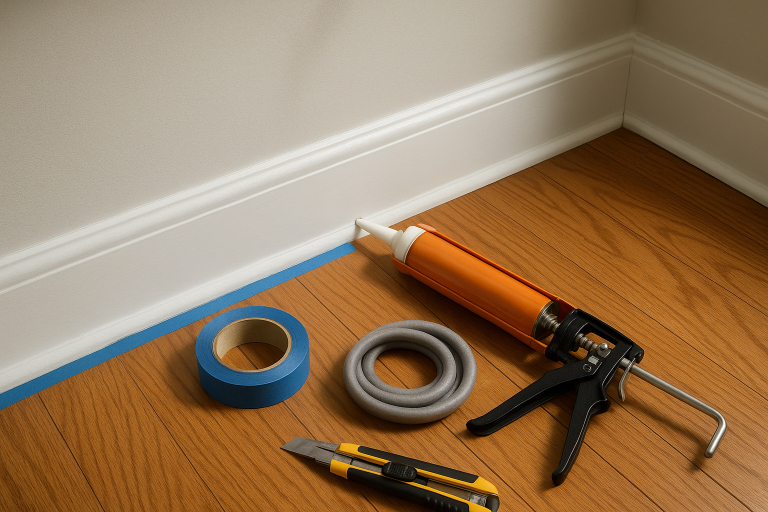
For stationary cracks around the outside trim, caulk is usually the better tool. The Department of Energy describes caulking and weatherstripping as quick-return air-sealing techniques, with caulk best for fixed cracks and weatherstripping best for moving parts like doors and windows. ([energy.gov](https://www.energy.gov/cmei/buildings/articles/energy-efficient-home-improvement-credit-insulation-and-air-sealing?utm_source=openai))
Tools and Supplies
- Tape measure
- Utility knife or heavy scissors
- Cleaning cloth
- Mild dish soap and water
- Rubbing alcohol for final surface prep, if safe for your door finish
- Chosen weatherstripping for top and sides
- Door sweep or door-bottom seal
- Screwdriver or drill, if installing a screw-on sweep
- Pencil
Step-by-Step: How to Weatherstrip a Drafty Door
1. Remove the old weatherstripping
Pull off old adhesive foam or unscrew old metal, rubber, or vinyl strips. If adhesive residue remains, remove as much as you can without damaging paint or stain. A clean surface helps the new strip stay put.
2. Clean and dry the door frame
Wash the jamb and door stop with a damp cloth and a little dish soap. Rinse with a clean damp cloth, then dry completely. Adhesive weatherstripping will not bond well to dust, grease, damp paint, or loose debris.
3. Measure the door frame
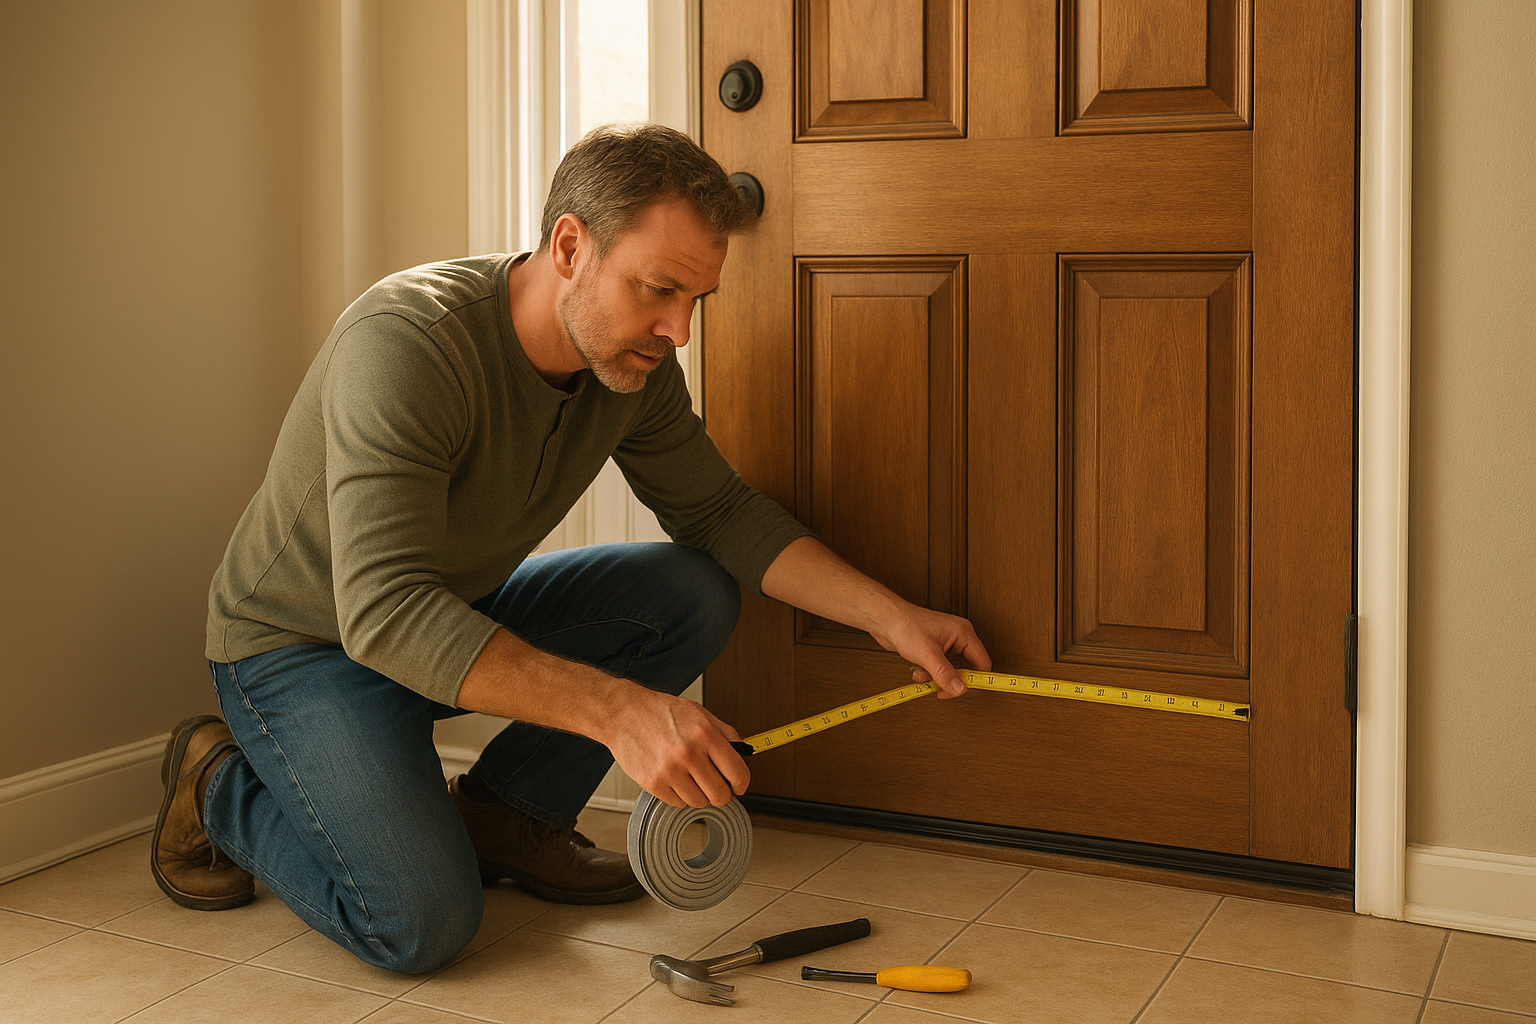
Measure the latch side, hinge side, and top separately. Do not assume both sides are exactly the same length, especially in older houses. Cut each strip just a little long at first; you can trim the end for a neater fit.
4. Install the top piece first
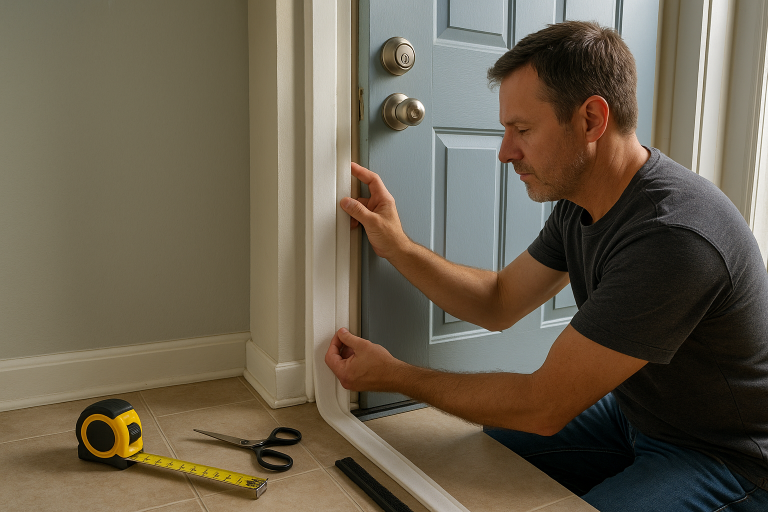
Start at the top of the door frame. If you are using adhesive foam or rubber, peel back only a few inches of backing at a time. Press it firmly into place along the door stop where the closed door will compress it. Avoid stretching the strip as you install it, because stretched weatherstripping can shrink back and leave gaps at the ends.
5. Install the side pieces
Run the weatherstripping down the latch side and hinge side, keeping it straight and snug against the corners. The seal should touch the door when it is closed, but it should not be so thick that you have to slam the door. If the latch no longer catches, the weatherstripping may be too bulky or placed too far toward the door.
6. Replace or adjust the door sweep
Close the door and measure the width. Cut the sweep to fit if the product allows trimming. Hold it against the inside bottom of the door so the flexible edge just contacts the threshold. Mark the screw holes, drill small pilot holes if needed, then fasten it in place.
The sweep should block the gap without dragging hard. If it scrapes every time the door opens, raise it slightly. If you still see daylight underneath, lower it or consider a different style of door-bottom seal.
7. Test the door
Open and close the door several times. Lock it, latch it, and check for rubbing. Then repeat the paper test around the edges. You want gentle resistance, not a door that feels forced or misaligned.
Common Mistakes to Avoid
- Using weatherstripping that is too thick. Bigger is not always better. A too-thick seal can make the door hard to close and may strain the latch.
- Installing over dirt or peeling paint. Adhesive strips need a clean, dry, stable surface.
- Forgetting the bottom gap. A door can be well sealed on three sides and still leak a lot of air under the threshold.
- Caulking the moving edge of the door. Caulk belongs on fixed gaps, not where the door needs to open.
- Ignoring a sagging door. If the gap is wide at one corner and tight at another, tighten hinge screws or correct the door alignment before sealing.
When Weatherstripping Is Not Enough
If your door is badly warped, rotted, cracked, or loose in the frame, weatherstripping may only be a temporary improvement. You may also need to repair the threshold, tighten hinges, adjust the strike plate, or seal gaps behind the door trim with appropriate caulk or low-expansion foam. ENERGY STAR specifically points to leaks around window and door trim as a source of drafts and energy loss. ([energystar.gov](https://www.energystar.gov/saveathome/seal_insulate/sealing-window-door?utm_source=openai))
Also watch for moisture problems. If you see mold, a musty smell, or damp wood around an exterior door, fix the water source before sealing everything tightly. The EPA does not recommend bleach as a routine mold-cleanup practice and warns never to mix bleach with ammonia or other cleaners. ([epa.gov](https://www.epa.gov/mold/should-i-use-bleach-clean-mold?utm_source=openai))
A Small Fix That Makes the House Feel Better
Weatherstripping will not solve every comfort problem in a house, but it is one of the most approachable DIY repairs you can make before cold or hot weather settles in. Start with the door you use most, seal the top and sides, replace the sweep, and test your work. If the room feels less drafty the next windy day, you will know the project paid off.