How to Clean a Humidifier Before Winter Use
Before you pull a humidifier out for dry-air season, give it a proper reset. A tank that looked clean when you packed it away can still hold mineral scale, dried film, or stale residue that you do not want misting into your room.
This guide walks through how to clean a humidifier before winter use, including descaling, disinfecting, drying, and setting up a simple routine so it stays fresh once it is running every day.
Why humidifiers need a pre-season cleaning
Humidifiers are helpful when indoor air gets dry, but they handle standing water, which means they need regular care. The EPA advises cleaning portable humidifiers every third day during use, removing scale or film from the tank and interior surfaces, and wiping surfaces dry. It also recommends cleaning the humidifier at the end of the humidifying season or whenever it will not be used often. ([epa.gov](https://www.epa.gov/indoor-air-quality-iaq/use-and-care-home-humidifiers?utm_source=openai))
That matters most with cool-mist, ultrasonic, and impeller humidifiers, which can release fine mist from the water in the tank. The EPA notes that using lower-mineral water, such as distilled water, can reduce mineral material released into the air. ([epa.gov](https://www.epa.gov/indoor-air-quality-iaq/use-and-care-home-humidifiers?utm_source=openai))
What you’ll need
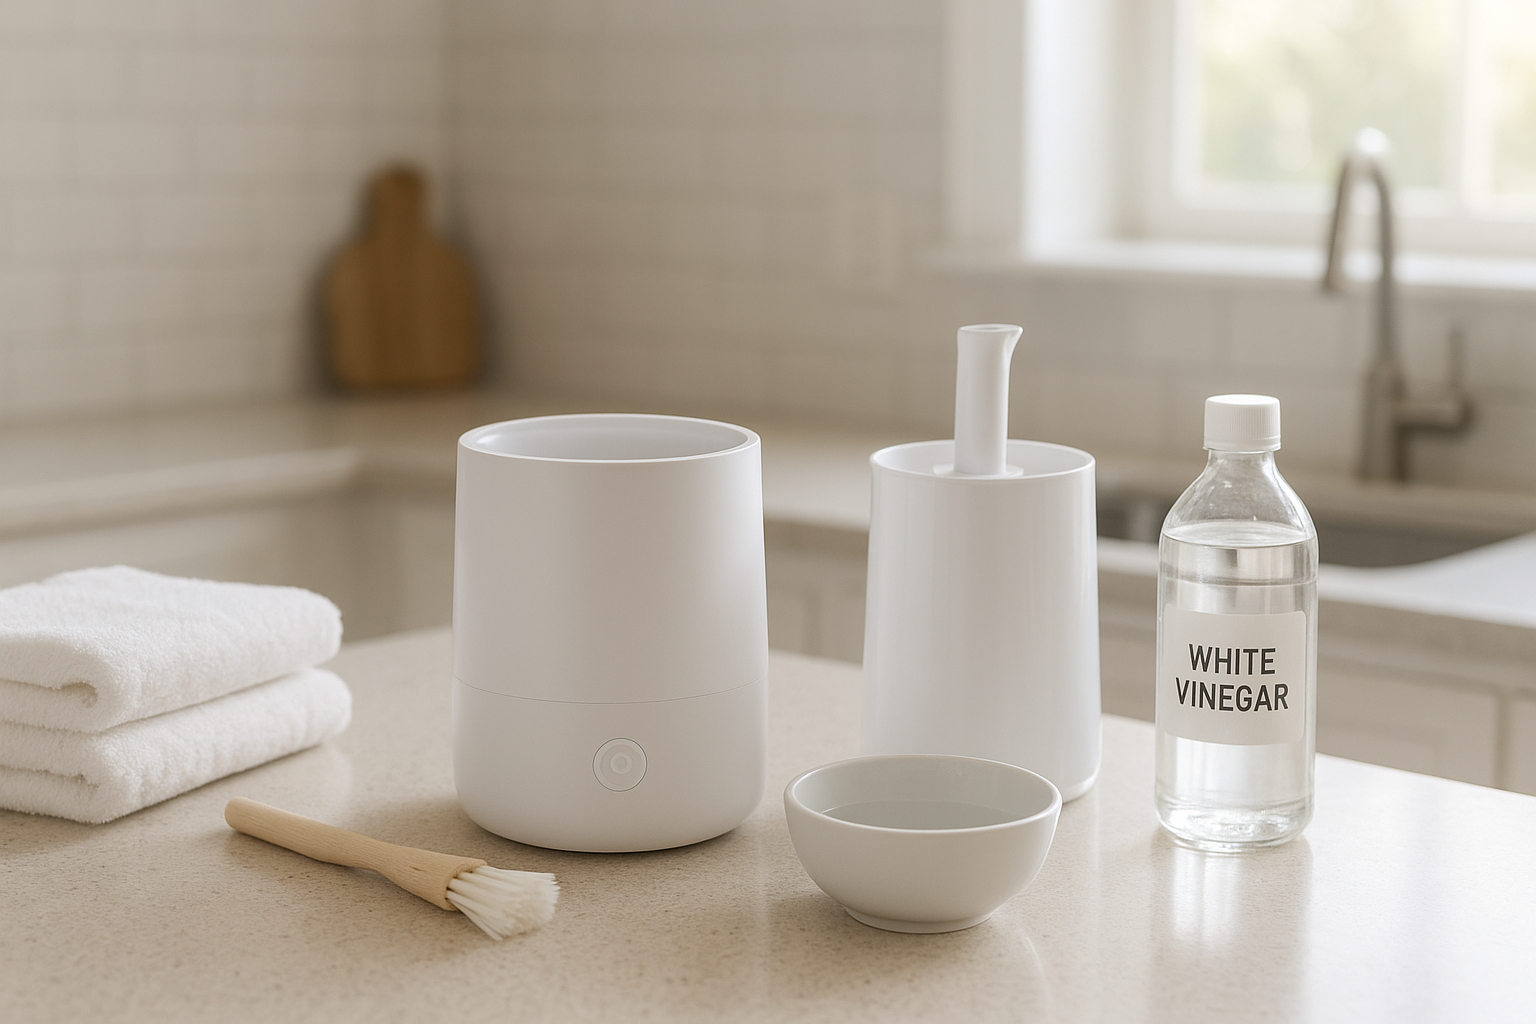
- White distilled vinegar
- Clean water
- A soft bottle brush, old toothbrush, or small cleaning brush
- Microfiber cloths or paper towels
- Cotton swabs for tight corners
- Household bleach, hydrogen peroxide, or the disinfectant recommended by your manual
- Rubber gloves, if using disinfectant
- Your humidifier manual, if you still have it
Important: always check the manual first. Some humidifiers have electronic parts, wicks, cartridges, antimicrobial pieces, or coated tanks that should not be soaked in vinegar or bleach. If the manual gives a different method, follow the manufacturer’s directions.
Step 1: Unplug and take it apart
Unplug the humidifier before doing anything else. Remove the tank, cap, mist nozzle, tray, filter, wick, float, and any parts designed to come off. Do not force anything. If a piece resists, look for a release tab or check the manual.
Pour out any old water. If the water has been sitting for months, do not splash it around. Empty it into a sink, rinse the tank once, and set the loose parts on a towel so you can see what needs attention.
Step 2: Inspect for scale, slime, and cracks
Look closely inside the tank and base. White, chalky crust is mineral scale, usually from hard water. Tan or gray film can be dried mineral residue mixed with dust. Any slippery feel, musty odor, or visible dark specks means the humidifier needs a more careful cleaning before it is used.
Also check for cracks in the tank, a warped cap gasket, or a stiff water valve. A humidifier that leaks on day one can damage a nightstand, floor, or dresser, so replace worn parts before the season starts.
Step 3: Descale with vinegar
Vinegar is useful for loosening mineral deposits. Fill the tank with enough white vinegar to cover scaled areas, or use a mix of equal parts vinegar and water for lighter buildup. For the base, pour vinegar only into the water reservoir area, keeping it away from the motor, cord, buttons, and exterior vents.
Let the vinegar sit for 20 to 30 minutes. For stubborn crust around the tank cap, mist outlet, or tray, soak removable plastic parts in a bowl of vinegar and water. After soaking, scrub gently with a soft brush. Use cotton swabs for seams and corners, but avoid sharp tools that can scratch plastic and create places for grime to cling.
Rinse everything well with clean water. Vinegar odor can linger, so rinse more than once if needed.
Step 4: Disinfect the water-contact parts
Descaling removes mineral buildup; disinfecting tackles germs. Use the disinfecting method recommended by your humidifier’s manual. If the manual allows bleach, a common approach is to use a diluted bleach solution, swish it over water-contact surfaces, let it sit briefly, then rinse thoroughly. Never mix bleach with vinegar or any other cleaner.
If you prefer not to use bleach, some manuals allow hydrogen peroxide instead. Again, follow your specific model’s instructions. The CDC’s general advice for water-related home devices is to follow manufacturer instructions for the type of water to use and how to clean devices such as humidifiers. ([cdc.gov](https://www.cdc.gov/drinking-water/prevention/preventing-waterborne-germs-at-home.html?utm_source=openai))
After disinfecting, rinse until there is no cleaner smell. This is especially important because the humidifier will be sending moisture into the air you breathe.
Step 5: Deal with the filter or wick
If your humidifier uses a wick or filter, inspect it before reuse. A stiff, brown, sour-smelling, moldy, or heavily crusted wick should be replaced, not scrubbed back into service. Many evaporative humidifiers depend on that wick to pull water up properly; once it is clogged with minerals, performance drops.
If the filter is washable according to the manual, rinse it with cool water only unless the manufacturer says otherwise. Do not wring it aggressively, and do not use soap unless directed. If you cannot remember when you last replaced it, starting the season with a fresh one is often the easiest fix.
Step 6: Dry completely before reassembling
Set all parts on a clean towel and let them air-dry fully. Wipe the base and tank exterior dry, too. Do not reassemble the humidifier while hidden pockets are still wet unless you are filling and using it immediately.
If you are cleaning it now but not using it for a few weeks, store it dry with the tank cap loosened or off so air can circulate. Trapped moisture is one of the easiest ways to undo all your cleaning work.
How to keep it clean during humidifier season
- Empty and refill daily: do not keep topping off old water. Dump the tank, give it a quick rinse, and refill with fresh water.
- Use distilled water if possible: this can cut down on white dust and mineral scale, especially in ultrasonic and cool-mist units. ([epa.gov](https://www.epa.gov/indoor-air-quality-iaq/use-and-care-home-humidifiers?utm_source=openai))
- Clean every third day: the EPA recommends cleaning portable humidifiers every third day during use. ([epa.gov](https://www.epa.gov/indoor-air-quality-iaq/use-and-care-home-humidifiers?utm_source=openai))
- Keep the area around it dry: if furniture, carpet, curtains, or walls feel damp, turn the unit down or move it.
- Replace filters on schedule: a dirty wick can make the humidifier smell musty and run poorly.
Common mistakes to avoid
Using cleaner in the tank while the unit runs
Do not add vinegar, bleach, essential oils, or disinfectant to the tank while the humidifier is operating unless the manufacturer specifically says that product is safe for your model. Cleaning products belong in the cleaning process, not in the mist.
Forgetting the base
The tank gets most of the attention, but the base is where water often sits after the tank drains. Clean the reservoir, float, and corners carefully while keeping water away from electrical parts.
Letting humidity get too high
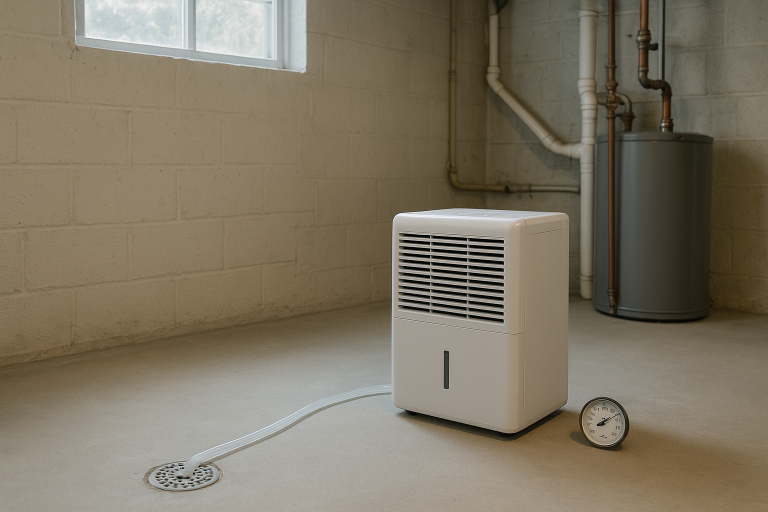
More mist is not always better. Damp windows, condensation, or a musty smell are signs you may be over-humidifying. If your humidifier does not have a built-in humidistat, an inexpensive room hygrometer can help you see what is actually happening.
Quick pre-season checklist
- Unplug the humidifier.
- Empty old water and disassemble removable parts.
- Soak mineral scale with vinegar.
- Scrub gently and rinse well.
- Disinfect according to the manual.
- Replace any crusty, stained, or musty wick or filter.
- Dry completely before storage or refill with fresh water for use.
A clean humidifier is easier to live with: less odor, less crust, and fewer mystery specks around the room. Take 30 to 45 minutes before the first cold snap, and you will start dry-air season with a machine that is ready to do its job safely and neatly.