How to Clean a Bathroom Exhaust Fan the Safe Way
If your bathroom mirror stays foggy long after a shower, the exhaust fan may not be doing its job. Often the problem is not a broken fan at all, but a thick mat of dust on the cover, blades, and housing.
Here is how to clean a bathroom exhaust fan safely, without spraying water into the motor or making a bigger mess overhead. This is a simple once-or-twice-a-year home maintenance job that can help the fan move moist air more effectively.
Why a Clean Bathroom Fan Matters
Bathroom exhaust fans are there to pull humid air out of the room. The EPA recommends using a bathroom fan that vents outdoors, or opening a window when conditions allow, during and after showers to help exhaust moisture. It also notes that controlling moisture and improving ventilation can help keep recurring bathroom mold to a minimum. ([epa.gov](https://www.epa.gov/indoor-air-quality-iaq/biological-contaminants-and-indoor-air-quality?utm_source=openai))
Dust makes that harder. Lint, hair spray residue, and everyday bathroom dust collect on the grille and fan parts. As buildup grows, airflow drops, noise can increase, and the fan may leave more moisture behind on walls, ceilings, and trim.
What You’ll Need
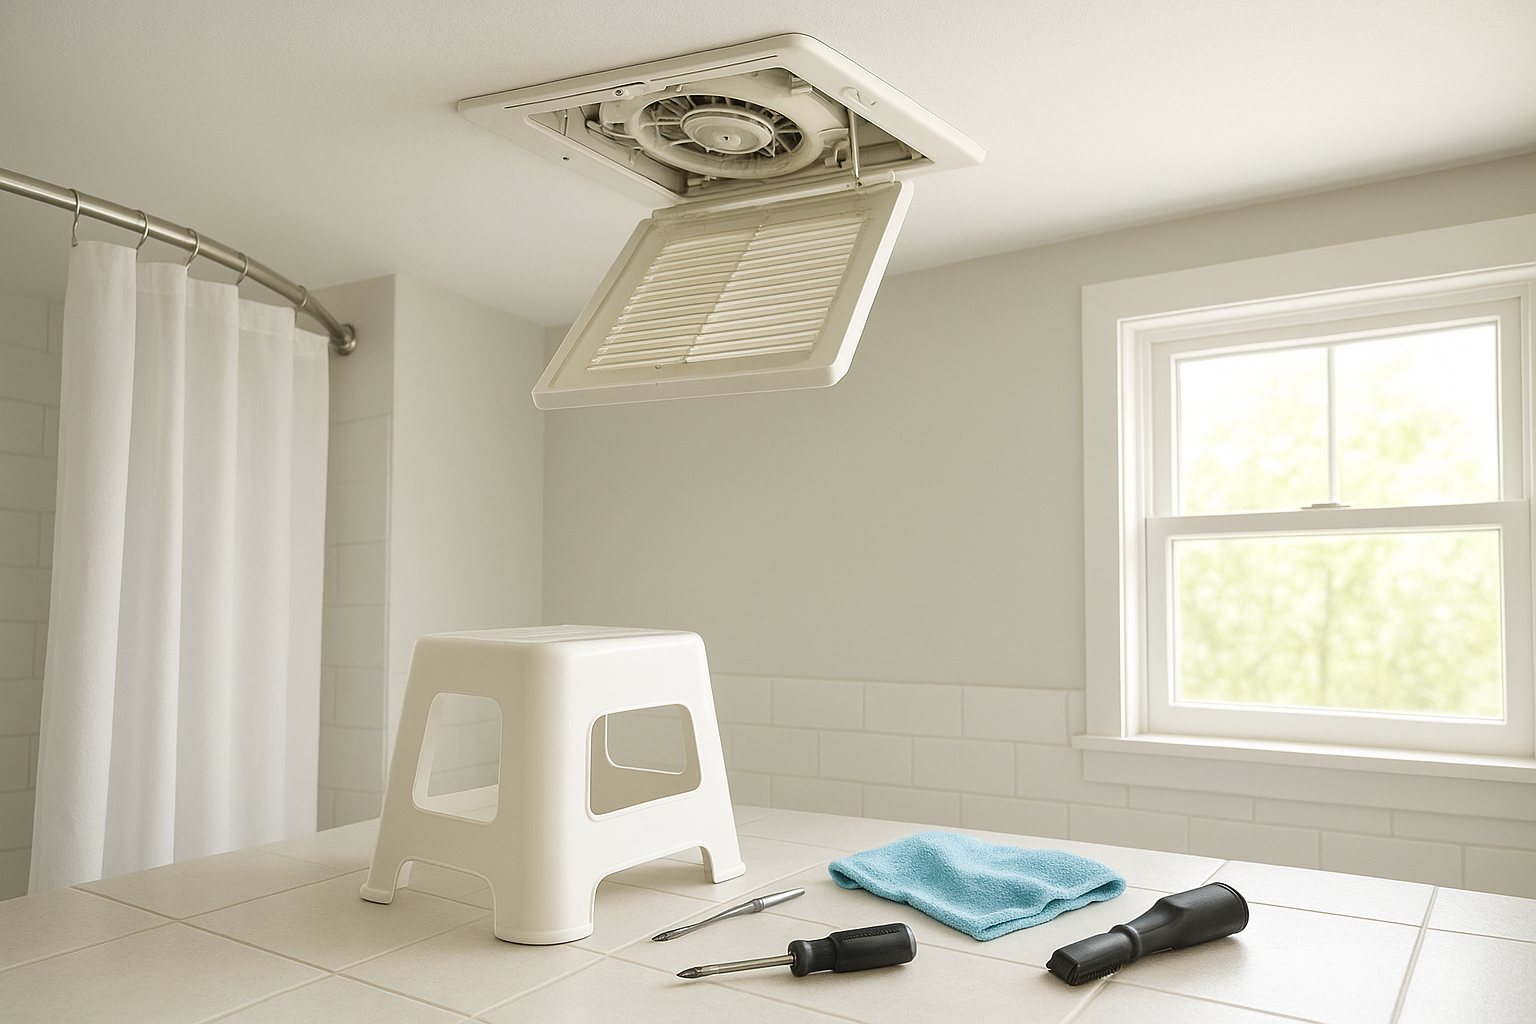
- Step stool or sturdy ladder
- Vacuum with brush attachment or crevice tool
- Microfiber cloths
- Small soft brush, old toothbrush, or paintbrush
- Dish soap
- Warm water
- Screwdriver, if your cover or motor plate uses screws
- Flashlight
- Dust mask and safety glasses, optional but helpful
Do not use: a soaking wet sponge inside the fan housing, spray cleaner aimed into the fan, bleach mist, or compressed air that simply blows dust deeper into the unit. Lowe’s cleaning guidance specifically warns not to spray water or cleaner into the fan or electrical parts. ([lowes.com](https://www.lowes.com/n/how-to/how-to-clean-bathroom-exhaust-fan?utm_source=openai))
Step 1: Turn Off the Power
Start by switching the bathroom fan off at the wall. For the safest cleaning, turn off power to the fan at the breaker, especially if you plan to remove a light lens, motor plate, or anything beyond the cover.
If your bathroom has no window, bring in a battery light or headlamp before turning off the breaker. Never work above your head with wet hands, and never clean inside the housing while the fan is running.
Step 2: Remove the Fan Cover
Most bathroom fan covers are held in place by two spring clips. Gently pull the cover straight down about an inch or two. You should see metal wires on both sides. Squeeze the wires together on one side to release them from the slots, then repeat on the other side.
Some covers are held with screws, and some fan-light combinations have a lens that must come off first. If anything feels stuck, stop and look closely with a flashlight rather than forcing it. Older plastic can crack.
Step 3: Wash and Dry the Cover
The cover is usually the dirtiest part and the easiest to clean well. Fill a sink with warm water and a few drops of dish soap. Soak the cover for 5 to 10 minutes, then scrub the grille openings with a soft brush or old toothbrush.
Rinse it well and set it on a towel to dry completely. This matters. You do not want drips falling into the fan when you reinstall it.
Step 4: Vacuum the Fan Housing
With the cover off, use a vacuum brush attachment to remove loose dust from the inside of the housing. Work slowly around the edges, motor bracket, and fan wheel or blades.
If your fan has a squirrel-cage style blower wheel, dust can pack into the narrow fins. Use a dry paintbrush or toothbrush to loosen the dust while holding the vacuum nozzle nearby. This catches the debris instead of letting it fall onto the floor, towels, or your face.
Step 5: Wipe What You Can Reach
Lightly dampen a microfiber cloth with water. It should be barely damp, not dripping. Wipe the inside rim of the housing, the visible plastic or metal surfaces, and the edges where dust clings.
Avoid wiping the motor with a wet cloth. If the motor itself is dusty, use the vacuum and dry brush only. Some bath fans allow the motor and blower assembly to be unplugged and removed for deeper cleaning, but designs vary. If yours does not come out easily, do not tug on wires or bend brackets.
Step 6: Check the Flapper and Duct Opening
While the cover is off, look for the duct opening where air exits the fan housing. Many fans have a small backdraft damper or flapper. It should move freely and not be glued shut by dust or paint.
If you can reach it safely, nudge it gently with a dry brush. Do not shove a vacuum hose deep into the duct. If you see heavy lint, nesting material, water stains, or a disconnected duct, that is a bigger issue than routine cleaning.
Also make sure your fan vents outdoors, not into an attic or enclosed space. Home Depot’s bathroom fan installation guidance warns not to vent bathroom fans into an attic or subfloor because moist air can contribute to mold and mildew problems. ([homedepot.com](https://www.homedepot.com/c/ah/how-to-install-a-bathroom-fan/9ba683603be9fa5395fab904366e6ec?utm_source=openai))
Step 7: Reinstall the Cover
Once the cover is fully dry, squeeze the spring clips and guide them back into their slots. Push the cover up until it sits flat against the ceiling. Restore power at the breaker and turn the fan on.
Listen for changes. A clean fan often sounds smoother and less strained. If it rattles after cleaning, the cover may not be seated correctly, or a loose screw may need tightening.
How to Test Whether the Fan Is Pulling Air
A quick tissue test can tell you whether the fan is drawing at least some air. Turn the fan on and hold a single square of toilet paper or tissue near the grille. The fan should pull it toward the cover and hold it there lightly.
This is not a professional airflow measurement, but it is a useful homeowner check. If the tissue does not move at all after cleaning, the fan may be clogged farther down the duct, disconnected, blocked at the exterior vent, or failing.
How Often Should You Clean a Bathroom Exhaust Fan?
For most homes, clean the cover every 3 to 6 months and clean inside the fan housing once or twice a year. Choose the shorter schedule if the bathroom is used daily for showers, you use a lot of hair spray or powder products, or you have pets that shed.
Add it to a seasonal home maintenance list: spring and fall are easy times to remember. If you notice a fuzzy gray ring on the grille, visible dust hanging from the cover, or weaker airflow, clean it sooner.
When Cleaning Is Not Enough
A clean fan should remove odors and help clear steam in a reasonable amount of time. If the bathroom still stays damp, look for these common problems:
- The fan is undersized. Larger bathrooms need more airflow than tiny powder rooms.
- The duct run is too long or crushed. Long, twisted, or pinched ducting makes the fan work harder.
- The exterior vent is blocked. Check for lint, leaves, paint, bird guards clogged with debris, or a stuck flap.
- The fan does not vent outdoors. Moist air dumped into an attic can cause hidden trouble.
- The motor is worn out. Grinding, humming without spinning, or frequent stopping can mean it is time to replace the unit.
The EPA suggests keeping indoor humidity between 30% and 60% to help reduce mold growth, along with venting moisture-producing areas such as bathrooms to the outside. If your bathroom regularly stays damp even with a clean fan, a basic humidity gauge can help you see what is really happening. ([epa.gov](https://www.epa.gov/mold/what-are-ten-things-i-need-know-about-mold?utm_source=openai))
A Simple Habit That Helps
Run the fan during showers and leave it on afterward so it can keep pulling moisture out. If your family forgets, consider a timer switch or humidity-sensing switch as a practical upgrade.
Cleaning the fan is not glamorous, but it pays off. In less than an hour, you can remove the dust that slows airflow, help the fan run more quietly, and give your bathroom a better chance to dry out after every shower.