How to Plant Turnips in Late Summer for Fall Harvest
If you have a little open garden space after beans, cucumbers, or early potatoes, turnips are one of the easiest crops to tuck in for fall. They grow quickly, give you both roots and greens, and often taste sweeter once cooler weather settles in.
The trick is getting them started while the soil is still warm, then keeping the seedlings evenly moist until the weather turns mild. Here’s how to plant turnips in late summer for a dependable fall harvest.
Why Late Summer Is a Good Time to Plant Turnips
Turnips are a cool-season crop, but they do not need to wait for chilly weather to sprout. Late summer planting lets the seeds germinate in warm soil while the roots size up during cooler fall days. Utah State University Extension notes that turnips grow best when temperatures do not exceed 85°F, and cooler temperatures can improve flavor. ([extension.usu.edu](https://extension.usu.edu/yardandgarden/research/rutabagas-and-turnips-in-the-garden?utm_source=openai))
That timing matters because hot, dry conditions can make turnips bitter or tough. The goal is to plant early enough for roots to mature, but not so early that they spend their whole life struggling through summer heat.
When to Plant Turnips for a Fall Harvest
For many U.S. gardeners, late July through September is the general window, depending on climate. In colder regions, you may need to sow around late July or early August. In milder climates, you can often plant later.
A practical way to time it is to count backward from your first expected fall frost. Many turnip varieties mature in about 40 to 60 days, but fall crops can slow down as days shorten. Utah State University Extension recommends planting fall turnips so maturity lands about 2 to 3 weeks after the first fall frost, using early-maturing cultivars when needed. ([extension.usu.edu](https://extension.usu.edu/yardandgarden/research/rutabagas-and-turnips-in-the-garden?utm_source=openai))
Regional guidance varies, which is why local extension advice is helpful. University of Minnesota Extension lists August 1 as a fall planting date for turnips in Minnesota, while University of Delaware Cooperative Extension lists fall planting from August to mid-September. ([extension.umn.edu](https://extension.umn.edu/vegetables/growing-turnips-and-rutabagas?utm_source=openai))
Choose the Right Turnip Variety
If you want roots, look for varieties labeled for tender, quick harvest. If you mostly want greens, choose a variety known for leafy tops. Many common turnips can be harvested either way, but root-focused varieties tend to make smoother, rounder bulbs.
- For quick roots: choose small, early types and harvest them young.
- For greens: plant a little thicker and harvest leaves when they are still tender.
- For storage: grow roots to full size, but do not let them get oversized and woody.
Old turnips are more likely to become tough and strongly flavored, so it is usually better to harvest a little early than too late. Illinois Extension specifically cautions that old turnips tend to be tough and woody. ([extension.illinois.edu](https://extension.illinois.edu/gardening/turnip?utm_source=openai))
Prepare the Bed Before Sowing
Turnips grow best in loose, crumbly soil without big clods or rocks. Since the edible root forms just below the surface, compacted soil can lead to small, misshapen roots.
- Clear the bed. Remove old crop roots, weeds, and any diseased plant debris.
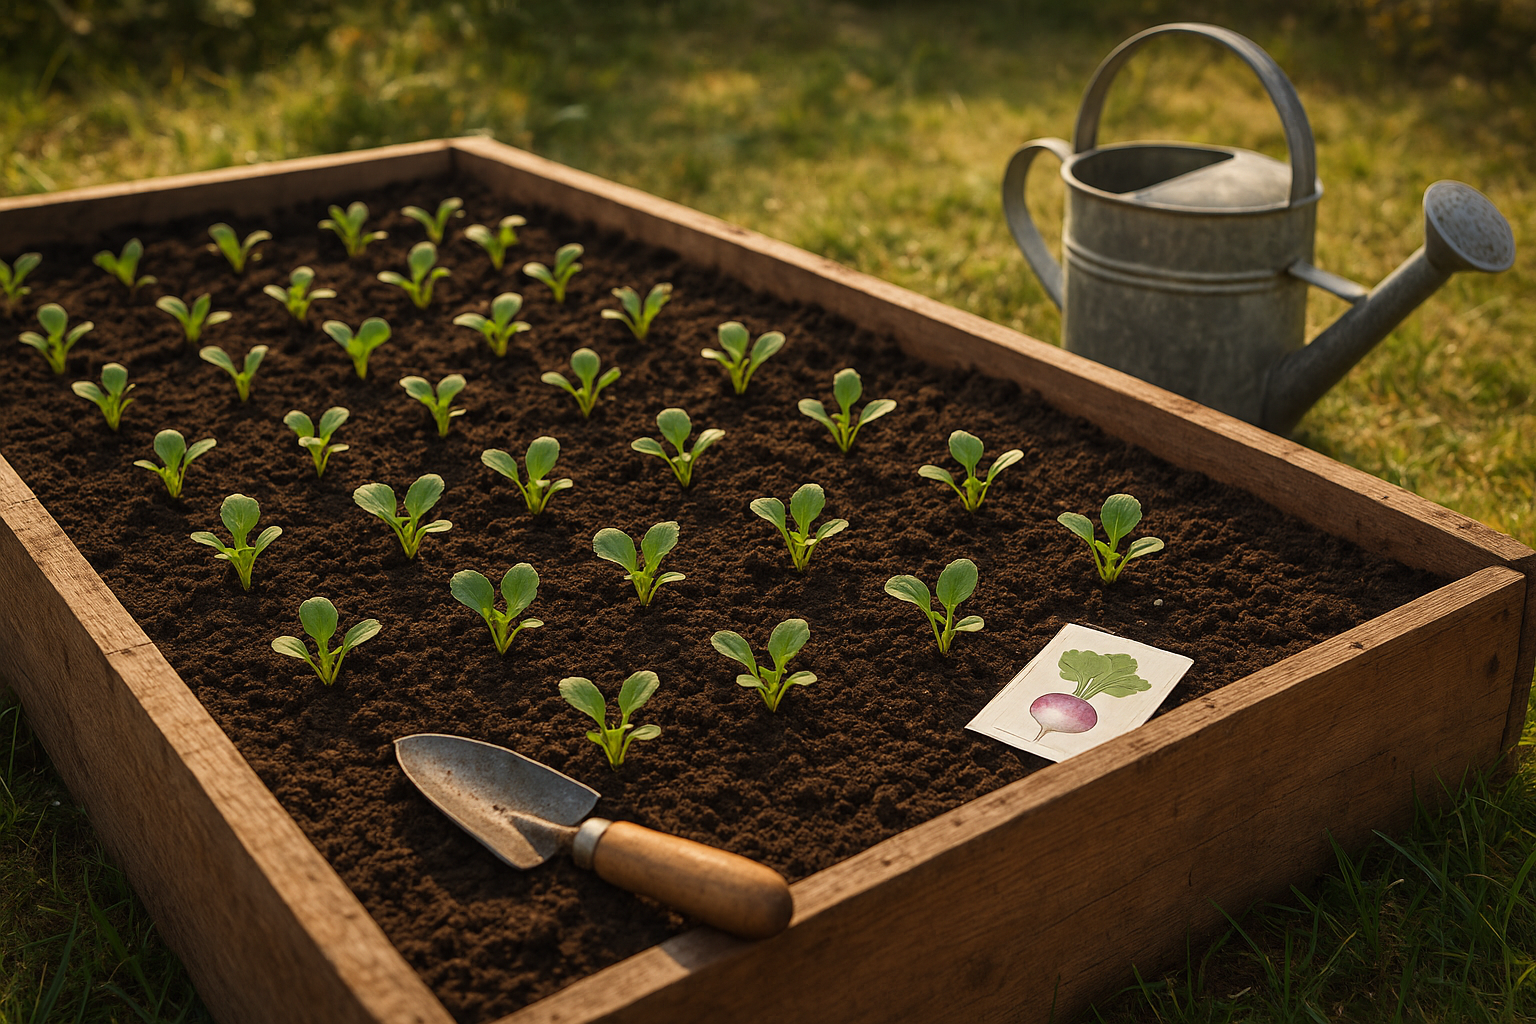
- Loosen the top 6 inches. Use a garden fork or hand cultivator, especially in raised beds that have settled.
- Add compost. Mix in a light layer of finished compost to improve moisture retention and texture.
- Avoid heavy nitrogen. Too much nitrogen can encourage leafy tops at the expense of roots.
If you have not tested your soil, Iowa State University Extension suggests incorporating 1 to 2 pounds of an all-purpose garden fertilizer, such as 10-10-10, per 100 square feet before planting. Use less if your soil is already fertile or you recently added compost. ([yardandgarden.extension.iastate.edu](https://yardandgarden.extension.iastate.edu/how-to/growing-turnips-and-rutabagas-home-garden?utm_source=openai))
How to Sow Turnip Seeds
Turnips are best direct-sown. They grow a taproot, so transplanting is usually not worth the trouble for home gardeners.
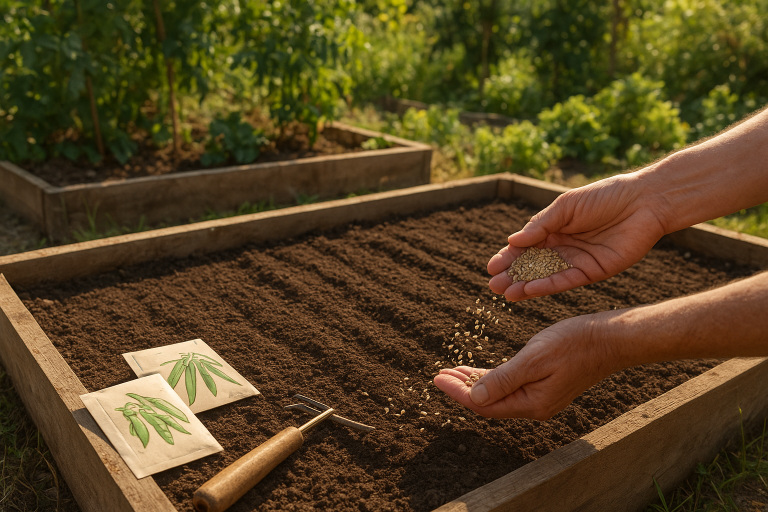
- Make shallow rows. Space rows about 12 to 18 inches apart for easy weeding and harvesting.
- Sow seeds thinly. Aim for a light sprinkle rather than a dense line.
- Cover lightly. Plant seeds about 1/4 to 1/2 inch deep. Illinois Extension recommends 1/2 inch deep, while Utah State recommends 1/4 inch deep; in hot late-summer soil, either can work as long as the seedbed stays moist. ([extension.illinois.edu](https://extension.illinois.edu/gardening/turnip?utm_source=openai))
- Water gently. Use a watering can with a rose head or a soft hose setting so seeds do not wash away.
- Label the row. Turnip seedlings appear quickly, but a label helps you avoid disturbing them while weeding.
Keep Seeds Moist Until They Sprout
The hardest part of late-summer turnips is not planting them; it is keeping the seedbed from drying out. Water lightly once or twice a day during hot spells if the top layer of soil dries quickly.
A thin cover of straw can help hold moisture, but keep it light enough that seedlings can push through. You can also lay burlap or a lightweight row cover over the seeded area until germination, then remove it as soon as sprouts appear.
Thin Seedlings for Better Roots
Turnip seeds are small, and most gardeners sow too many. That is fine, but thinning is not optional if you want good roots.
When seedlings are a few inches tall, thin them to about 2 to 4 inches apart for small to medium roots. Utah State Extension recommends thinning turnips to 3 to 4 inches apart after emergence, while Illinois Extension recommends 2 to 4 inches apart when seedlings are about 4 inches tall. ([extension.usu.edu](https://extension.usu.edu/yardandgarden/research/rutabagas-and-turnips-in-the-garden?utm_source=openai))
Do not waste the thinnings. Rinse them well and use the tender greens in stir-fries, soups, or sautés.
Watering and Mulching Tips
Even moisture makes the difference between tender turnips and sharp, pithy ones. Give plants about an inch of water per week if rain is lacking, and water more often during dry, windy weather.
Once seedlings are established, add a 2- to 3-inch layer of clean straw, shredded leaves, or untreated grass clippings around the rows. University of Minnesota Extension recommends organic mulch such as herbicide-free grass clippings, weed-free straw, or similar material to reduce weed pressure. ([extension.umn.edu](https://extension.umn.edu/vegetables/growing-turnips-and-rutabagas?utm_source=openai))
Common Problems to Watch For
Flea Beetles
Tiny shot holes in the leaves usually mean flea beetles. Healthy turnips can often outgrow light damage, but seedlings may need protection. Floating row cover works well if you install it right after planting and seal the edges.
Cabbage Worms
Turnips are in the brassica family, like cabbage, kale, broccoli, and radishes. Watch for green caterpillars and ragged holes in the leaves. Handpick worms when you see them, especially if you plan to eat the greens.
Woody or Bitter Roots
This usually comes from heat stress, drought, overcrowding, or waiting too long to harvest. Thin on time, water consistently, and pull roots while they are still young and smooth.
When and How to Harvest Turnips
You can start harvesting turnip greens when leaves are about 4 to 6 inches tall. Illinois Extension notes that if you harvest the tops without removing the growing points, the plants can keep producing new leaves. ([extension.illinois.edu](https://extension.illinois.edu/gardening/turnip?utm_source=openai))
For roots, harvest when they are roughly golf-ball to tennis-ball size, depending on the variety. Smaller roots are usually sweeter and more tender. Loosen the soil with a hand fork if needed, then pull from the base of the greens.
A light frost is usually not a problem and may improve flavor. In many gardens, you can leave mature turnips in the ground for a short time in cool weather, but pull them before the ground freezes hard or before they become oversized.
A Simple Late-Summer Turnip Planting Plan
If you want an easy schedule, try this:
- Week 1: Clear a finished summer crop, loosen soil, add compost, and sow turnip seeds.
- Week 2: Keep the bed evenly moist and protect seedlings from pests.
- Week 3: Thin seedlings to 2 to 4 inches apart and use the thinnings as greens.
- Weeks 4 to 6: Mulch, water consistently, and harvest a few greens as needed.
- Weeks 6 to 9: Begin pulling roots when they reach the size you like.
For a longer harvest, sow a second small row 10 to 14 days after the first if your frost date allows. Illinois Extension recommends 10-day succession plantings for later harvests of quality roots or greens. ([extension.illinois.edu](https://extension.illinois.edu/gardening/turnip?utm_source=openai))
Final Tip
Turnips are forgiving, fast, and perfect for filling empty late-summer space. Plant them in loose soil, keep the seedbed moist, thin them before they crowd, and harvest young. Do that, and you will have crisp roots and tender greens just when the summer garden starts winding down.