How to Caulk Drafty Windows Before Cold Weather
A chilly draft around a window can make a whole room feel uncomfortable, even when the heat is running. The good news is that many small air leaks can be fixed with one tube of the right caulk, a little prep, and an afternoon of careful work.
This guide focuses on how to caulk drafty windows before cold weather sets in. We’ll cover where caulk belongs, where it does not, and how to get a neat seal that actually lasts.
Why Window Caulking Is Worth Doing
Air leaks around windows and doors are common trouble spots in older and newer homes. ENERGY STAR notes that sealing air leaks and adding insulation can improve comfort and may save up to 10% on annual energy bills, with simple fixes including caulking around windows and weatherstripping doors. ([energystar.gov](https://www.energystar.gov/saveathome/seal_insulate?utm_source=openai))
Caulk works best for stationary gaps: places where two fixed materials meet, such as a window frame and siding, trim and drywall, or a sill and casing. It is not a fix for gaps where the window needs to move. For those, use weatherstripping instead.
First, Find the Draft
Before opening a tube of caulk, figure out where the air is coming from. On a cool or windy day, close and lock the window. Run your hand slowly around the trim, sill, and frame. ENERGY STAR also recommends simple DIY checks such as visual inspections and a paper test for leaks around windows and doors. ([energystar.gov](https://www.energystar.gov/saveathome/seal_insulate/identify-problems-you-want-fix/diy-checks-inspections?utm_source=openai))
Look for these clues:
- Cracked, missing, or shrunken old caulk
- Gaps between exterior trim and siding
- Gaps where interior trim meets the wall
- Loose trim or a sill that has pulled away slightly
- Cold air around the sash, which usually needs weatherstripping, not caulk
If the draft is coming from behind the trim, the gap between the window unit and the rough framing may not be sealed well. Building Science Education notes that gaps between window and door units and rough openings can be major sources of uncontrolled air leakage. ([bsesc.energy.gov](https://bsesc.energy.gov/energy-basics/rough-opening-flashing-air-sealing?utm_source=openai))
Choose the Right Caulk for the Job
For most homeowners, the easiest choice is based on location:
- Exterior window gaps: Use a high-quality exterior window and door sealant. Silicone or advanced hybrid sealants are flexible and weather-resistant.
- Interior trim gaps you plan to paint: Use paintable acrylic latex or siliconized acrylic caulk.
- Deep gaps wider than about 1/4 inch: Press in foam backer rod first, then caulk over it.
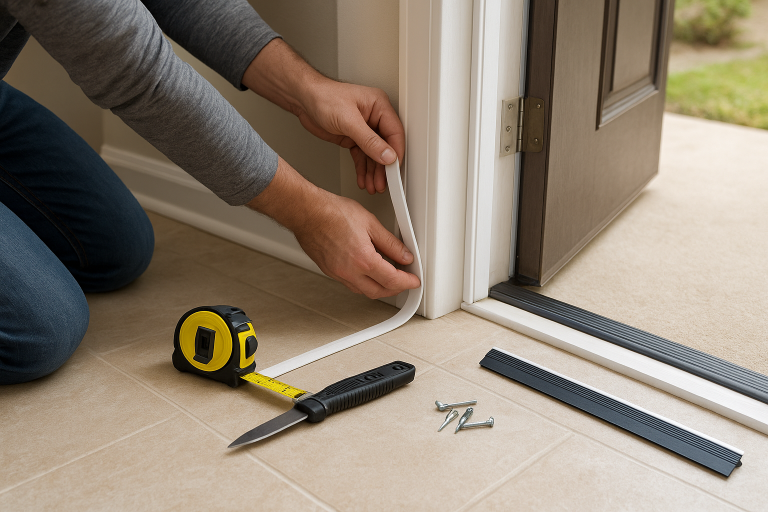
- Gaps around moving window parts: Use weatherstripping instead of caulk.
Do not use rigid filler, spackle, or wood putty for flexible window joints. Windows, siding, and trim expand and contract through the seasons, so the seal needs some give.
Check the Weather Before You Start
Caulk needs the right conditions to bond well. Always read the label on your specific tube. Some modern window and door silicones can be applied in cold conditions, but GE’s technical data for one window and door silicone notes that cure slows below 32°F or if frost or moisture is present on the surface. ([datasheets.tdx.henkel.com](https://datasheets.tdx.henkel.com/GE-Advanced-Silicone-2-Window–Door-Sealant-en_US.pdf?utm_source=openai))
For best results, pick a dry day when the window surface is clean, dry, and not icy. Avoid caulking right before rain unless the product label specifically says it can handle that exposure. If you are caulking indoors, open a window elsewhere or run ventilation as needed, especially with strong-smelling sealants.
Tools and Supplies
- Window and door caulk or sealant
- Caulk gun
- Utility knife
- Painter’s tape, optional but helpful
- Putty knife or 5-in-1 tool
- Rag or paper towels
- Rubbing alcohol or mild cleaner, depending on the surface
- Foam backer rod for deeper gaps
- Gloves
How to Caulk Drafty Windows Step by Step
1. Remove loose old caulk
Do not caulk over failing caulk. Use a utility knife and putty knife to cut and scrape away loose, cracked, or peeling material. You do not have to remove every microscopic trace if the remaining caulk is firmly bonded, but the new bead needs a clean, solid edge to grab.
2. Clean and dry the joint
Brush away dust and debris. Wipe grime from the joint and let it dry fully. Exterior window frames can collect dirt, pollen, and mildew, all of which weaken adhesion. If the area feels damp, wait.
3. Add backer rod if the gap is deep
If you can push the caulk nozzle far into the gap, it is probably too deep to fill with caulk alone. Press foam backer rod into the opening so the caulk will bridge the joint instead of disappearing into the wall. The Department of Energy notes that for gaps behind window or door trim, foam backer rod plus caulk or low-expansion spray foam may be used when trim can be removed and replaced without damage. ([energy.gov](https://www.energy.gov/cmei/buildings/articles/energy-efficient-home-improvement-credit-insulation-and-air-sealing?utm_source=openai))
4. Tape the edges for a cleaner line
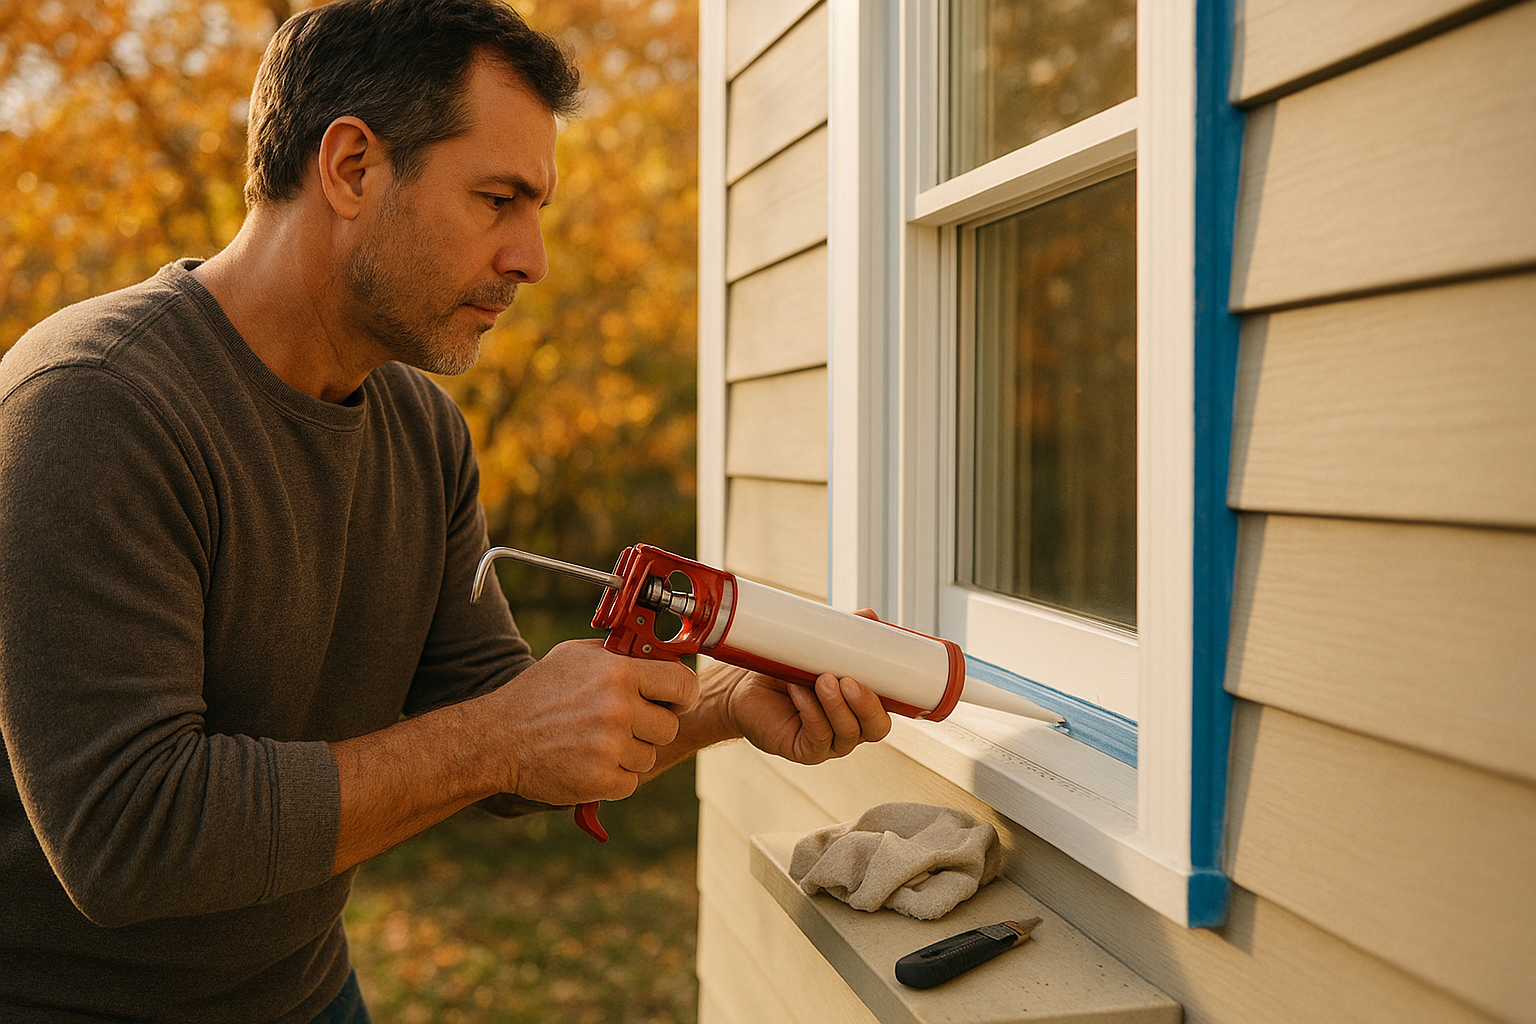
This step is optional, but it helps if you are new to caulking. Apply painter’s tape along both sides of the joint, leaving only the gap exposed. Keep the tape straight and press the edges down firmly.
5. Cut the nozzle small
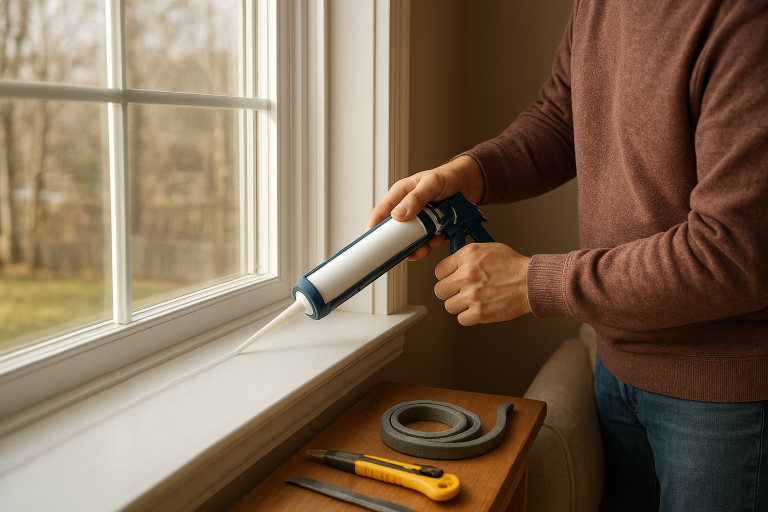
Cut the caulk tube tip at a 45-degree angle. Start with a small opening; you can always make it larger. Puncture the inner seal if your tube has one.
6. Run a steady bead
Hold the caulk gun at a consistent angle and move steadily along the joint. Aim to push or pull the bead so it fills the gap without piling up. It is better to apply a modest bead and tool it neatly than to lay down a thick rope of caulk that smears everywhere.
7. Tool the bead
Smooth the caulk with a caulk finishing tool or a gloved finger. Apply light pressure so the sealant contacts both sides of the joint. GE’s sealant guidance also emphasizes tooling the bead with light pressure to help ensure a void-free application. ([datasheets.tdx.henkel.com](https://datasheets.tdx.henkel.com/GE-Advanced-Silicone-2-Window–Door-Sealant-en_US.pdf?utm_source=openai))
8. Remove tape right away
If you used painter’s tape, pull it off before the caulk skins over. Peel it back slowly at an angle. Touch up any small ridges immediately.
9. Let it cure
Follow the cure time on the label before painting, washing, or exposing the bead to heavy moisture. GE’s FAQ notes that some paintable caulks should cure fully before painting, with 24 hours listed for certain products. ([gesealants.com](https://gesealants.com/frequently-asked-questions/?utm_source=openai))
Where Not to Caulk a Window
Caulking the wrong spot can trap water or keep the window from working properly. Avoid sealing:
- Weep holes on storm windows or window frames, which are meant to drain water
- Moving sash edges where the window opens and closes
- Window tracks that need to stay clear
- Over wet or rotting wood, which needs repair before sealing
If you see soft wood, bubbling paint, black staining, or recurring moisture, fix the water problem first. Caulk is a seal, not a structural repair.
Interior vs. Exterior: Which Side Should You Caulk?
Often, both sides matter. Exterior caulk helps block wind-driven rain and outdoor air at the siding and trim. Interior caulk helps stop room air from moving into wall cavities and keeps drafts from sneaking around the trim.
If you only have time for one pass before a cold snap, seal the most obvious cracks first. Prioritize gaps you can feel by hand, cracks with missing caulk, and windows in rooms where people sleep or sit for long periods.
Common Mistakes to Avoid
- Using bath caulk outdoors: Choose a product labeled for windows, doors, and exterior exposure.
- Skipping prep: Caulk sticks poorly to dust, loose paint, damp wood, and old crumbling sealant.
- Making the bead too large: A giant bead looks messy and may fail sooner.
- Sealing moving parts: If the window needs to slide, swing, or drain, do not caulk it shut.
- Ignoring lead paint safety: If your home was built before 1978 and the work disturbs old paint, ENERGY STAR advises checking EPA lead-safe renovation guidance first. ([energystar.gov](https://www.energystar.gov/saveathome/seal_insulate/sealing-window-door?utm_source=openai))
When Caulk Is Not Enough
If the window glass is loose, the frame is rotted, the sash no longer closes squarely, or you feel air through the moving parts, caulk alone will not solve the whole problem. You may need new weatherstripping, sash locks, reglazing, storm windows, or repair to the frame.
Still, for many drafty windows, careful caulking is one of the simplest cold-weather upgrades you can do yourself. Take your time with the prep, use the right sealant, and seal only the fixed gaps. A neat bead now can make your rooms feel noticeably more comfortable when the next cold front arrives.