How to Seal Drafty Windows Without Replacing Them
A drafty window does not always mean you need new windows. In many homes, the cold air is sneaking through small gaps around the sash, trim, or frame, and those leaks can often be fixed with a few inexpensive supplies and a careful afternoon.
This guide walks you through how to seal drafty windows without making a mess, sealing the window shut, or trapping moisture where it does not belong. ENERGY STAR notes that sealing air leaks and adding insulation can improve comfort and may save up to 10% on annual energy bills, so this is one of those small jobs that can pay you back in daily comfort. ([energystar.gov](https://www.energystar.gov/saveathome/seal_insulate?utm_source=openai))
Start by Finding the Real Leak
Before you buy anything, figure out where the air is coming in. Drafts are commonly felt where the movable sash meets the frame, where the window trim meets the wall, or behind loose interior casing. The U.S. Department of Energy recommends caulking and weatherstripping as simple air-sealing techniques, with caulk for cracks and stationary gaps and weatherstripping for moving parts. ([energy.gov](https://www.energy.gov/cmei/buildings/articles/energy-efficient-home-improvement-credit-insulation-and-air-sealing?utm_source=openai))
Pick a breezy day if you can. Close and lock the window, turn off nearby fans, and slowly move the back of your hand, a tissue, or an incense stick around the window. If the tissue flutters or smoke bends, mark that spot with painter’s tape. Check these areas:
- Along the top and bottom sash rails
- Where the two sashes meet on a double-hung window
- The side tracks or jambs
- The seam between window trim and drywall
- The sill corners
- Old, cracked exterior caulk, if you can inspect safely from outside
Choose the Right Fix for the Gap
Different leaks need different materials. Using the wrong product is the main reason window sealing looks sloppy or fails after one season.
Use caulk for stationary cracks
Caulk is best for gaps that do not move, such as where the interior trim meets the wall or where the window frame meets the trim. For interior work, use paintable acrylic latex caulk with silicone added. It cleans up with water and is easy to paint. For exterior gaps, use a high-quality exterior window and door sealant rated for outdoor weather.
Do not caulk the window sash shut. Anything that needs to open should get weatherstripping instead.
Use weatherstripping for moving parts
Weatherstripping belongs where the window opens and closes. Adhesive-backed foam is easy for beginners and works well for small, even gaps. V-strip, also called tension seal, is more durable and often works better along sash channels. Felt is inexpensive but wears faster, so it is best for low-use windows or a temporary fix.
Use low-expansion foam behind trim
If air is coming from behind the window casing, the gap between the window jamb and wall framing may be poorly sealed. ENERGY STAR’s window and door trim guidance recommends non-expanding or low-expansion foam made for windows and doors, or backer rod plus caulk, so the frame is sealed without bowing. ([energystar.gov](https://www.energystar.gov/saveathome/seal_insulate/sealing-window-door?utm_source=openai))
Use window film for leaky glass and loose old windows
Plastic window insulation film can help when an older window is generally leaky or uncomfortable, especially in a room you do not need to ventilate during winter. It is not beautiful, but when installed tightly with a hair dryer, it creates a still air layer that cuts drafts you can feel.
Supplies You May Need
- Painter’s tape
- Utility knife or caulk removal tool
- Putty knife
- Vacuum with brush attachment
- Rubbing alcohol or mild cleaner
- Paintable acrylic latex caulk for interior seams
- Exterior window and door sealant, if needed outside
- Caulk gun
- Adhesive foam, V-strip, or other window weatherstripping
- Low-expansion window and door spray foam
- Foam backer rod for wider gaps
- Window insulation film kit
Step 1: Clean and Remove Failed Caulk
New caulk and weatherstripping will not stick well to dust, peeling paint, or old crumbly sealant. Use a utility knife or caulk removal tool to cut away loose caulk. Vacuum the seam, then wipe it with a damp cloth. For adhesive weatherstripping, wipe the surface with rubbing alcohol and let it dry fully.
If your home was built before 1978, be careful with painted window parts. The EPA warns that painted window sashes and frames in older homes may contain lead-based paint, and friction from opening and closing windows can release lead dust. Do not sand old paint unless you know it is lead-free or you are following lead-safe practices. ([epa.gov](https://www.epa.gov/indoor-air-quality-iaq/remodeling-your-home-and-indoor-air-quality?utm_source=openai))
Step 2: Caulk Interior Trim Gaps
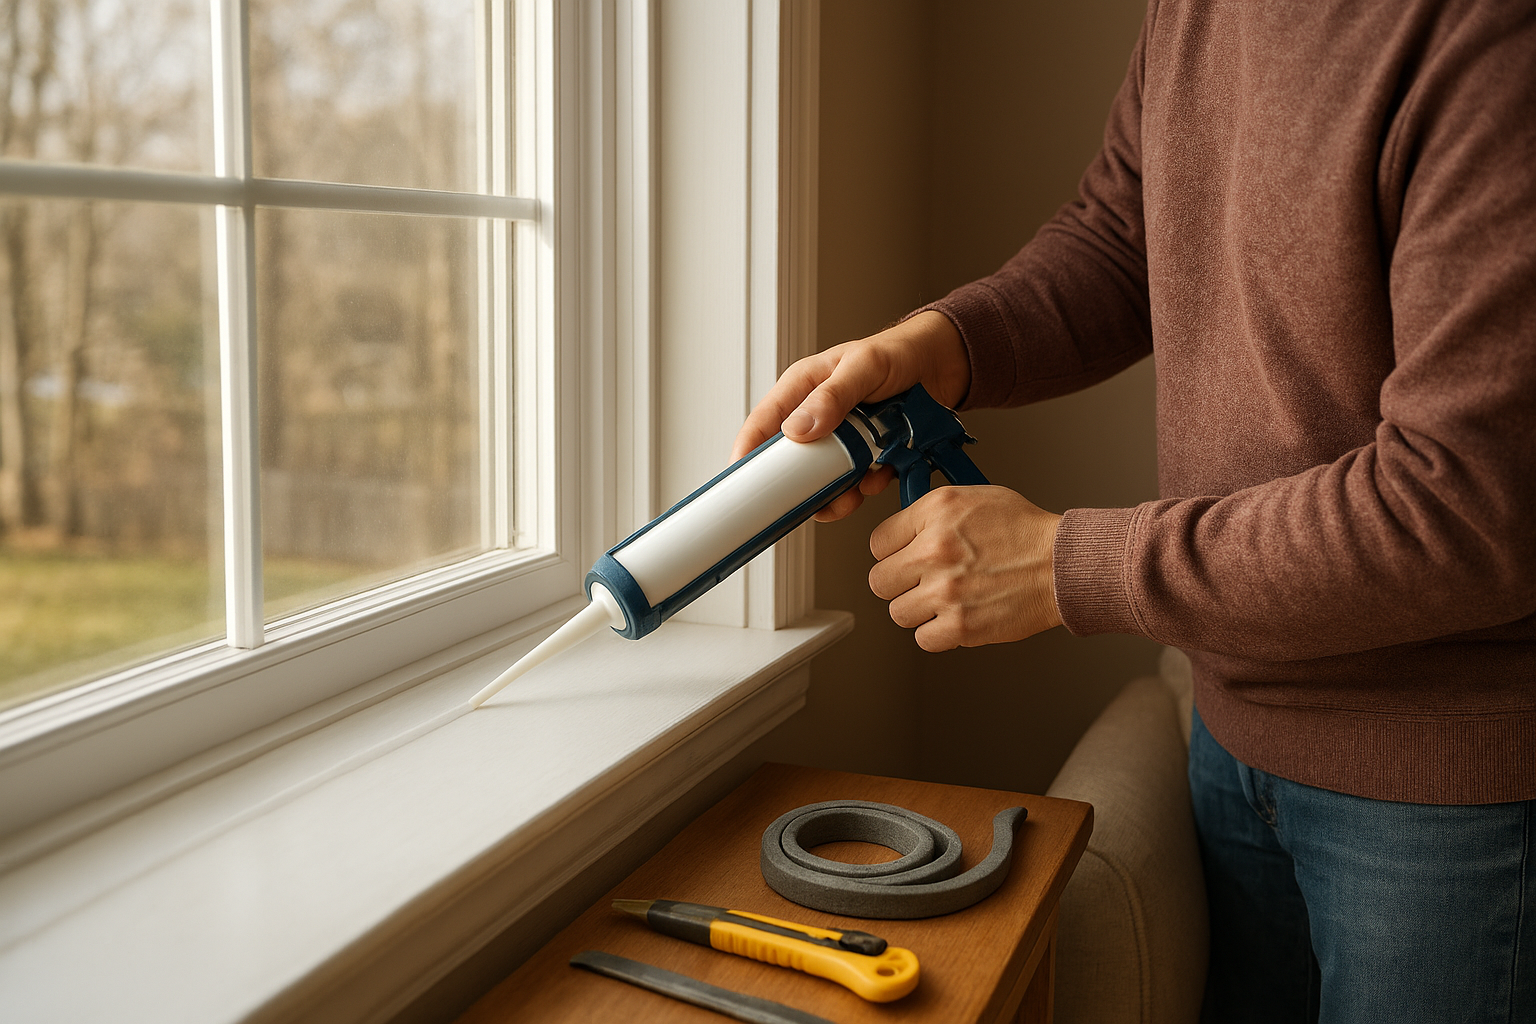
Cut the caulk tube tip at a small angle. A smaller hole gives you more control and less cleanup. Run a thin bead where the window trim meets the wall and where the trim meets the window frame, but only on stationary seams.
- Hold the caulk gun at about a 45-degree angle.
- Move steadily and avoid piling on too much caulk.
- Smooth the bead with a damp finger or caulk tool.
- Wipe away excess before it skins over.
- Let it cure according to the label before painting.
If the gap is wider than about 1/4 inch, press foam backer rod into the gap first, then caulk over it. This gives the caulk something to bridge and helps prevent cracking.
Step 3: Add Weatherstripping to the Sash
Open the window and measure the areas where the sash contacts the frame. Cut weatherstripping to length with scissors or a utility knife. Peel back only a few inches of backing at a time so the adhesive does not fold onto itself.
For adhesive foam, press it firmly into place along the stop or sash contact point, then close the window to test the seal. The window should still lock. If you have to force it, the foam is too thick and may strain the latch or frame.
For double-hung windows, pay special attention to the meeting rail, where the upper and lower sash overlap. A small gap there can feel like a surprisingly large draft.
Step 4: Seal Behind Loose Window Trim
If your smoke test shows air moving from behind the casing, and the trim can be removed without damage, this is worth fixing. Carefully score the paint line with a utility knife, pry off the trim, and look at the gap between the jamb and framing.
For small gaps, use backer rod and caulk. For deeper gaps, use low-expansion foam labeled for windows and doors. Do not use regular high-expansion foam around windows; it can push against the frame and make the window hard to open. Let the foam cure, trim any excess, and reinstall the casing.
Step 5: Install Window Film for a Winter Boost
Window film is a good seasonal option for a drafty guest room, basement window, or old single-pane window. Clean the trim, apply the double-sided tape around the window frame, attach the plastic film, and use a hair dryer to shrink it tight. Take your time at the corners so the film does not pull loose.
One caution: do not use film to hide active condensation or water leaks. If you see water pooling, black spotting, soft wood, or peeling paint, solve the moisture problem first.
What Not to Seal
More sealing is not always better. Avoid blocking weep holes on the exterior bottom of many window frames; they are there to let water drain. Do not caulk storm windows completely airtight at the bottom, because trapped moisture can rot wood. Do not seal bedroom egress windows shut, and do not cover any window you may need for emergency escape.
Also remember that windows are only one part of the house. ENERGY STAR points out that larger leaks are often hidden in attics and basements, while window and door leaks are usually part of a bigger air-sealing picture. ([nepis.epa.gov](https://nepis.epa.gov/Exe/ZyPURL.cgi?Dockey=P100U06J.TXT&utm_source=openai))
When a Drafty Window Needs More Than DIY
Call a pro or consider repair if the glass is loose, the sash is rotted, the frame is out of square, water is entering the wall, or the window no longer locks. A failed insulated glass seal, which often shows up as fogging between panes, will not be fixed with caulk or film.
But for everyday drafts, start small. A tube of caulk, a roll of weatherstripping, and an hour of careful leak hunting can make a chilly room feel noticeably calmer. Seal the obvious gaps first, test again, and then decide whether you need the bigger projects.