How to Clean a Dryer Vent the Right Way
If your towels take forever to dry or the laundry room feels unusually hot, your dryer vent may be asking for attention. Learning how to clean a dryer vent is a practical home-maintenance job that can improve drying time and reduce lint buildup in the exhaust path.
It is also a safety habit worth taking seriously. The U.S. Fire Administration warns that failing to clean lint filters and dryer vents increases dryer fire risk, and the Consumer Product Safety Commission advises cleaning the dryer vent and exhaust duct periodically. ([usfa.fema.gov](https://www.usfa.fema.gov/downloads/pdf/publications/clothes_dryer_fire_safety_flyer.pdf?utm_source=openai))
How Often Should You Clean a Dryer Vent?
For most households, plan on a thorough dryer vent cleaning about once a year. If you do a lot of laundry, have pets, dry heavy towels often, or have a long vent run to the outside wall or roof, check it more often.
The lint screen should be cleaned after every load. That little habit matters, but it does not catch everything. Fine lint can still collect in the slot under the lint screen, the hose behind the dryer, and the duct that leads outdoors.
Signs Your Dryer Vent Needs Cleaning
Do not wait for a yearly reminder if your dryer is showing warning signs. Clean the vent soon if you notice:
- Clothes are still damp after a normal cycle.
- The dryer feels hotter than usual on the outside.
- The laundry room gets humid or unusually warm.
- You smell a hot, dusty, or slightly scorched odor while drying.
- Lint collects around the dryer hose connection or outside vent.
- The outdoor vent flap barely opens when the dryer is running.
- The dryer shuts off before the cycle is finished.
Restricted airflow makes the dryer work harder. The Department of Energy notes that reduced airflow from lint blockage or improper venting can contribute to dryer fire hazards, and it also cautions against crushing the vent when moving the dryer back into place. ([energy.gov](https://www.energy.gov/documents/dryerventingpdf?utm_source=openai))
Tools and Supplies You’ll Need
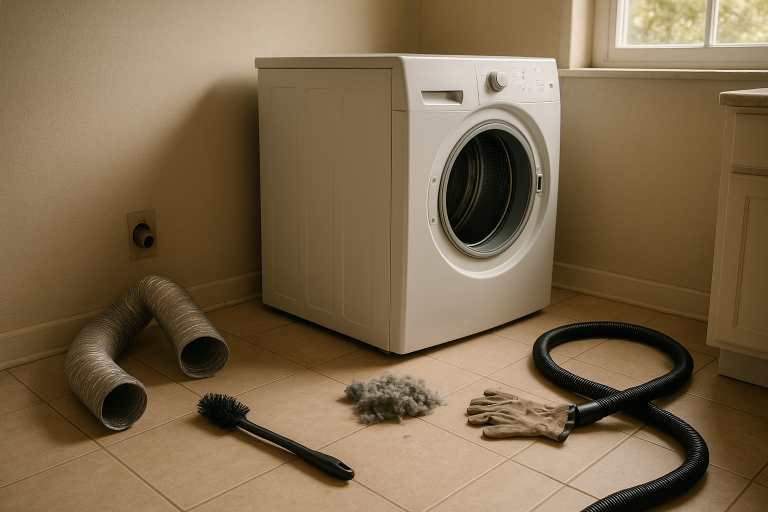
- Vacuum with hose attachment
- Dryer vent cleaning brush kit with flexible rods
- Screwdriver or nut driver, if your clamp uses one
- Work gloves
- Dust mask, especially if you are sensitive to dust
- Flashlight
- Foil HVAC tape or a dryer-rated clamp, if the connection needs resealing
A basic dryer vent brush kit is useful because it reaches farther than a vacuum hose alone. Choose one sized for a standard dryer duct, and read the kit instructions before attaching rods to a drill. If your vent exits through the roof, runs through several turns, or is hard to access, hiring a professional is often the safer choice.
Step 1: Unplug the Dryer and Pull It Out Carefully
Turn the dryer off and unplug it. If you have a gas dryer, be extra careful not to strain or kink the gas line. If you are not comfortable moving a gas dryer, stop here and call a qualified technician.
Pull the dryer straight out just far enough to work behind it. Avoid yanking the machine forward. Dryer transition ducts can tear, loosen, or get crushed, especially if they are older.
Step 2: Disconnect the Dryer Duct
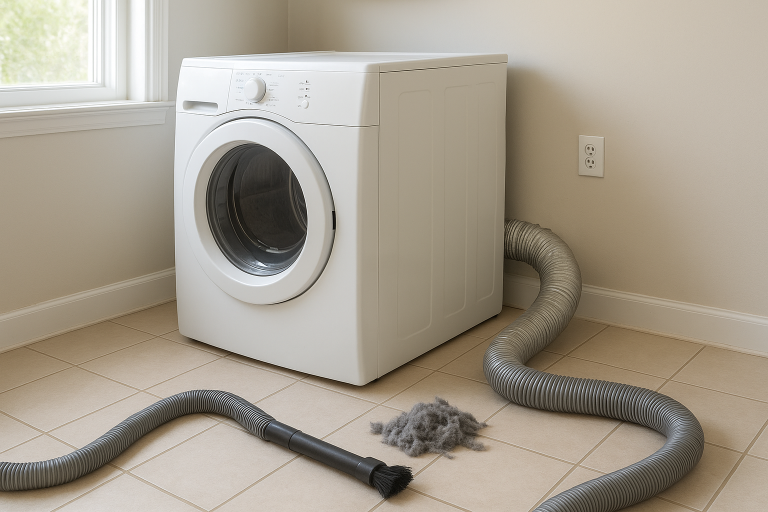
Find the duct that runs from the dryer to the wall. Loosen the clamp with a screwdriver or nut driver, then slide the duct off the dryer outlet. If there is another clamp at the wall connection and you can reach it easily, disconnect that end too.
Take a quick look at the duct. If it is torn, crushed, packed with lint, or made from flimsy white vinyl, replace it with a dryer-approved metal duct. The Department of Energy has specifically warned that white vinyl flexible hose is a fire hazard and does not meet UL dryer venting standards. ([energy.gov](https://www.energy.gov/documents/dryerventingpdf?utm_source=openai))
Step 3: Vacuum the Dryer Outlet and Lint Trap Slot
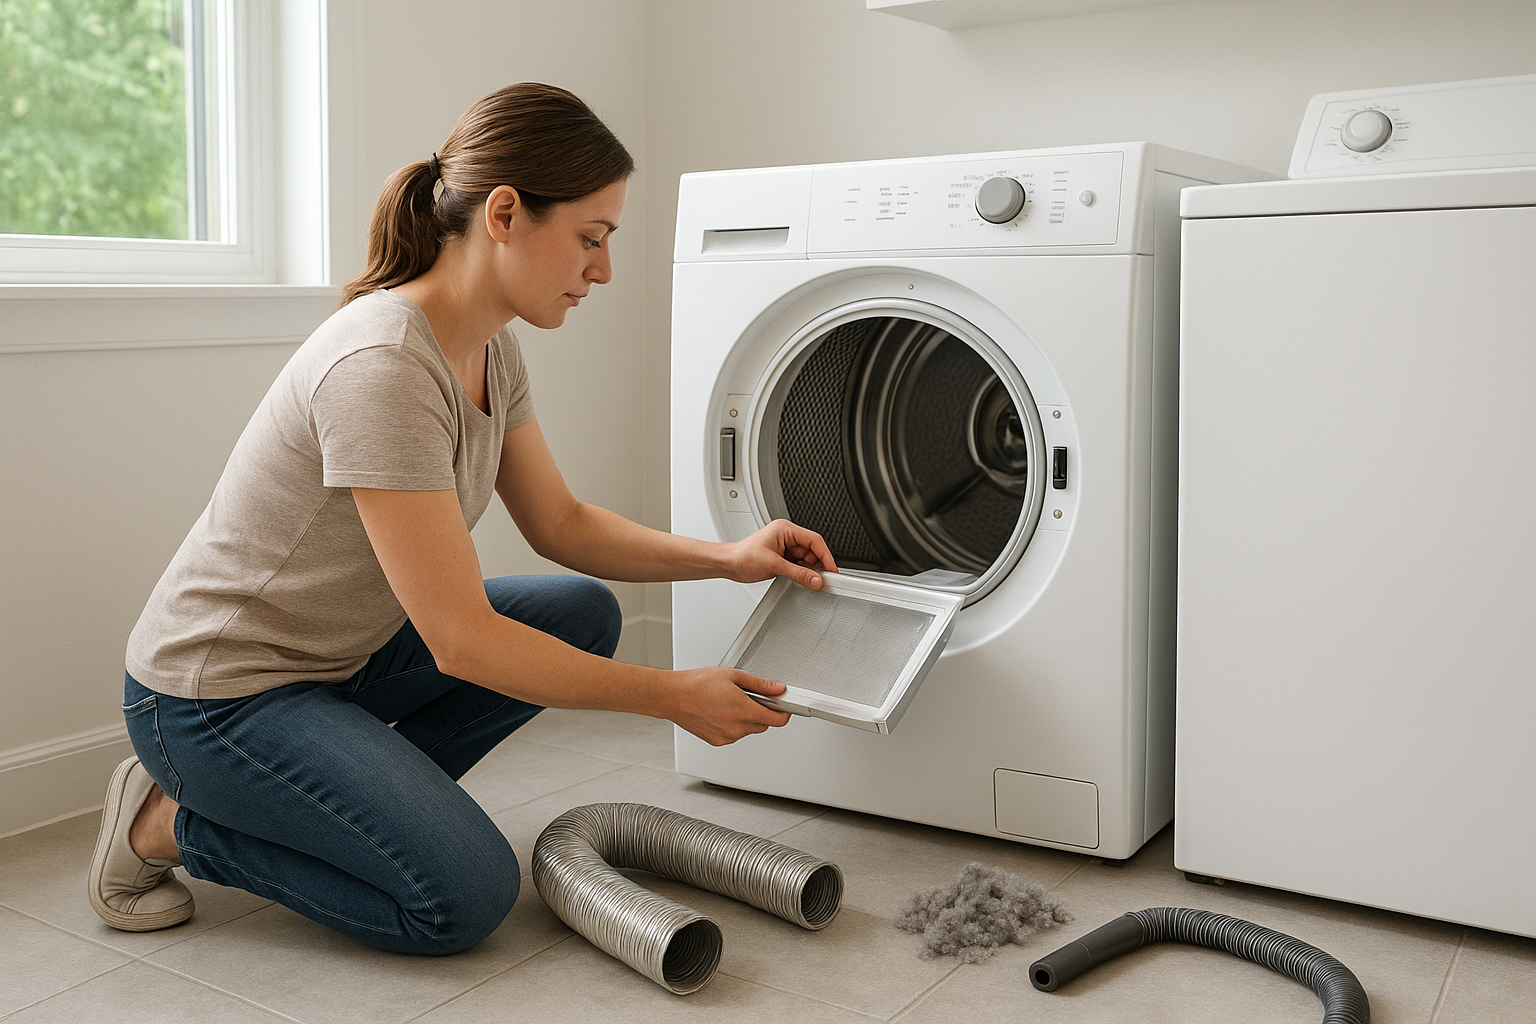
Use the vacuum hose to clean the round outlet on the back of the dryer. Then remove the lint screen and vacuum inside the lint trap slot. A narrow crevice tool helps, but do not force it if it does not fit.
If your dryer lint screen has a waxy film from dryer sheets, wash it gently with warm water, a little dish soap, and a soft brush. Let it dry completely before putting it back.
Step 4: Brush the Duct from the Laundry Room Side
Insert the dryer vent brush into the wall duct from inside the laundry room. Work slowly. Push and twist the brush to loosen lint, then pull it back and vacuum the debris.
If your brush kit uses flexible rods, connect one rod at a time so the tool does not get too long or hard to control. Keep the rotation gentle, and do not reverse direction if using a drill unless the kit instructions say it is safe. Reversing can unscrew rods inside the duct.
Step 5: Clean from the Outside Vent
Go outside and find the dryer vent hood. Remove lint from the flap or louvers by hand, then use the brush to clean inward from the exterior side. Vacuum or sweep up lint as it comes out.
The outside flap should open freely when the dryer runs and close when it stops. The U.S. Fire Administration recommends making sure the outdoor vent covering opens during dryer operation. ([usfa.fema.gov](https://www.usfa.fema.gov/downloads/pdf/publications/clothes_dryer_fire_safety_flyer.pdf?utm_source=openai))
If the vent has a bird guard or screen that is packed with lint, clean it thoroughly. In many areas, a pest guard may be needed, but avoid fine mesh screens that clog quickly. The vent must allow moist air and lint to escape.
Step 6: Reconnect the Duct Without Crushing It
Reconnect the duct to the dryer and wall outlet. Secure it with a proper clamp or foil HVAC tape made for ducts. Do not use regular cloth duct tape; heat and lint can cause it to fail.
As you slide the dryer back, check that the duct is not smashed, kinked, or bent sharply. A short, smooth, slightly curved run is better than a long, sagging coil behind the machine.
Step 7: Test the Airflow
Plug the dryer back in. Run it on an air-only or low-heat setting for a few minutes, then go outside and check the vent. You should feel a steady flow of air, and the flap should open easily.
If airflow still feels weak after cleaning, there may be a hidden blockage, a disconnected duct inside the wall, a crushed section you cannot see, or a mechanical problem with the dryer. Stop using the dryer until the problem is checked.
When to Call a Professional
Some dryer vents are simple: a short duct straight through an outside wall. Others run upward, across ceilings, through crawl spaces, or out the roof. Call a professional if:
- The vent exits on the roof or high above ground.
- You cannot reach both ends safely.
- The brush gets stuck or will not pass through.
- You suspect a disconnected duct inside the wall.
- You smell burning or see scorch marks.
- The dryer still overheats after cleaning.
- You have a gas dryer and are unsure how to move it safely.
Simple Habits That Keep the Vent Cleaner Longer
- Clean the lint screen every load. Make it part of starting the dryer.
- Do not overload the dryer. Crowded loads shed more lint and dry slowly.
- Shake out pet hair before washing. Pet hair can add to lint buildup.
- Check the outside vent seasonally. Leaves, snow, lint, and nesting material can block it.
- Keep the area behind the dryer clean. Vacuum dust bunnies and loose lint when you clean the laundry room.
The Bottom Line
Cleaning a dryer vent is not glamorous, but it is one of those small home jobs that pays you back quickly. Your dryer can run more efficiently, clothes may dry faster, and you will know the exhaust path is not packed with lint.
Start with the lint screen, clean from both the indoor and outdoor ends, and make sure the outside flap opens freely. If the vent is long, high, damaged, or still not moving air well, bring in a pro before you run another load.