How to Clean Between Oven Door Glass Safely
If your oven door still looks cloudy after you scrub the inside and outside, the grime may be trapped between the glass panes. It usually happens when grease, steam, or a spill runs down through the door vents, leaving streaks where a normal sponge cannot reach.
The safest way to clean between oven door glass depends on your oven design. Some doors have accessible bottom slots; others require removing the door or even disassembling part of it. Before you start, check your owner’s manual because hinge and glass designs vary by model, and manufacturers specifically recommend following the manual before removing the door. ([products.geappliances.com](https://products.geappliances.com/appliance/gea-support-search-content?contentId=34524&utm_source=openai))
Before You Start: Safety First
Oven doors are heavier than they look, and the glass can crack if it is flexed, dropped, or tightened unevenly. Plan this as a careful 30- to 60-minute job, not a quick wipe-down while dinner is cooking.
- Turn the oven off and let it cool completely. Never work around warm glass, hot metal, or active heating elements.
- Unplug the range if you will remove screws or panels. If you cannot reach the plug, turn power off at the breaker.
- Protect the floor. Lay down a towel or folded blanket in front of the oven.
- Use a helper if removing the door. Whirlpool notes that cleaning between glass panels may require removing the oven door and help from another person. ([whirlpool.com](https://www.whirlpool.com/blog/kitchen/how-to-clean-glass-oven-door-window.html?utm_source=openai))
- Do not force anything. If the door will not lift off easily, stop and check the manual again.
What You’ll Need
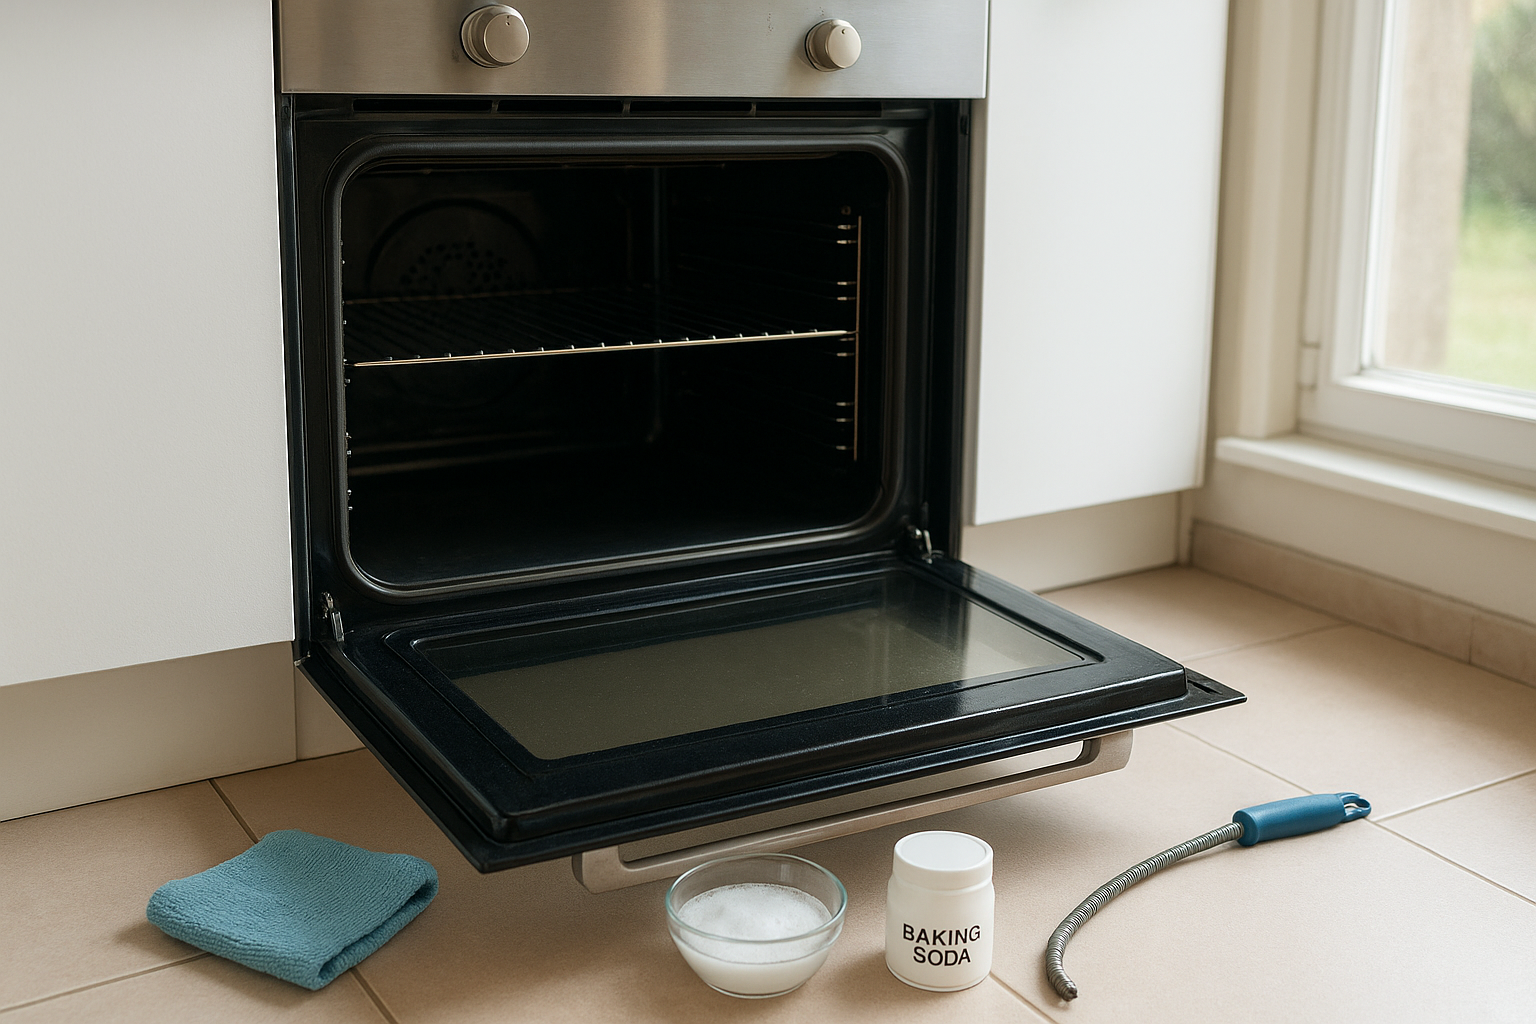
- Microfiber cloths
- Dish soap
- Warm water
- White vinegar, optional
- Baking soda, optional for greasy spots
- A yardstick, paint stir stick, or long flexible duster
- Rubber bands or painter’s tape
- Small screwdriver or nut driver, only if your manual allows door-panel removal
- Towels for padding and drying
First, Find Out Where the Grime Is
Look closely at the oven door in bright light. If the streaks move when you wipe the kitchen-facing side, they are on the outside. If they move when you wipe the oven-facing side, they are on the inner glass. If nothing changes, the mess is between the panes.
Also look for vents or slots along the top, bottom, or sides of the door. GE notes that moisture and vapor can pass through door slots and end up between the window panes, which is one reason streaks appear there in the first place. ([products.geappliances.com](https://products.geappliances.com/appliance/gea-support-search-content?contentId=16541&utm_source=openai))
Method 1: Clean Through the Bottom Vent Slots
This is the least invasive method and the one to try first. It works best for light streaks, dust, and thin grease trails.
- Open the oven door fully. Look along the bottom edge for narrow slots or openings.
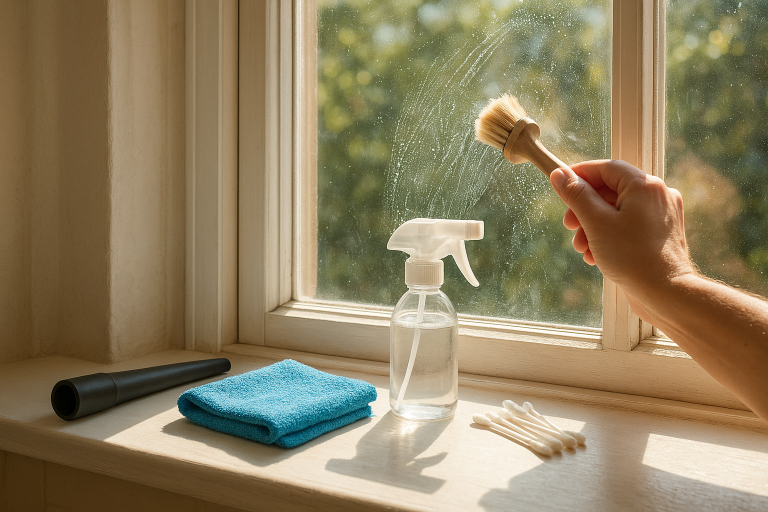
- Make a slim cleaning wand. Wrap a damp microfiber cloth around a yardstick, paint stir stick, or flexible duster. Secure it with rubber bands or painter’s tape so it cannot slip off inside the door.
- Use mild soapy water. Dip the cloth in warm water with a small drop of dish soap, then wring it out very well. It should be damp, not dripping.
- Slide the wand into the slot. Move slowly from side to side. Do not jab upward or press hard against the glass.
- Rinse with a clean damp cloth. Replace the soapy cloth with one dampened with plain water and wipe again.
- Dry the space. Finish with a dry microfiber cloth on the wand. Leave the oven door open for a while so any remaining moisture can evaporate.
Avoid spraying cleaner directly into the vents. Too much liquid can run deeper into the door, leave new streaks, or reach areas that were meant to stay dry.
Method 2: Remove the Oven Door, If Your Manual Allows It
If the grime is heavy or the slots do not give you enough access, the next step may be removing the door. Many modern oven doors are designed to lift off, but the hinge locks and steps differ by brand and model. GE’s guidance for cleaning between oven door glass says to consult the owner’s manual because hinge designs vary. ([products.geappliances.com](https://products.geappliances.com/appliance/gea-support-search-content?contentId=34524&utm_source=openai))
- Read the manual for your exact model. Search the model number from the frame, drawer area, or manual cover if needed.
- Open the door to the position listed in the manual. Some models use a broil-stop position; others require the door fully open before locking the hinges.
- Lock or release the hinges as directed. Never put your fingers into the hinge area. Hinges are under spring tension.
- Lift the door with two hands. Keep it upright and place it handle-side down or outer-glass-side down only if the manual says that is safe. Use towels for padding.
- Clean accessible glass surfaces. Use a damp microfiber cloth and mild dish soap. Dry thoroughly before reassembly.
If your manual says not to disassemble the door, stop there. Some manufacturers treat between-pane cleaning as a service job because it requires door disassembly. Wolf, for example, says cleaning between oven glass panels requires disassembly of the oven door and advises service if between-glass cleaning is needed. ([subzero-wolf.com](https://www.subzero-wolf.com/assistance/answers/wolf/common/clean-oven-window?utm_source=openai))
Method 3: Remove the Inner Panel Only When It’s Designed for It
Some ovens have screws that let you remove an inner trim panel or lift out an intermediate glass pane. Other ovens do not. This is where people get into trouble: they remove a few screws, the door layers shift, and then the glass or hinge assembly no longer lines up.
If your manual gives clear instructions for cleaning internal door glass, follow them exactly and take phone photos at every step. One Whirlpool manual, for example, includes a section for cleaning the internal glass of the door and describes activating the hinge stops before removing glass components. ([digitalassets-cdn.thron.com](https://digitalassets-cdn.thron.com/api/v1/content-delivery/shares/xoxl70/contents/do-cabd3095-e4de-4bd7-803b-7c1ccfc88a5a/pdf/doc.pdf?utm_source=openai))
- Set screws aside in order. Use a small bowl or piece of tape labeled left, right, top, and bottom.
- Support the glass with one hand. Do not let a pane slide or drop as the trim loosens.
- Clean with non-abrasive materials. Use dish soap and water first. For stubborn grease, apply a thin baking soda paste to the cloth, not directly into the door frame.
- Dry every edge. Moisture trapped along the gasket or frame can create fresh streaks.
- Reassemble without overtightening. Snug screws are enough. Over-tightening can stress glass.
What Not to Use on Oven Door Glass
- No metal scrapers between panes. They can scratch glass and damage coatings.
- No loose paper towels on a stick. If the towel falls off inside the door, you may have to disassemble the door to retrieve it.
- No soaking wet cloths. Drips are the enemy here.
- No oven cleaner unless your manual says it is safe for that surface. Strong chemicals can damage trim, gaskets, finishes, or printed markings.
- Do not run a self-clean cycle to fix between-pane streaks. Self-cleaning is for oven cavity soil, not liquid or grease trapped inside the door layers.
How to Prevent Streaks Between the Glass
The best fix is prevention, because between-pane cleaning is awkward even on a cooperative oven.
- Wipe fresh splatters once the oven is cool but before grease hardens.
- Place saucy casseroles and pies on a rimmed baking sheet.
- Do not rest wet towels over the oven handle where they can drip into top vents.
- Keep the door vents clear; do not tape, plug, or cover them.
- Clean the inner oven-facing glass regularly with a damp microfiber cloth and mild soap.
When to Call an Appliance Technician
Call a pro if the door is very heavy, the hinge locks are damaged, the glass is cracked, the manual does not show door removal, or the spill is thick and sticky inside sealed layers. It is also worth calling for help if you removed screws and the door will not go back together neatly. A service call costs less than replacing a shattered oven door glass assembly.
For most light streaks, though, the vent-slot method is enough. Work slowly, keep the cloth barely damp, and check your manual before taking anything apart. That careful approach is the difference between a clearer oven window and a much bigger repair project.