How to Plant Garlic in Fall for Big Summer Bulbs
Garlic is one of the most satisfying crops to plant in fall because the work is simple, the timing is forgiving, and the payoff comes when the garden is just hitting its stride next summer. If you have a sunny bed, a few good bulbs, and a little mulch, you can grow a surprisingly useful harvest in a small space.
The key is planting at the right time, setting the cloves at the right depth, and protecting them through winter. Here is a practical, step-by-step guide to planting garlic in fall for bigger, healthier bulbs.
When to Plant Garlic in Fall
In cold and temperate climates, garlic is usually planted in fall so the cloves can grow roots before winter, then resume strong growth in spring. A helpful rule is to plant about 3 to 4 weeks before the ground freezes, or roughly around the time of your first hard frost in many northern areas. Cornell Cooperative Extension recommends fall planting with cloves set before the soil freezes, while University of Minnesota Extension suggests planting one to two weeks after the first killing frost in cold regions. ([warren.cce.cornell.edu](https://warren.cce.cornell.edu/gardening-landscape/warren-county-master-gardener-articles/garlic?utm_source=openai))
That means many gardeners plant garlic in October or November, depending on location. In warmer southern areas, planting may happen later in fall or even into early winter. North Carolina Extension notes that garlic can be planted from late October to November in North Carolina, and possibly into December in more southern areas. ([plants.ces.ncsu.edu](https://plants.ces.ncsu.edu/plants/allium-sativum/?utm_source=openai))
Do not worry if you see a little green growth before winter. The goal is strong root growth, not a full top of leaves, but small shoots are not usually a disaster. Mulch will help protect the planting from freeze-thaw cycles.
Choose the Right Garlic for Your Climate
There are two main types of garlic for home gardeners: hardneck and softneck.
- Hardneck garlic is often best for colder climates. It usually has fewer but larger cloves, a stiff center stalk, and produces edible scapes in late spring or early summer.
- Softneck garlic generally stores longer and is common in grocery stores. It often performs well in milder winter areas.
If you garden where winters are cold, buy seed garlic from a garden center, seed company, farmers market grower, or local garlic farm rather than relying on grocery store bulbs. Grocery store garlic may be treated to prevent sprouting, may not be adapted to your climate, or may simply be the wrong type for your region.
Pick a Sunny, Well-Drained Spot
Garlic likes full sun and loose, fertile, well-drained soil. Avoid low spots where water sits in winter or early spring. Wet soil can lead to rot, especially when the cloves are dormant and the weather is cold.
A raised bed is ideal, but an in-ground bed works well if the soil drains nicely. Garlic is in the ground for a long time, from fall until early or midsummer, so choose a bed you will not need for early spring crops.
Before planting, loosen the top several inches of soil and mix in finished compost. Skip fresh manure right before planting, as it can be too strong and may create disease or weed issues. If your soil is heavy clay, add compost and consider shaping the bed slightly higher so winter rain and snowmelt drain away.
How to Plant Garlic Cloves
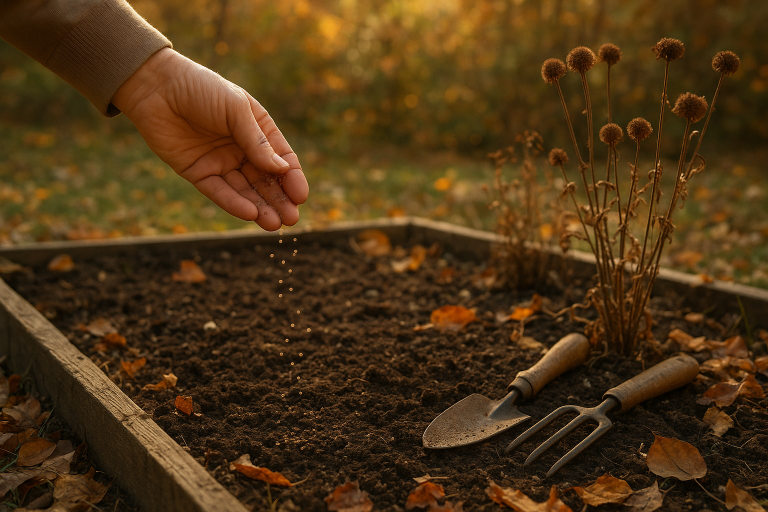
Wait to break garlic bulbs into cloves until planting day or the day before. Keep the papery skins on the individual cloves as much as possible. Choose the largest, firmest cloves for planting because bigger cloves usually produce bigger bulbs.
- Separate the bulb into individual cloves. Do not peel them like cooking garlic.
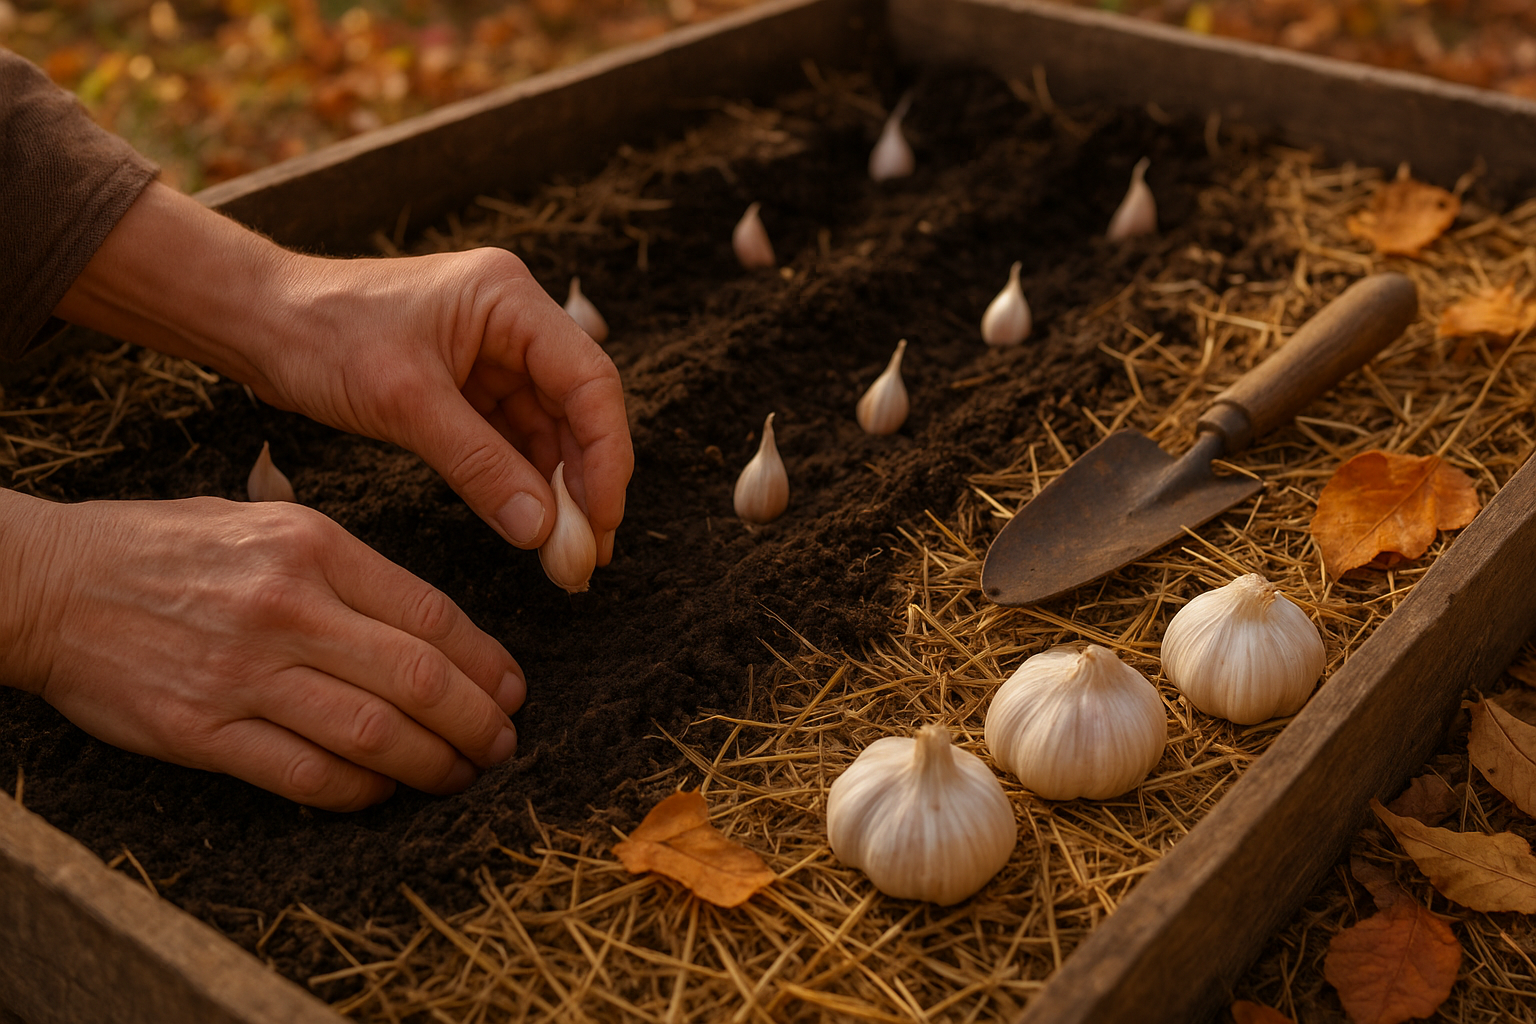
- Make holes or furrows. Cornell Cooperative Extension suggests planting cloves pointy side up about 3 inches deep and 6 to 10 inches apart. Washington State University Extension lists spacing at 4 to 6 inches apart in rows 12 to 24 inches apart. ([warren.cce.cornell.edu](https://warren.cce.cornell.edu/gardening-landscape/warren-county-master-gardener-articles/garlic?utm_source=openai))
- Plant pointy side up. The pointed end sends up the shoot; the flatter basal end grows roots.
- Cover with soil. Firm it gently, but do not pack it hard.
- Water well. Moist soil helps roots begin forming before the ground freezes.
For most home gardens, a spacing of 6 inches between cloves is a good, easy target. If you want very large bulbs and have the room, give them 8 inches. If you are short on space, avoid crowding them tighter than 4 inches, or the bulbs may stay small.
Mulch Matters More Than You Think
After planting, cover the bed with a loose layer of clean straw, shredded leaves, or another weed-free organic mulch. Cornell recommends 4 to 6 inches of hay, straw, or leaves to protect cloves, while Penn State Extension also suggests a good 4-inch layer of straw or shredded leaves after fall planting. ([warren.cce.cornell.edu](https://warren.cce.cornell.edu/gardening-landscape/warren-county-master-gardener-articles/garlic?utm_source=openai))
Mulch does several jobs at once. It insulates the bed, reduces heaving during freeze-thaw weather, helps conserve moisture, and suppresses weeds. Garlic does not compete well with weeds, especially in spring when it is trying to size up its bulbs.
If you use leaves, shred them first if possible. Whole maple or oak leaves can mat down into a soggy layer that sheds water. Straw is easy to work with, but make sure it is not full of grain seed or you may be weeding out little sprouts in spring.
Spring Care for Fall-Planted Garlic
When green shoots appear in spring, check the mulch. If it is packed down heavily, gently loosen it so the shoots can push through. You do not have to remove all the mulch; in most gardens, leaving it in place helps keep weeds down and soil moisture steady.
Garlic needs steady water during active spring growth. University of Minnesota Extension recommends soaking soil thoroughly to a depth of at least one inch each week during the growing season. Rain may do this for you, but during a dry spring, water deeply rather than giving the bed frequent shallow sprinkles. ([extension.umn.edu](https://extension.umn.edu/garden-and-home/yard-and-garden/gardening-in-minnesota/growing-garlic?utm_source=openai))
If your soil is not especially rich, you can side-dress with compost in early spring. Avoid heavy feeding late in the season, when the plant should be shifting energy into bulb development rather than lots of leafy growth.
What to Do With Garlic Scapes
If you grow hardneck garlic, it will send up curling flower stalks called scapes. Remove the scapes once they curl so the plant sends more energy into the bulb. North Carolina Extension notes that removing the flower stem helps increase bulb size. ([plants.ces.ncsu.edu](https://plants.ces.ncsu.edu/plants/allium-sativum/?utm_source=openai))
Do not toss them. Garlic scapes are delicious chopped into scrambled eggs, blended into pesto, stirred into compound butter, or sautéed with vegetables. They taste garlicky but a little greener and milder than cloves.
When to Harvest Garlic
Garlic is usually ready in early to midsummer, but the exact timing depends on your climate and variety. Watch the leaves instead of the calendar. A common sign is when the lower leaves have browned while several upper leaves are still green.
Do not wait until the whole plant is brown and collapsed. By then, the wrappers around the bulb may be breaking down, which can shorten storage life. Use a garden fork to loosen the soil under the bulbs, then lift gently. Pulling hard by the stem can damage the bulb or snap the stalk.
Cure Garlic Before Storing
Freshly dug garlic needs to cure before long-term storage. Brush off large clumps of soil, but do not wash the bulbs. Lay or hang the plants in a dry, airy, shaded place for two to three weeks, such as a covered porch, garage, shed, or well-ventilated room.
Once the necks are dry and the outer skins feel papery, trim the roots and cut the stems back to about an inch above the bulb. Store cured garlic in a cool, dry, well-ventilated spot. Save your biggest, healthiest bulbs for replanting in fall, and you can keep your garlic patch going year after year.
Common Fall Garlic Mistakes to Avoid
- Planting too early: Too much warm-weather top growth can be damaged by winter cold.
- Planting too late: Cloves need time to grow roots before the ground freezes.
- Using tiny cloves: Small cloves often grow small bulbs.
- Skipping mulch: Bare soil is more prone to heaving, weeds, and moisture swings.
- Planting in soggy soil: Garlic needs moisture, but it does not like sitting wet all winter.
- Forgetting the crop is there: Mark the bed so you do not dig it up during spring planting.
The Bottom Line
Learning how to plant garlic in fall is mostly about timing, spacing, and patience. Plant firm cloves pointy side up in a sunny, well-drained bed, set them about 3 inches deep and roughly 6 inches apart, then cover the bed with a generous layer of mulch.
By spring, those quiet little cloves will be sturdy green plants. By summer, you will be lifting your own garlic bulbs from the soil, curing them for the pantry, and probably saving a few of the best ones to plant all over again.