How to Bottom Water Seedlings Without Overwatering
If your seed trays seem to swing between dusty-dry and swampy-wet, bottom watering can make indoor seed starting much easier. Instead of pouring water over delicate sprouts, you let the seed-starting mix wick moisture up from a shallow tray below.
This guide explains how to bottom water seedlings, how long to soak them, when to stop, and what to do if the surface stays too wet or too dry.
What Bottom Watering Means
Bottom watering means setting seed cells, pots, or soil blocks with drainage holes into a tray of water so the growing mix absorbs moisture from underneath. Utah State University Extension describes this as “sub-irrigation” and notes that filling a container with about 1 to 2 inches of water for seedling packs is a good option for watering young plants. ([extension.usu.edu](https://extension.usu.edu/yardandgarden/research/starting-vegetable-seeds-indoors-seeding-culture-and-transplanting?utm_source=openai))
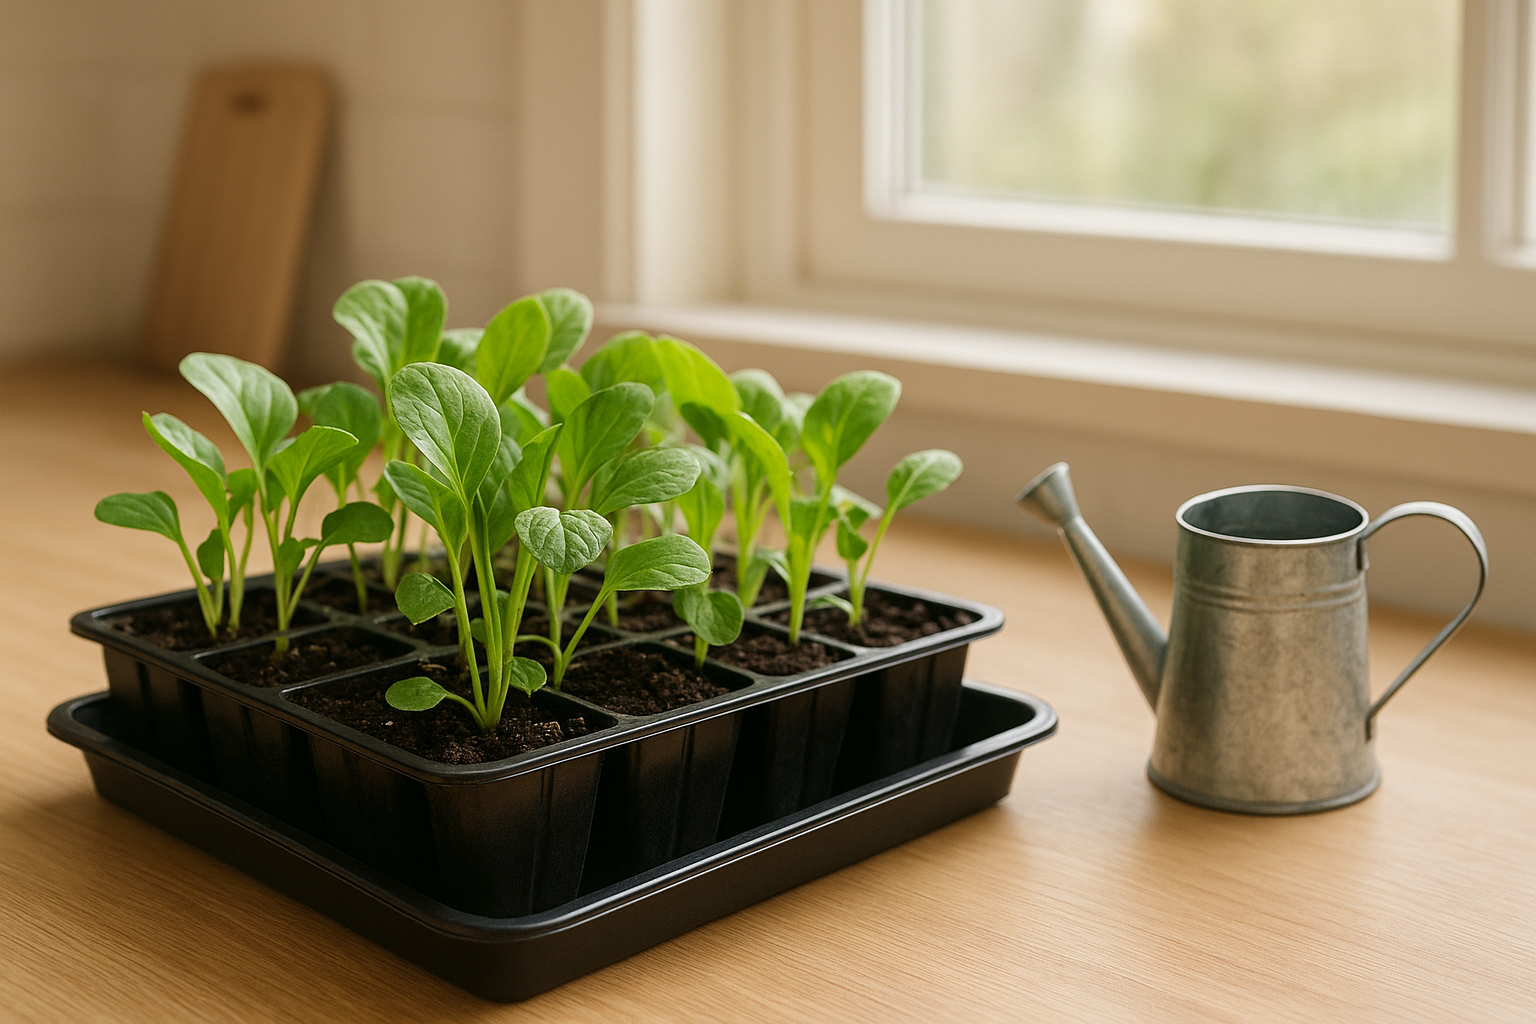
For home gardeners, the setup is simple: a cell tray with holes goes inside a solid waterproof tray. You add water to the solid tray, wait while the mix drinks it up, then pour off whatever is left.
Why Bottom Water Seedlings?
Bottom watering is useful because it avoids the blast of water that can flatten tiny seedlings, uncover small seeds, or splash soil onto leaves. It also encourages you to water the root zone instead of repeatedly wetting tender stems.
It can also help you avoid one of the most common seed-starting problems: keeping trays too wet. The University of Minnesota Extension warns that damping-off diseases can be encouraged by overwatering, and that pathogens can move through shared potting media or shared irrigation water once introduced to a tray. ([extension.umn.edu](https://extension.umn.edu/solve-problem/how-prevent-seedling-damping?utm_source=openai)) That does not mean bottom watering magically prevents disease, but it does give you more control than a heavy overhead pour.
Supplies You Need
- Seedling tray or pots with drainage holes: The holes are essential. Without them, water cannot wick upward properly.
- Solid waterproof tray: A standard seed-starting bottom tray, boot tray, baking sheet with sides, or shallow plastic storage lid can work.
- Seed-starting mix: A light soilless mix works better than heavy garden soil. University of Minnesota Extension recommends commercial seed-starting mixes, often made with materials such as peat and vermiculite, rather than true soil for indoor seed starting. ([extension.umn.edu](https://extension.umn.edu/planting-and-growing-guides/starting-seeds-indoors?utm_source=openai))
- Room-temperature water: Cold water can chill tender roots, especially in a cool room.
- A timer: This helps you avoid forgetting trays in standing water.
How to Bottom Water Seedlings Step by Step
1. Check the tray before watering
Do not water on autopilot. First, touch the surface of the mix and lift the tray. If the top is slightly dry but the tray still feels heavy, wait. If the surface is dry and the tray feels light, it is time to water.
Young seedlings need consistent moisture, but the goal is moist, not soggy. A tray that smells sour, grows algae, or stays wet for days is being overwatered or has poor airflow.
2. Add water to the bottom tray
Pour about 1/2 inch of water into the solid tray for small cell packs. For larger pots or a very dry mix, you can use up to about 1 inch. USU Extension’s broader seedling guidance allows 1 to 2 inches for sub-irrigation, but most small home seed trays do not need that much every time. ([extension.usu.edu](https://extension.usu.edu/yardandgarden/research/starting-vegetable-seeds-indoors-seeding-culture-and-transplanting?utm_source=openai))
If you are fertilizing older seedlings, mix fertilizer separately according to the product label. Do not guess or make it stronger “for faster growth.” Seedlings are easy to burn.
3. Set the seedling tray into the water
Place the cell tray or pots into the solid tray and make sure the bottoms are making contact with the water. The mix will begin pulling moisture upward through the drainage holes.
If the mix has become extremely dry and water-repellent, it may take longer to start wicking. In that case, mist the surface lightly once, then let the bottom watering do the rest.
4. Wait 10 to 30 minutes
Most seedling trays only need 10 to 20 minutes. Larger cells, peat-based mixes that are quite dry, or deeper pots may need closer to 30 minutes. The best sign is not the clock; it is the surface of the mix. When the top looks evenly darker and feels lightly moist, the tray has taken up enough.
Avoid leaving seedlings sitting in water for hours. That can keep roots short on oxygen and create the kind of constantly wet conditions that seedling diseases love.
5. Pour off extra water
This is the step many gardeners skip. After watering, lift the cell tray, empty the solid tray, and set the seedlings back down. If your setup is too heavy to lift safely, use a turkey baster, small cup, or towel to remove leftover water.
Seedlings should never live in a puddle. Bottom watering is a watering method, not a storage system.
How Often Should You Bottom Water?
There is no perfect schedule because trays dry at different speeds depending on cell size, room temperature, light strength, airflow, and plant size. Check seedlings daily, especially under grow lights.
As a practical starting point, small seedlings may need water every 1 to 3 days. Larger seedlings in small cells can dry faster. Newly sown trays under a humidity dome may need less water until germination, but once seeds sprout, remove or vent the cover so the seedlings are not trapped in stale, humid air.
University of Minnesota Extension recommends starting seeds in divided containers with one seedling per container because tangled roots can be injured later during transplanting. ([extension.umn.edu](https://extension.umn.edu/planting-and-growing-guides/starting-seeds-indoors?utm_source=openai)) Those smaller divided cells are convenient, but they also dry out faster than big pots, so keep an eye on them.
When Top Watering Is Better
Bottom watering is handy, but it is not the only good method. Use gentle top watering when:
- You have just sown seeds and need to settle the mix around them.
- You are growing surface-sown seeds that must stay moist near the top.
- The top layer is dry but the lower mix is still damp.
- You need to rinse fertilizer salts from the mix occasionally.
For tiny seeds, use a spray bottle, mister, or very fine watering rose. The goal is to moisten the surface without washing seeds into corners of the tray.
Common Bottom-Watering Mistakes
Leaving water in the tray
If water is still standing after 30 minutes, pour it off. Constantly wet roots are not stronger roots.
Using trays with no drainage holes
Bottom watering only works when water can enter and excess water can drain away. Yogurt cups, takeout containers, and recycled pots are fine if you add several holes first.
Watering every tray the same way
Tomatoes in large cells, basil in tiny cells, and peppers on a heat mat will not dry at the same rate. Lift each tray and check the mix before adding water.
Ignoring airflow
Even with careful watering, crowded seedlings in still air can struggle. Give plants space as they grow, remove humidity covers after sprouting, and consider a small fan on low nearby—not blasting the seedlings, just moving air in the room.
Quick Troubleshooting Guide
- Seedlings are wilting and the tray feels light: Water now. The mix is likely too dry.
- Seedlings are wilting and the tray feels heavy: Do not add more water. Let the mix dry slightly and improve airflow.
- Green algae is growing on the surface: You are keeping the top too wet. Water less often, increase light and airflow, and scrape off crusty surface growth if needed.
- Stems are pinched or collapsing at soil level: Remove affected seedlings and avoid reusing that wet shared water. Damping-off can move through tray media and irrigation water, so sanitation matters. ([extension.umn.edu](https://extension.umn.edu/solve-problem/how-prevent-seedling-damping?utm_source=openai))
- Water will not soak upward: The mix may be too dry. Mist the top lightly, then bottom water again for 20 to 30 minutes.
The Simple Rule to Remember
Bottom watering works best when you treat it as a short soak, not a long bath. Add a shallow layer of water, let the mix wick up what it needs, and empty the excess.
If you check trays daily and aim for evenly moist—not soggy—seed-starting mix, your seedlings will be sturdier, cleaner, and easier to manage until it is time to harden them off and move them into the garden.