How to Clean Oven Door Glass Without Scratching It
A cloudy oven door makes the whole kitchen feel dirtier, even when the rest of the range is clean. The good news is that most baked-on grease can be removed with gentle tools you probably already have: baking soda, vinegar or lemon water, dish soap, and microfiber cloths.
The trick is patience, not force. Oven glass can scratch, and some doors have vents or removable panels that need extra care, so always start with the safest method before reaching for anything stronger.
Before You Start: Safety and Scratch Prevention
Clean oven door glass only when the oven is completely cool. Whirlpool warns not to apply a cool damp cloth to hot inner door glass because sudden temperature changes can risk damage, and appliance manuals commonly caution against harsh abrasives or sharp scrapers on glass. ([whirlpool.com](https://www.whirlpool.com/content/dam/global/documents/202304/owners-manual-w11656312-revA.pdf?utm_source=openai))
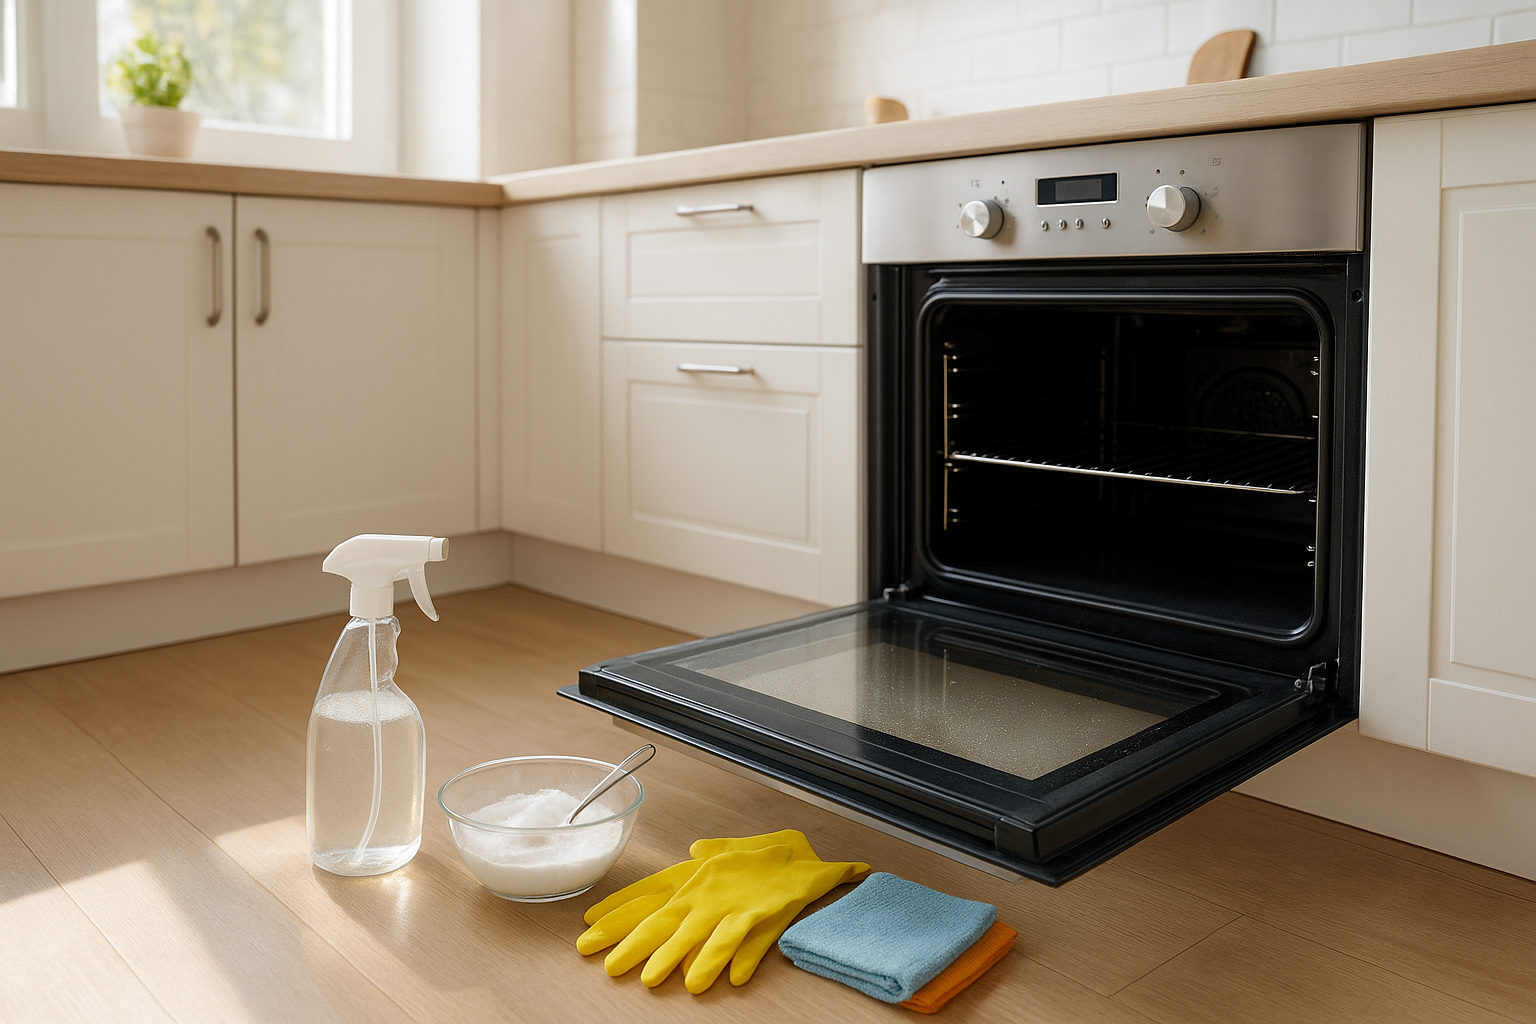
Gather these supplies:
- Baking soda
- Warm water
- White vinegar or lemon juice
- Mild dish soap
- Spray bottle
- Microfiber cloths
- Non-scratch sponge
- Plastic scraper or old plastic gift card, optional
- Rubber gloves
- Towels to protect the floor
Avoid: steel wool, metal scrapers, oven cleaner sprayed on the door gasket, abrasive powders, and razor blades unless your manufacturer specifically says they are safe for your model. Also avoid soaking the door. Too much liquid can run into vents and end up between the glass panes.
Step 1: Wipe Loose Crumbs and Grease
Open the oven door flat, if your model allows it, and place an old towel under the edge to catch drips. Wipe the glass with a damp microfiber cloth and a drop of dish soap. This removes surface grease so the baking soda paste can work on the stubborn brown film underneath.
If there are crumbs along the bottom seam of the door, use a dry cloth or soft brush first. Pushing wet crumbs into the seam can make a muddy mess and may send debris into the door vents.
Step 2: Make a Gentle Baking Soda Paste
Mix about 1/2 cup baking soda with just enough water to make a spreadable paste. You want it thick enough to cling to the glass, not run into the door edges. Whirlpool recommends baking soda paste as a common option for cleaning oven door glass and notes that a vinegar or lemon-water spray can add extra cleaning power. ([whirlpool.com](https://www.whirlpool.com/blog/kitchen/how-to-clean-glass-oven-door-window.html?utm_source=openai))
Spread the paste over the dirty glass, concentrating on greasy brown patches and baked-on splatters. Keep the paste away from the woven door gasket, vents, hinges, and any holes along the top or bottom of the door.
Step 3: Let It Sit
Let the paste sit for 20 to 30 minutes. This waiting time softens greasy residue so you do not have to scrub aggressively. For a door that has not been cleaned in months, you can let it sit closer to 45 minutes, but do not let it dry into a hard crust. If it starts drying out, mist it lightly with water.
This is a good time to wipe the outside of the oven door, handle, and control panel with a separate damp cloth. Spray cleaner onto the cloth rather than directly onto the appliance, especially near controls or vents.
Step 4: Spray Lightly With Vinegar or Lemon Water
Mix equal parts white vinegar and water, or equal parts lemon juice and water, in a spray bottle. Lightly mist the baking soda paste. It will fizz a little, which helps loosen the grime. Do not flood the glass; a light spray is enough.
After a minute or two, wipe the paste away with a damp microfiber cloth. Rinse the cloth often in warm water, wring it well, and keep wiping until the glass no longer feels gritty.
Step 5: Tackle Stubborn Spots Without Scratching
If a few dark spots remain, add a small dab of fresh baking soda paste and rub gently with a non-scratch sponge. For raised bits of cooked-on food, use a plastic scraper held nearly flat against the glass. Work slowly and keep the spot damp so you are lifting residue, not grinding it into the surface.
Never use the corner of a knife or a metal putty knife. They may remove the spot quickly, but they can leave permanent scratches that make the glass look hazy even when it is clean.
Step 6: Rinse, Dry, and Polish
Once the grime is gone, wipe the glass with a clean damp cloth to remove any baking soda film. Then dry it with a fresh microfiber cloth. For a final polish, use a small amount of vinegar-water spray on the cloth and buff the glass until it looks clear.
If you still see a cloudy cast, it may be leftover baking soda. Wipe again with warm water, dry thoroughly, and check from a few angles. Residue often shows more clearly when the kitchen lights hit the door.
What If the Grime Is Between the Glass Panes?
Brown streaks or drips that do not change after cleaning the inside and outside are probably between the panes of glass. Oven doors often have more than one layer, and spills can sometimes enter through vents at the top or bottom.
Do not force a coat hanger, knife, or soaked rag into the door vents. GE Appliances says hinge designs vary by model and recommends consulting the owner’s manual before removing an oven door to clean between the glass. Their guidance also suggests placing the removed door on a towel-covered floor or large work surface to protect it. ([products.geappliances.com](https://products.geappliances.com/appliance/gea-support-search-content?contentId=34524&utm_source=openai))
If your manual says the glass or door can be removed, read the full instructions before starting. Oven doors can be heavier than they look, and hinges can snap closed if handled incorrectly. If the door has electronic controls, unusual fasteners, cracked glass, or you are not comfortable lifting it, call an appliance technician instead.
Can You Use the Self-Clean Cycle for the Door Glass?
A self-clean cycle can help with some interior oven soil, and GE notes that running a self-clean cycle is one way to clean the interior oven window on certain ranges and wall ovens. However, self-clean does not usually remove drips trapped between panes, and it is not a substitute for wiping the accessible glass by hand. ([products.geappliances.com](https://products.geappliances.com/appliance/gea-support-search-content?contentId=16542&utm_source=openai))
Before using self-clean, check your manual. Many manufacturers instruct you to remove racks, cookware, liners, and heavy food debris first. Self-clean cycles run very hot, may produce odors or smoke from residue, and are not ideal right before guests arrive.
How Often Should You Clean Oven Door Glass?
For most homes, a quick wipe every week or two keeps the door from building up a baked-on brown film. If you roast meats, bake casseroles, or cook saucy dishes often, wipe splatters after the oven cools. A deeper baking soda cleaning once a month is usually enough for regular use.
To prevent future messes, place bubbling pies, casseroles, and sheet-pan dinners on a rimmed baking sheet. Avoid overfilling dishes, and wipe fresh spills once the oven is cool. Small habits make the next cleaning much easier.
Quick Troubleshooting
- The glass looks streaky: Rinse again with warm water and dry with a clean microfiber cloth. Baking soda dust is usually the cause.
- The stains did not budge: Repeat the paste step and let it sit longer. Old grease often needs two gentle rounds.
- There are drip marks inside the door: Check the owner’s manual for instructions on door or glass removal. Do not pry panels apart.
- The gasket got wet: Blot it gently with a dry cloth and leave the door open until fully dry. Do not scrub or pull the gasket.
- The glass is cracked: Stop using the oven and arrange repair. Cleaning cannot make cracked oven glass safe.
Clean oven door glass makes it easier to see food as it cooks and helps the whole range look cared for. Start with a gentle paste, give it time to work, and save disassembly for only when your manual says it is safe.