How to Clean a Dishwasher Filter and Spray Arms
If your dishwasher smells musty, leaves grit on glasses, or suddenly stops getting the top rack clean, the problem is often not the machine itself. A clogged filter or plugged spray arm can quietly ruin a wash cycle, and both are usually simple to clean with no special tools.
This guide shows how to clean a dishwasher filter and spray arms safely, plus a few habits that keep the mess from coming right back. Always check your owner’s manual first, because filter styles and spray arm removal vary by brand and model.
Why This Job Matters
Modern dishwashers rely on water movement, filtration, and properly aimed jets. ENERGY STAR notes that newer dishwashers use improved water filtration, efficient jets, and soil sensors to clean well, and also recommends scraping dishes instead of pre-rinsing them. That means loose food should go in the trash or compost, but the dishwasher still needs a clear filter and open spray holes to do its job. ([energystar.gov](https://www.energystar.gov/products/dishwashers?utm_source=openai))
GE Appliances also points to spray arm jets when troubleshooting dishwasher odors, and Bosch advises checking that spray arms are clean and not clogged as part of dishwasher maintenance. In plain terms: if water cannot circulate freely, dishes will not get evenly washed. ([products.geappliances.com](https://products.geappliances.com/appliance/gea-support-search-content?contentId=16270&utm_source=openai))
How Often to Clean the Dishwasher Filter
A good rule for most homes is to check the filter once a month. If you cook often, run heavy loads, have hard water, or regularly wash dishes with rice, oatmeal, seeds, herbs, or bits of label glue, check it every two weeks until you learn how fast it gets dirty.
Some older dishwashers have a hard-food disposer or a self-cleaning filter instead of a removable cup-style filter. Do not force anything. If the bottom of the dishwasher does not have a twist-out filter, look up the model number before taking parts apart.
What You’ll Need
- Dish soap
- Warm water
- Soft brush or old toothbrush
- Microfiber cloth or sponge
- Toothpick, wooden skewer, or plastic dental pick
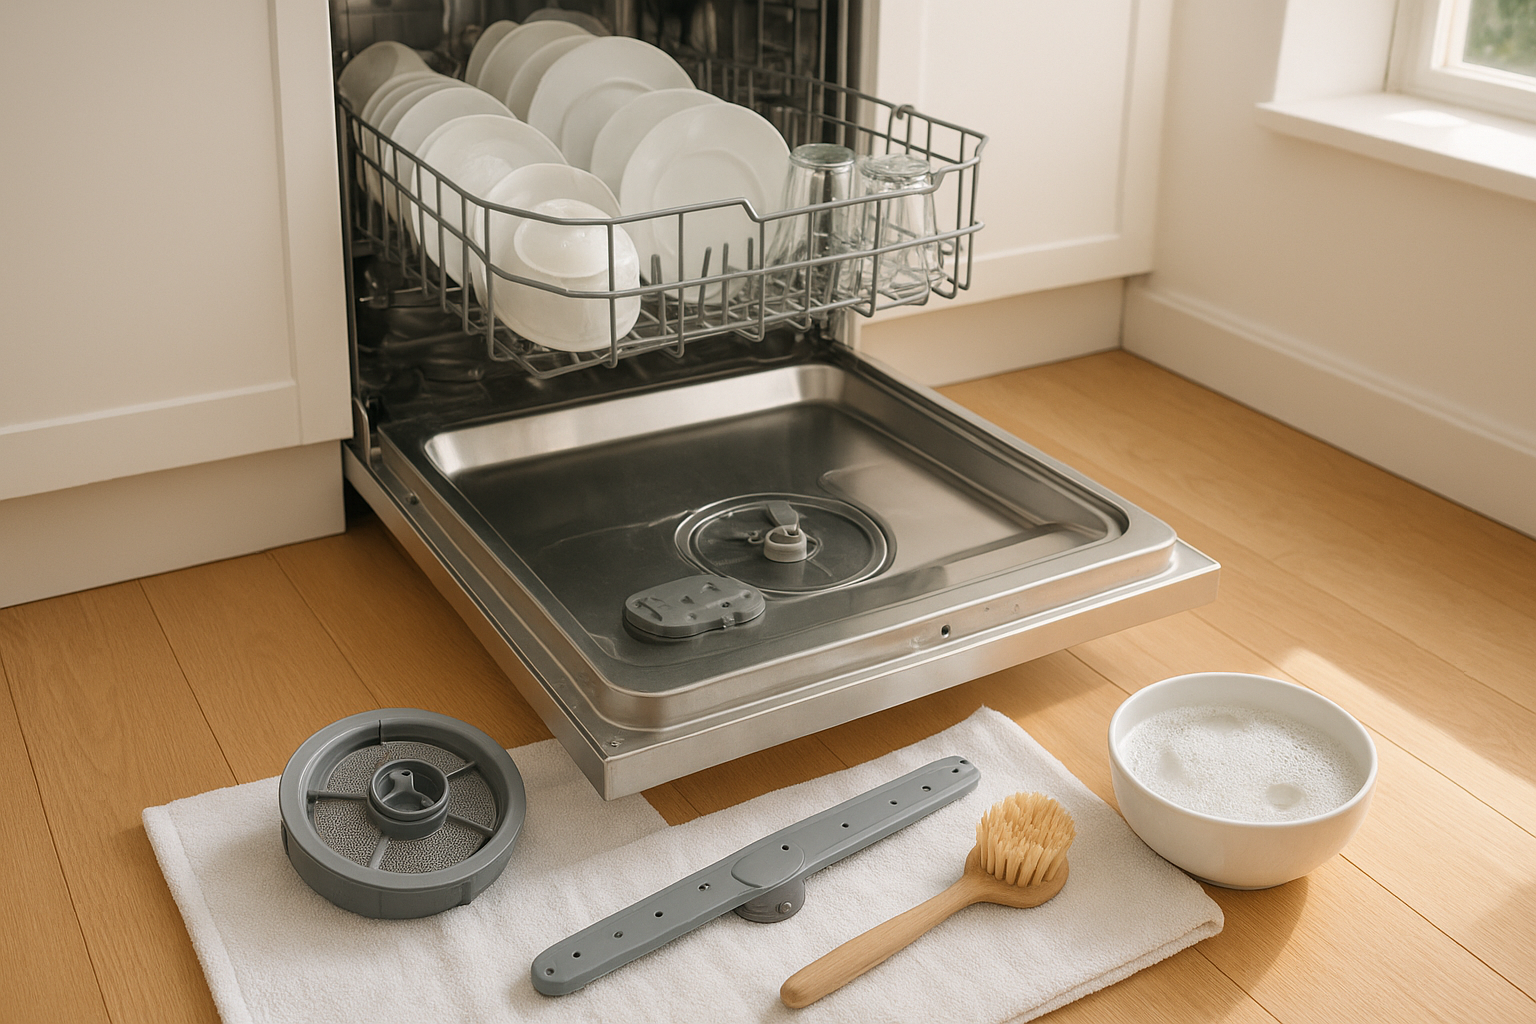
- Small bowl or sink for soaking parts
- White vinegar or citric acid only if your manual allows it
Avoid bleach unless your manual specifically says it is safe. Bleach can damage some stainless steel interiors and rubber parts, and it should never be mixed with vinegar, citric acid, or dishwasher cleaners.
Step 1: Empty the Dishwasher and Remove the Bottom Rack
Start with a cool, empty dishwasher. Pull out the bottom rack and set it aside. Look at the floor of the tub, usually near the lower spray arm, for a round or cylindrical filter assembly.
Before removing anything, take a quick phone photo. It gives you a reference for how the filter, screen, and spray arm should sit when you put them back.
Step 2: Remove the Filter Carefully
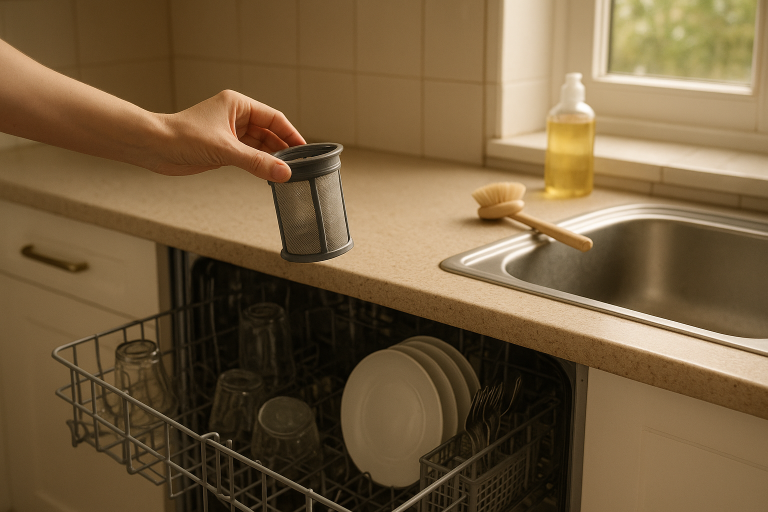
Most removable filters unlock with a short counterclockwise twist, then lift out. Some have two pieces: an upper cylindrical filter and a flat mesh or fine filter below it. Lift gently and keep parts in order.
Do not yank the filter if it resists. Food debris can make it sticky, but hard resistance may mean there is a tab, clip, or different removal method. GE’s support materials, for example, show that some models have fine and ultra-fine filters that need to be removed and replaced in the correct order. ([products.geappliances.com](https://products.geappliances.com/appliance/gea-specs/GDT605PFMDS/support?utm_source=openai))
Step 3: Wash the Filter, Not Just Rinse It
Rinse the filter under warm running water, then add a drop of dish soap and scrub the mesh gently with a soft brush. Pay attention to the underside, where greasy film and fine grit often hide.
If the filter is slimy, let it sit in warm soapy water for 10 to 15 minutes, then brush again. Do not use a wire brush, knife, or anything that can tear the mesh. A damaged filter can allow food particles back into the wash water.
Step 4: Wipe the Filter Well
Before reinstalling the filter, wipe the sump area where it sits. Remove any obvious debris such as lemon seeds, broken glass, twist ties, bread tabs, popcorn kernels, or bits of plastic. Work slowly and wear gloves if you suspect glass.
If there is standing water, a small amount in the sump can be normal. But water covering the filter area after a completed cycle may point to a drain issue, clogged air gap, blocked hose, or garbage disposal connection problem.
Step 5: Check the Spray Arms
Spin the lower spray arm by hand. It should rotate freely without hitting a pan handle, tall plate, loose utensil, or warped rack tine. Then look closely at the little spray holes. Seeds, mineral scale, eggshell pieces, paper labels, and hardened food can block them.
Many lower spray arms lift off or release with a small nut or clip, but not all do. Middle and upper spray arms vary even more. If removal is not obvious, clean them in place rather than forcing them.
Step 6: Clear Clogged Spray Holes
If you can remove the spray arm, rinse it at the sink. Hold it so water runs through the center opening and out the holes. Use a toothpick, wooden skewer, or plastic pick to loosen debris from clogged jets. Avoid metal tools that can enlarge or damage the holes.
For mineral buildup, soak the removable spray arm in warm water with a little white vinegar, but only if your manual permits vinegar on those parts. GE says hard water chemicals can clog spray arm jets and bearings and that spray arms may need regular cleaning in hard-water conditions. ([geappliances.ca](https://geappliances.ca/medias/?context=bWFzdGVyfGltYWdlc3w4ODAxMTAyfGFwcGxpY2F0aW9uL3BkZnxhRFJrTDJoaU5TOHhNREEzTURFeU1UWTNOamd6TUF8MTZlNThmMjJhMzdjMmI2NjM4ODUzZmJiMjExOGFhMjc1NGY3OGM0MzZmN2U1OGEwZjcyODRhMDkxOTA3NzgwMQ&utm_source=openai))
Step 7: Reinstall Everything Correctly
Put the flat filter or screen back first if your model has one, then reinstall the cylindrical filter and twist it until it locks. A loose filter can float, rattle, or allow food debris to recirculate.
Reattach any spray arms you removed. Spin each one by hand after the racks are back in place. If an arm bumps a tall cutting board, cookie sheet, ladle, or plate, adjust the load before running the dishwasher.
Step 8: Run a Cleaning Cycle
Once the filter and spray arms are clean, run the dishwasher empty on a hot cycle with a dishwasher cleaner, citric acid product, or cleaning method approved in your manual. GE notes that citric acid can be used to clean dishwasher interiors, and many brands sell or recommend dishwasher cleaning products for removing grease and mineral buildup. ([products.geappliances.com](https://products.geappliances.com/appliance/gea-support-search-content?contentId=21552&utm_source=openai))
Skip regular dish soap in the tub. It creates suds that can leak out of the machine and leave residue behind.
How to Keep the Filter Cleaner Longer
- Scrape, don’t pre-rinse. Remove bones, peels, toothpicks, seeds, and large food scraps, but let the dishwasher handle normal sauce and crumbs.
- Load so water can move. Bowls should face down and inward. Do not nest spoons or block the detergent dispenser.
- Check labels. Jar labels can break apart and clog filters and spray jets.
- Use the right detergent amount. Too much detergent can leave film, especially in soft water.
- Run hot water first. Let the kitchen tap run hot before starting the dishwasher if your machine is far from the water heater.
When Cleaning Is Not Enough
If dishes are still dirty after the filter and spray arms are clean, look for other clues. Grit on the top rack can mean the middle spray arm is not seating properly against its rear water supply. Cloudy glasses may be hard-water film or etching, not leftover food. Detergent left in the cup can point to a blocked dispenser door, poor loading, or low water temperature.
Call for service if you hear grinding, smell burning, see leaks, find recurring standing water, or notice that spray arms never move during a cycle. But for everyday odors, sandy residue, and weak cleaning, a 20-minute filter and spray arm cleaning is often the fix your dishwasher needed.