How to Clean a Humidifier Before Winter Use
Before you run a humidifier all winter, give it a proper cleaning. A little stale water, mineral crust, or hidden film inside the tank can turn a helpful appliance into something that smells musty, runs poorly, or spreads fine white dust around the room.
The good news: learning how to clean a humidifier is simple, and you do not need fancy supplies. Here is a practical deep-cleaning routine for cool-mist, ultrasonic, evaporative, and small warm-mist humidifiers.
Why Your Humidifier Needs Cleaning Before Winter
Humidifiers sit unused for months in many homes, which gives leftover moisture and mineral deposits time to dry into crusty buildup. Once you fill the tank again, that buildup can loosen, clog parts, or create odors.
The U.S. Environmental Protection Agency recommends emptying portable humidifier tanks daily, cleaning portable humidifiers every third day during use, and not letting indoor relative humidity exceed 50 percent. The EPA also notes that, unless the manufacturer says otherwise, surfaces that contact water can be cleaned with a 3% hydrogen peroxide solution. ([epa.gov](https://www.epa.gov/indoor-air-quality-iaq/use-and-care-home-humidifiers?utm_source=openai))
Humidity matters for the house, too. The CDC advises keeping home humidity no higher than 50 percent all day to help control mold, while EPA guidance says an ideal indoor range is generally 30 to 50 percent. ([cdc.gov](https://cdc.gov/mold-health/about/index.html?utm_source=openai))
What You’ll Need
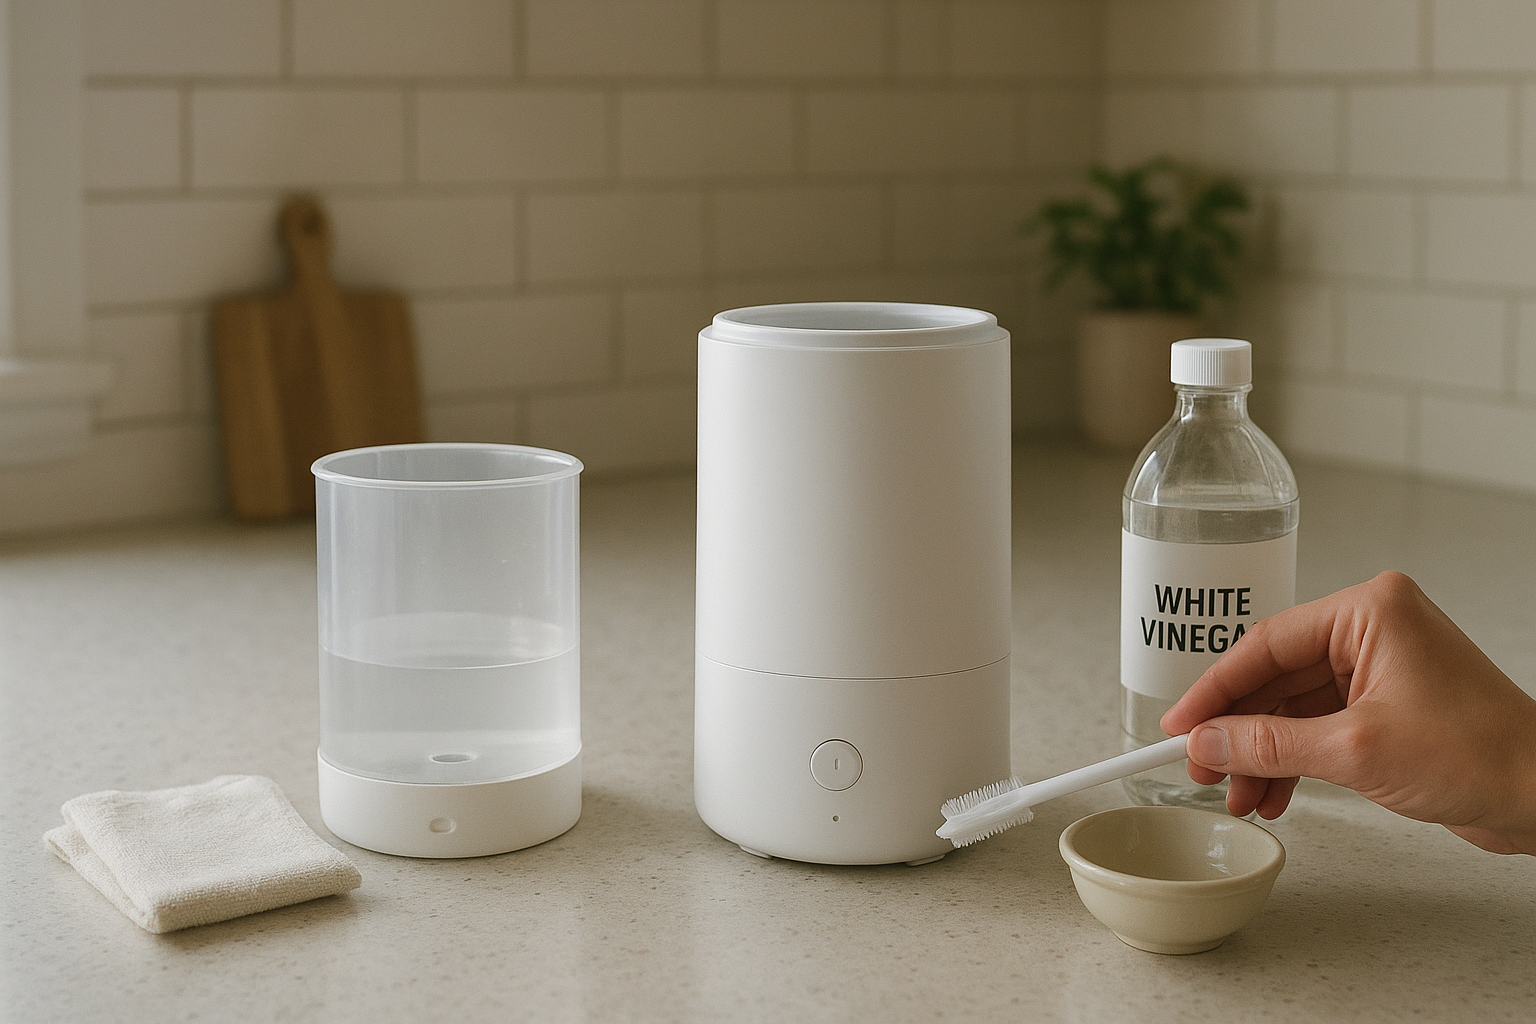
- White distilled vinegar
- 3% hydrogen peroxide, if allowed by your manual
- Soft cloths or paper towels
- Small soft brush, old toothbrush, or bottle brush
- Cotton swabs for tight corners
- Fresh water
- New filter, wick, or cartridge if your model uses one
- Rubber gloves, especially if cleaning heavy buildup
Important: Always unplug the humidifier before cleaning it. Check the owner’s manual if you still have it, because some parts are not meant to be submerged and some manufacturers give specific instructions for vinegar, peroxide, or replacement cartridges.
Step 1: Take the Humidifier Apart
Unplug the unit and move it to a sink or a towel-covered counter. Remove the tank, cap, mist nozzle, tray, filter, wick, mineral cartridge, and any loose pieces that come off easily.
Pour out old water from the tank and base. If the water smells sour, looks cloudy, or has floating bits, do not simply rinse and refill it. That humidifier needs the full cleaning routine below.
Step 2: Remove Mineral Scale with Vinegar
White vinegar is useful for loosening mineral scale, especially the chalky white buildup left behind by hard water. Fill the tank with enough vinegar to cover the coated areas, or use a mix of equal parts vinegar and water for lighter buildup.
For the base or tray, pour in just enough vinegar to cover the mineral deposits. Avoid getting vinegar into the motor housing, fan opening, cord area, or control panel. Let the parts soak for 20 to 30 minutes.
After soaking, scrub gently with a soft brush. Use cotton swabs for grooves around the cap, mist outlet, float valve, and corners of the base. Rinse well with clean water until the vinegar smell is mostly gone.
Step 3: Disinfect the Water-Contact Surfaces
Descaling and disinfecting are not quite the same thing. Vinegar helps dissolve mineral buildup, while disinfecting targets the surfaces where water sits.
If your manual allows it, wipe or soak water-contact surfaces with 3% hydrogen peroxide, the strength commonly sold in brown bottles at drugstores. Let it sit for several minutes, then rinse thoroughly with clean water. The EPA specifically names 3% hydrogen peroxide as a cleaning option when manufacturer instructions are not available. ([epa.gov](https://www.epa.gov/indoor-air-quality-iaq/use-and-care-home-humidifiers?utm_source=openai))
Do not mix vinegar and hydrogen peroxide together in the tank or base. Use them as separate steps, rinsing between them. Also avoid mixing any cleaner with bleach unless the product manual clearly instructs you to do so.
Step 4: Check the Filter, Wick, or Cartridge
Evaporative humidifiers often use a wick or filter that absorbs water. Ultrasonic models may use a small demineralization cartridge. These parts do not last forever, and a dirty wick can make the whole unit smell bad even after the tank is clean.
Replace the wick or filter if it is stiff, brown, slimy, torn, moldy, or still smells musty after rinsing. If you cannot remember when you last changed it, start the season with a fresh one. Keep the model number handy before shopping, because many humidifier filters look similar but do not fit the same units.
Step 5: Rinse, Dry, and Reassemble
After cleaning, rinse every water-contact part well. Set the pieces on a clean towel and let them air-dry completely before reassembling if you are storing the unit, or dry the outside and refill right away if you plan to use it.
When putting the humidifier back together, make sure the tank cap is sealed, the float moves freely, and the mist nozzle is seated correctly. A crooked cap or loose tray can cause leaks on the first run.
Step 6: Run It the Right Way
Fill the tank with fresh water and place the humidifier on a flat, water-safe surface. Keep it several inches away from walls, curtains, bedding, books, and wood furniture so mist does not dampen nearby materials.
If your humidifier has a built-in humidistat, set it below 50 percent. If it does not, use an inexpensive digital hygrometer in the room. ENERGY STAR notes that in colder climates during heating season, 30 to 40 percent relative humidity can help prevent window condensation. ([energystar.gov](https://www.energystar.gov/products/dehumidifiers?utm_source=openai))
Daily and Weekly Care During Winter
A clean start helps, but humidifiers need regular attention while they are in use. Use this simple schedule:
- Every day: Empty the tank, rinse it, wipe surfaces dry if you can, and refill with fresh water.
- Every third day: Clean the humidifier more thoroughly, especially the tank, tray, cap, and mist outlet.
- Weekly: Inspect for scale, slime, odor, leaks, or a dirty wick.
- End of season: Deep clean, dry completely, discard used filters if recommended, and store with the tank cap off or loose so air can circulate.
This routine lines up with EPA guidance to empty and refill portable humidifiers daily and clean them every third day during use. ([epa.gov](https://www.epa.gov/system/files/documents/2022-07/Use%20and%20Care%20of%20Home%20Humidifiers.pdf?utm_source=openai))
Should You Use Tap Water or Distilled Water?
Tap water is convenient, but hard tap water can leave mineral scale inside the machine and may create fine white dust around ultrasonic humidifiers. Distilled or demineralized water usually reduces that dust and slows mineral buildup.
If buying distilled water for daily use is not practical, clean the unit more often, replace demineralization cartridges as directed, and keep an eye out for white powder on nearby surfaces. That powder is a sign minerals are being dispersed from the water.
Common Humidifier Cleaning Mistakes
- Leaving water in the tank between uses. Empty it daily, even if the tank is not empty.
- Only cleaning the tank. The base, tray, cap, nozzle, and float can all collect buildup.
- Running humidity too high. Foggy windows, damp walls, or condensation on sills mean you need to turn the unit down or off.
- Scrubbing with abrasive pads. Scratches can create more places for grime to cling.
- Storing it wet. Always dry the unit completely before putting it away.
When to Replace the Humidifier
Cleaning can fix most ordinary scale and odor problems, but not every humidifier is worth saving. Replace the unit if the tank is cracked, the cord is damaged, the motor smells hot, the base leaks, or you see mold in areas you cannot reach and clean.
A humidifier should make winter air more comfortable, not add another worry to your home. Start with a careful cleaning, keep the tank fresh, and watch the room humidity. That small routine will help the unit run better all season long.