How to Clean Refrigerator Coils in 20 Minutes
If your refrigerator seems to run constantly, cool unevenly, or collect dust around the bottom grille, the coils may be overdue for a cleaning. Learning how to clean refrigerator coils is a simple home maintenance job that usually takes about 20 minutes and uses tools you may already own.
Condenser coils help release heat from the refrigerator. When they’re covered in dust, pet hair, and kitchen debris, the appliance has to work harder to stay cold, which can affect performance and efficiency. ENERGY STAR recommends keeping condenser coils clean on older models, and manufacturers such as GE and Whirlpool include coil cleaning in refrigerator care guidance. ([energystar.gov](https://www.energystar.gov/products/refrigerators?utm_source=openai))
What Refrigerator Coils Do
Refrigerator condenser coils are part of the cooling system. As the refrigerator moves heat out of the fresh food and freezer compartments, the coils help release that heat into the room. That is why the area behind or underneath a refrigerator can feel warm.
The problem is that coils are often in the dustiest part of the kitchen: low to the floor, behind a toe grille, or at the back of the appliance. Over time, lint, crumbs, pet hair, and grease film can collect there. A light coating may not seem like much, but it can reduce airflow around the condenser area and make the fridge run longer than necessary.
How Often Should You Clean Refrigerator Coils?
For many homes, cleaning refrigerator coils once a year is a good baseline. Whirlpool lists condenser coil cleaning as a yearly refrigerator maintenance task, while other manufacturer guidance says to clean the coils regularly or when they are dusty or dirty. ([producthelp.whirlpool.com](https://producthelp.whirlpool.com/Refrigeration/Full-Size_Refrigerators/Product_Info/Cleaning_and_Care/Preventative_Maintenance_for_Refrigerators?utm_source=openai))
You may want to clean them every 6 months if you have shedding pets, a dusty kitchen, a refrigerator in a garage, or a model with coils near the floor. You should also check the coils if the fridge runs more than usual, the grille looks furry with dust, or the refrigerator is not cooling as well as it used to.
Tools and Supplies
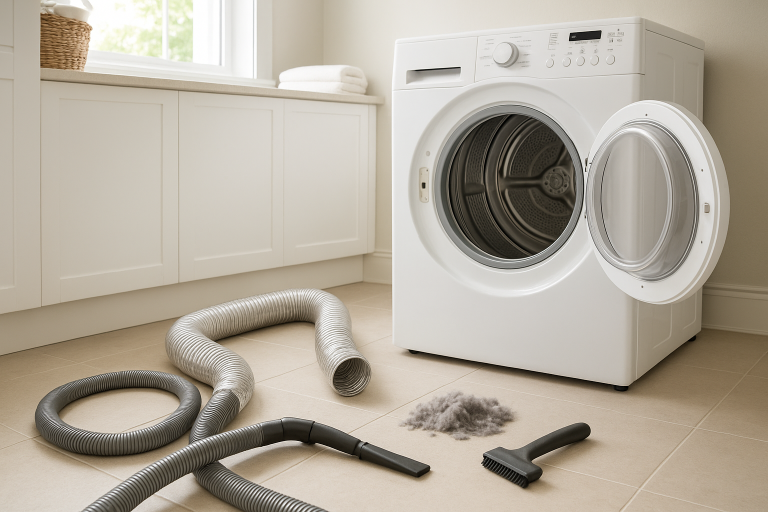
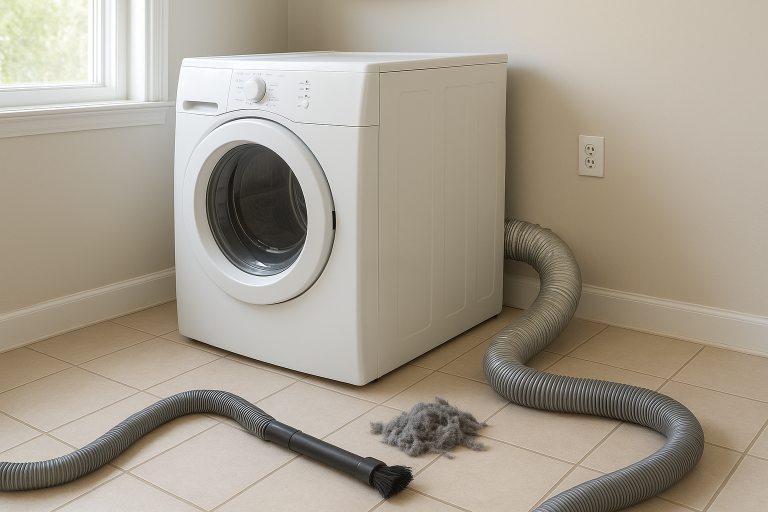
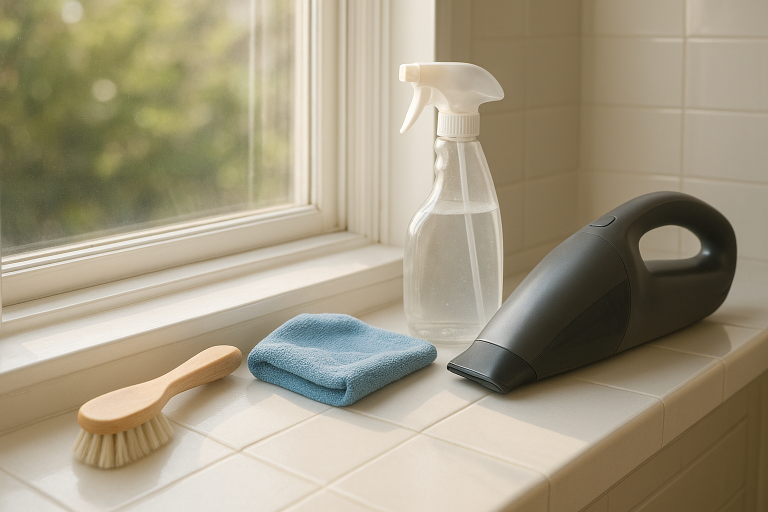
- Vacuum with hose attachment
- Long refrigerator coil brush or soft-bristled appliance brush
- Flashlight
- Screwdriver or nut driver, if your access panel requires one
- Microfiber cloth
- Work gloves, optional
- Dust mask, optional but helpful for heavy buildup
A refrigerator coil brush is inexpensive and worth having because it is narrow, flexible, and long enough to reach between coil rows and under the appliance. GE recommends wiping dust, dirt, and pet hair from condenser coils with a refrigerator condenser cleaning brush. ([products.geappliances.com](https://products.geappliances.com/appliance/gea-support-search-content?contentId=16266&utm_source=openai))
Step 1: Check Your Manual First
Before you move or open anything, look up your refrigerator’s use and care manual. Some newer refrigerators have covered or low-maintenance condenser designs, while others have coils that are easy to reach from the front or back. The manual will also tell you whether there is a removable grille, rear panel, or special instruction for your model.
If you cannot find the printed manual, search the manufacturer’s website using the model number, usually located inside the refrigerator compartment on a label near the wall, ceiling, or crisper area.
Step 2: Unplug the Refrigerator
For safety, unplug the refrigerator before cleaning around coils, grilles, or rear panels. Manufacturer manuals commonly instruct users to unplug the refrigerator before cleaning. ([geappliances.com](https://www.geappliances.com/content/older-pdfs/49-60012.PDF?utm_source=openai))
Keep the doors closed while you work so the food stays cold. A quick coil cleaning should not take long enough to warm the refrigerator significantly. If you expect the job to take longer because the appliance is hard to move or very dirty, place highly perishable items in a cooler.
Step 3: Find the Coils
Refrigerator coils are usually in one of three places:
- Behind the bottom front grille: Common on many modern refrigerators. The grille may snap off or have small screws.
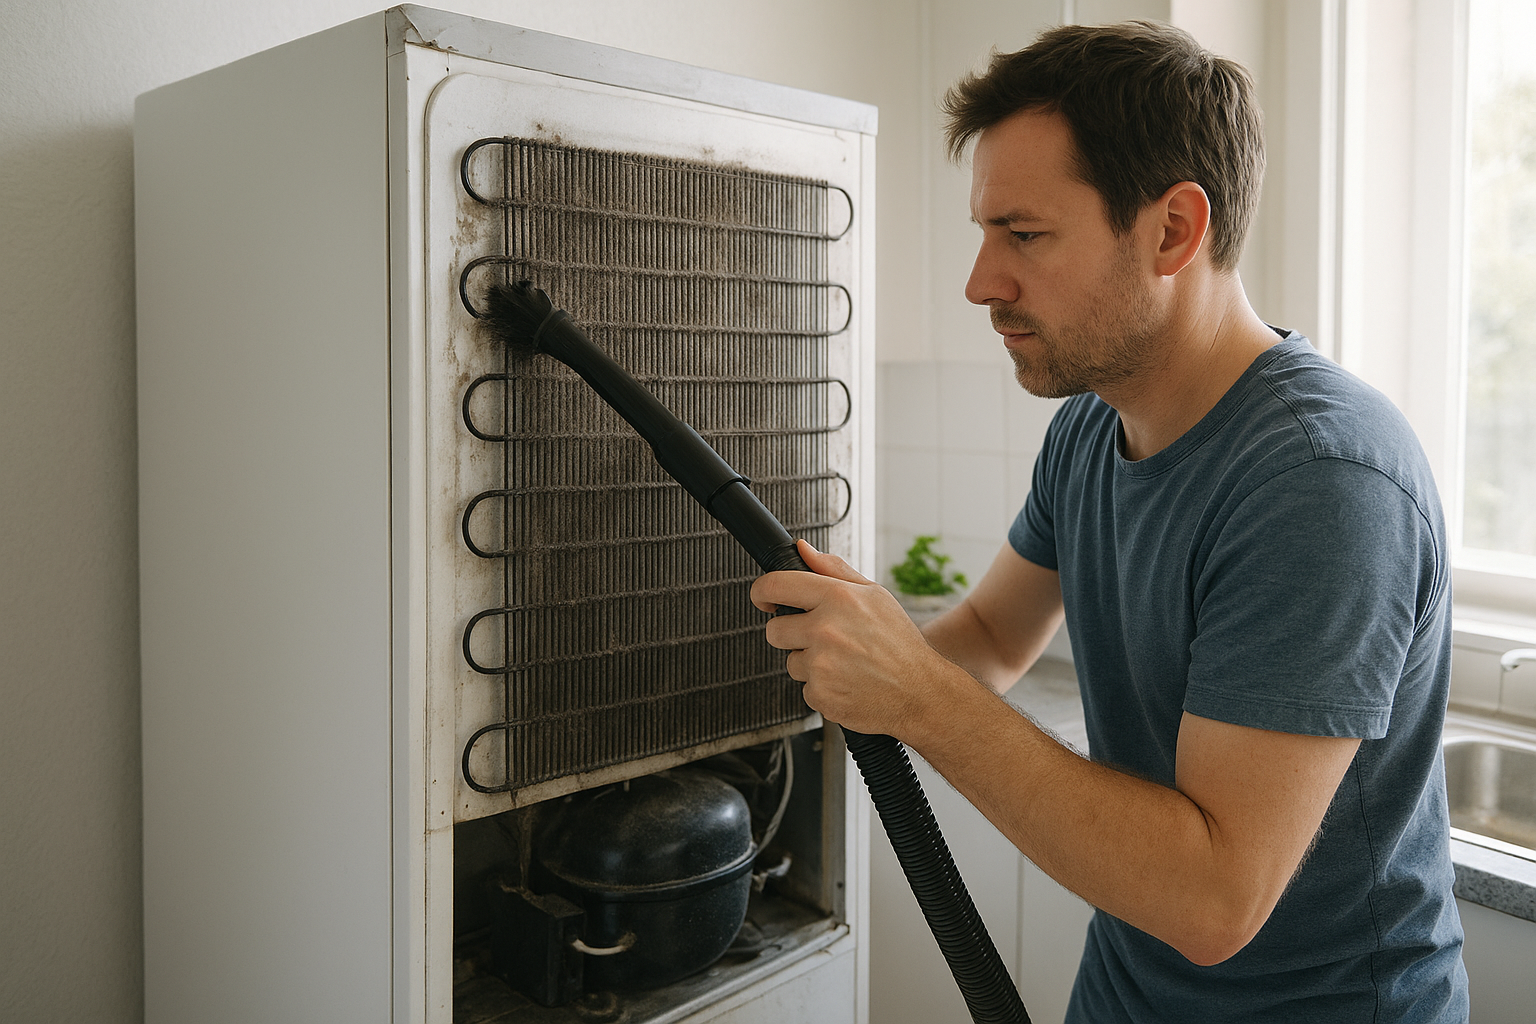
- On the back of the refrigerator: Often visible as a black metal grid or covered by a rear access panel.
- Underneath the refrigerator: You may need a flashlight and long brush to reach them through the front grille opening.
If the refrigerator needs to be pulled away from the wall, move it slowly and straight out. Be careful not to kink the water line if your refrigerator has an ice maker or water dispenser. If the appliance is built in, unusually heavy, or tightly connected, do not force it.
Step 4: Vacuum Loose Dust First
Use the vacuum hose or soft brush attachment to remove loose dust from the grille, floor, wall, and open areas around the coils. Whirlpool guidance for some refrigerator condensers recommends using a vacuum with a soft brush to clean the grille, the areas behind it, and the front surface of the condenser. ([producthelp.whirlpool.com](https://producthelp.whirlpool.com/%40api/deki/pages/17262/pdf/Cleaning%2Bthe%2BCondenser.pdf?utm_source=openai))
Do not jam a hard vacuum attachment into delicate parts. Work gently and keep the hose close enough to collect dust as it loosens.
Step 5: Brush Between and Around the Coils
Next, use the coil brush to sweep dust from the coil area. Insert the brush carefully, then pull it back out while rotating or wiggling it slightly. Vacuum as you go so the dust does not simply resettle somewhere else.
For front-access coils, make several passes from different angles. For rear coils, brush downward and outward, then vacuum the floor behind the refrigerator. For coils underneath the fridge, the job may feel awkward, but a long brush can reach far more dust than a vacuum hose alone.
Avoid bending tubing, tugging wires, or scraping aggressively. If you see oily residue, damaged tubing, loose wires, or a fan that will not turn freely, stop and call an appliance technician.
Step 6: Clean the Grille and Floor
Before putting everything back together, wipe or vacuum the toe grille, rear cover, nearby baseboards, and floor. This helps keep dust from being pulled right back into the condenser area. If the grille is greasy, wash it in warm, soapy water, rinse, and dry it fully before reinstalling.
Step 7: Plug the Refrigerator Back In
Replace any grille or access panel, gently push the refrigerator back into place, and plug it in. Make sure the appliance is not pinching the cord or water line. Leave a little breathing room around the refrigerator if your manual calls for clearance; ENERGY STAR notes that air circulation around condenser coils helps refrigerator efficiency. ([energystar.gov](https://www.energystar.gov/products/refrigerators?utm_source=openai))
Listen for normal operation after you plug it in. The refrigerator may run for a while as it stabilizes, especially if the doors were opened during cleaning.
Signs the Coils Need Attention
- The refrigerator seems to run almost constantly.
- The kitchen feels unusually warm near the fridge.
- The bottom grille is visibly dusty or hairy.
- Food is not staying as cold as usual.
- The freezer temperature is creeping upward.
- You have pets and have not cleaned the coils in over 6 months.
Dirty coils are not the only reason a refrigerator cools poorly, but they are one of the easiest things to check. GE notes that if a refrigerator runs but is not cold enough, cleaning the condenser coils may be needed. ([products.geappliances.com](https://products.geappliances.com/appliance/gea-support-search-content?contentId=16266&utm_source=openai))
What Not to Do
- Do not spray cleaner or water into the coil area. Keep moisture away from electrical components.
- Do not use a stiff wire brush. It can damage fins, tubing, or wiring.
- Do not remove sealed covers you are not meant to access. Stick to panels described in the manual.
- Do not force a built-in refrigerator out of its space. Built-ins may require special access or service.
- Do not ignore cooling problems after cleaning. If temperatures remain too warm, get professional help.
A Simple Maintenance Habit
The easiest way to remember this job is to pair it with another yearly kitchen task, such as replacing water filters, deep-cleaning under appliances, or checking smoke alarm batteries. Put “clean refrigerator coils” on your calendar once a year, or twice a year if your home is dusty or pet-friendly.
It is not a glamorous chore, but it is one of those small home maintenance jobs that can make a real difference. With a vacuum, a coil brush, and a little patience, you can help your refrigerator breathe easier and keep your kitchen running smoothly.